>>
30-MINUTE MEALS! Get the email series now →


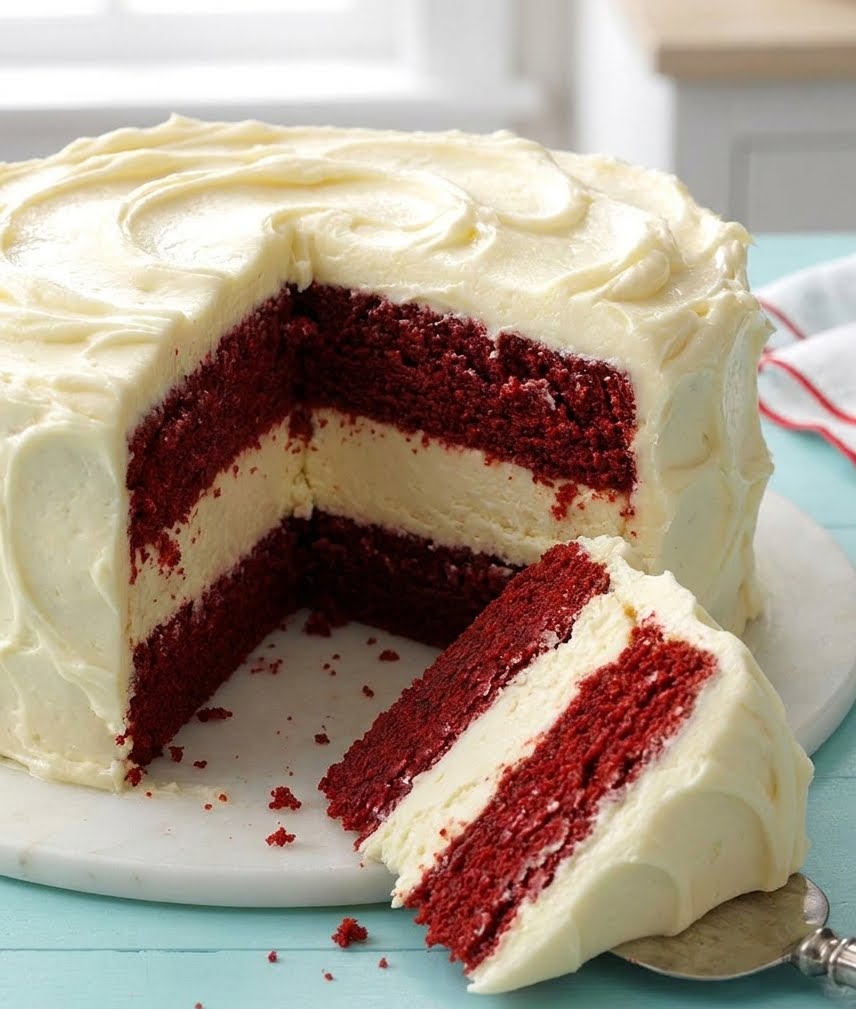
Creamy vanilla cheesecake sandwiched between two moist red velvet layers and finished with silky cream cheese frosting — an impressive, crowd-pleasing showstopper inspired by the Cheesecake Factory.

This Red Velvet Cheesecake Cake is one of those desserts I make when I want to celebrate something — birthdays, anniversaries, or simply a Sunday dinner that deserves a proper finale. I first fell for the idea of combining a dense, creamy vanilla cheesecake with soft red velvet sponge during a recipe-hunting spree inspired by the Cheesecake Factory menu. The contrast of textures — the dense, silky center against tender, subtly cocoa-flavored cake — always surprises guests and makes every slice feel like a special occasion. I discovered this layered approach one chilly February, testing the timing for a Valentine's dessert, and ever since it has been my go-to showstopper.
What makes this version special is the attention to technique: room-temperature ingredients for a crack-free cheesecake, a warm water bath and slow oven cool-down to maintain creaminess, plus a light but stable cream cheese frosting that holds piped edges without overpowering the cake. The red velvet layers are thin and moist, providing the perfect balance to the rich center. When you cut into it, you get a clean ribbon of cheesecake in every slice — it’s dramatic on a cake stand and reliably delicious. I always make extra crumbs when trimming the cake domes; they double as decoration and hide any small imperfections beautifully.
I still remember the first time I served this: my partner’s parents went quiet mid-bite, then asked for the recipe. It’s one of those dishes that makes people pause and savor the moment. Over the years I’ve dialed the texture and balancing of sweetness, and small changes — like using brick-style cream cheese and very warm water in the batter — consistently improve the final cake.
One of my favorite things about this dessert is how reliably it wows. I’ve served it to groups who rarely eat cake, and it disappears. It’s also forgiving: imperfect piping or small cracks are easily hidden with crumbs or piped borders, so the presentation looks professional even when made in a home kitchen.
Store the cake in the refrigerator in an airtight container or under a cake dome to prevent the frosting from absorbing fridge odors. If you need to save space, wrap the entire cake tightly in plastic wrap and then foil — for freezing, cut into slices and wrap each slice individually, then place in a freezer-safe bag for up to one month. Thaw slices in the refrigerator overnight and bring them to room temperature for 30 minutes before serving to accentuate creaminess. Avoid leaving slices at room temperature for more than two hours because of the dairy content.
For a slightly lighter filling, you can substitute half the sour cream with full-fat Greek yogurt, which will add tang and protein but tighten the texture a bit. Use gel food coloring instead of liquid for a more vibrant red without adding extra moisture. If you need a dairy-free version, replace cream cheese and sour cream with firm dairy-free cream cheese alternatives and use a vegan butter substitute for the frosting — note that texture and flavor will change. For gluten-free, swap the all-purpose flour in the cake and in the cheesecake for a 1:1 gluten-free blend and verify baking powder is gluten-free.
Slice this cake thinly and pair with macerated berries or a simple mixed berry sauce to cut the sweetness and add bright acidity. A dollop of lightly sweetened whipped cream or a few fresh raspberries on each plate adds color and balance. For an elegant dessert course, serve with espresso or a lightly tannic red wine such as Lambrusco or a light Pinot Noir. For casual gatherings, present the cake on a rustic wooden board with coffee and let guests help themselves.
Red velvet cake has roots in American baking and rose to popularity during the 20th century, partly due to the visual appeal of its red crumb and its pairing with rich cream cheese frosting. The red color was historically enhanced by reaction between non-Dutched cocoa and acidic ingredients, though today most recipes rely on added dye. Pairing a vanilla cheesecake with red velvet is a modern twist that plays on the tradition of layered and filled cakes — it’s a hybrid that blends the dense New York-style dessert with classic Southern-style cake.
In winter, add a pinch of warming spices (cinnamon or a touch of cloves) to the cake batter for seasonal flair. For spring and summer, lighten the frosting by folding in whipped cream to create a crème légère texture for a more airy finish. For holiday variations, fold finely chopped toasted pecans into the crumb coating or top with candied orange zest for a citrus contrast. The cake also dresses up for Valentine’s Day with heart-shaped cake toppers or a thin drizzle of dark chocolate over the piped edge.
Make the cheesecake layer a day ahead and chill overnight to firm. Bake the red velvet layers the day before assembly and store them wrapped in plastic at room temperature to preserve moisture. The frosting can be prepared and kept in the fridge; bring it to room temperature and briefly re-whip before use. When assembling, have a clean serrated knife and a bench scraper ready for leveling and smoothing. Dividing tasks across days reduces stress and improves final texture.
This cake is a labor of love but worth every minute when you see the faces around the table. Whether you’re celebrating or simply treating yourself, this layered creation brings elegance and indulgence in equal measure — and it’s more approachable than it looks. Give it a try, and make the recipe your own by tweaking colors, fillings or decorations to suit your occasion.
Bring cream cheese and eggs to room temperature to ensure a smooth cheesecake filling and prevent lumps.
Bake the cheesecake in a water bath and cool it slowly in the oven to minimize cracking.
Chill the cheesecake fully before assembling to prevent sliding between layers.
Reserve and dry crumb trimmings to press into the sides immediately after frosting for a tidy finish.
Use a serrated knife warmed under hot water and wiped dry for cleaner slices.
This nourishing red velvet cheesecake cake recipe is sure to be a staple in your kitchen. Enjoy every moist, high protein slice — it is perfect for breakfast or as a wholesome snack any time.
This Red Velvet Cheesecake Cake recipe makes perfectly juicy, tender, and flavorful steak every time! Serve with potatoes and a side salad for an unforgettable dinner in under 30 minutes.
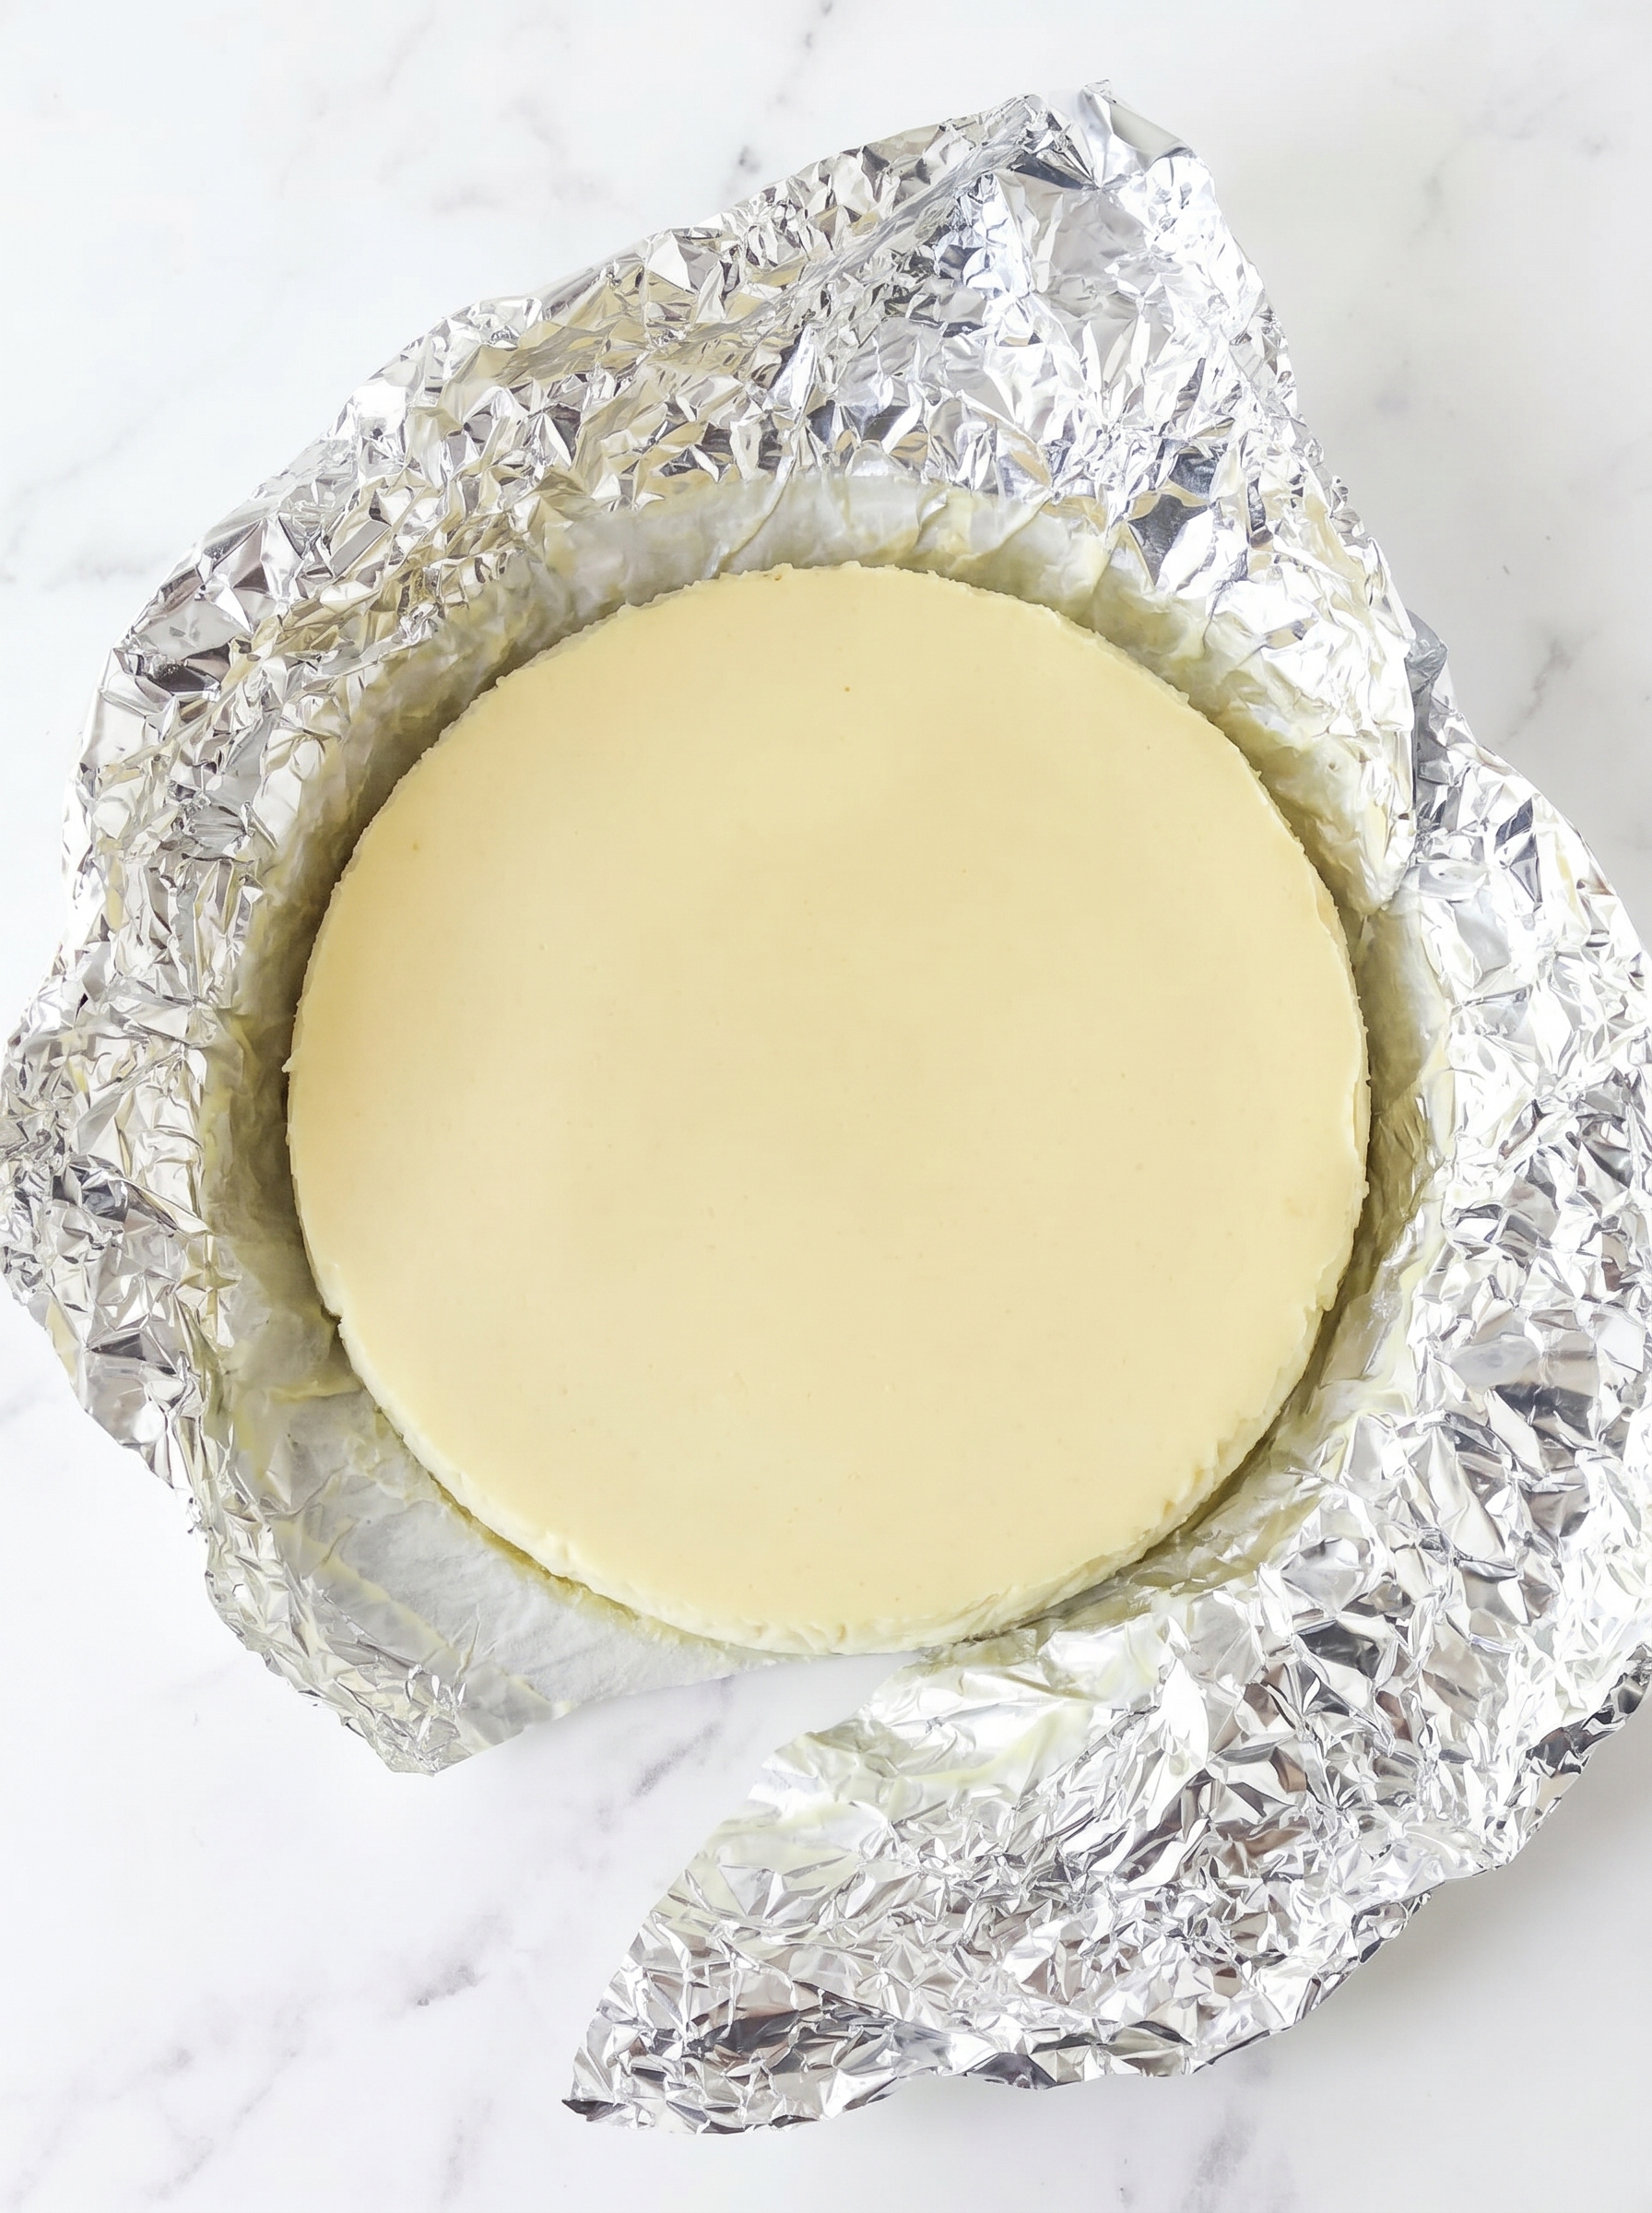
Preheat the oven to 300°F. Line a 9-inch cake pan completely with aluminum foil so you can lift the cheesecake out later. Beat the cream cheese, sugar and flour on low speed until smooth. Add sour cream and vanilla, then add eggs one at a time, mixing slowly. Pour into the prepared pan, place in a larger pan, add warm water halfway up the sides and bake for 1 hour. Turn the oven off and let cool inside for 30 minutes with the door closed, then crack the door and cool another 30 minutes.
Remove the cheesecake from the water bath, lift out using the foil, and chill in the refrigerator until firm — ideally 4–5 hours or overnight for best slicing results.
Preheat oven to 350°F. Mix the dry ingredients (flour, sugar, baking soda, baking powder, cocoa, salt). Whisk the wet ingredients (buttermilk, oil, vanilla, eggs, vinegar, food coloring) and combine with the dry. Slowly add hot water and mix on low until smooth; batter will be thin.
Divide batter between two 9-inch pans lined with parchment and greased. Bake 23–26 minutes until a toothpick shows moist crumbs. Cool in pans 3–5 minutes then transfer to wire racks to cool completely.
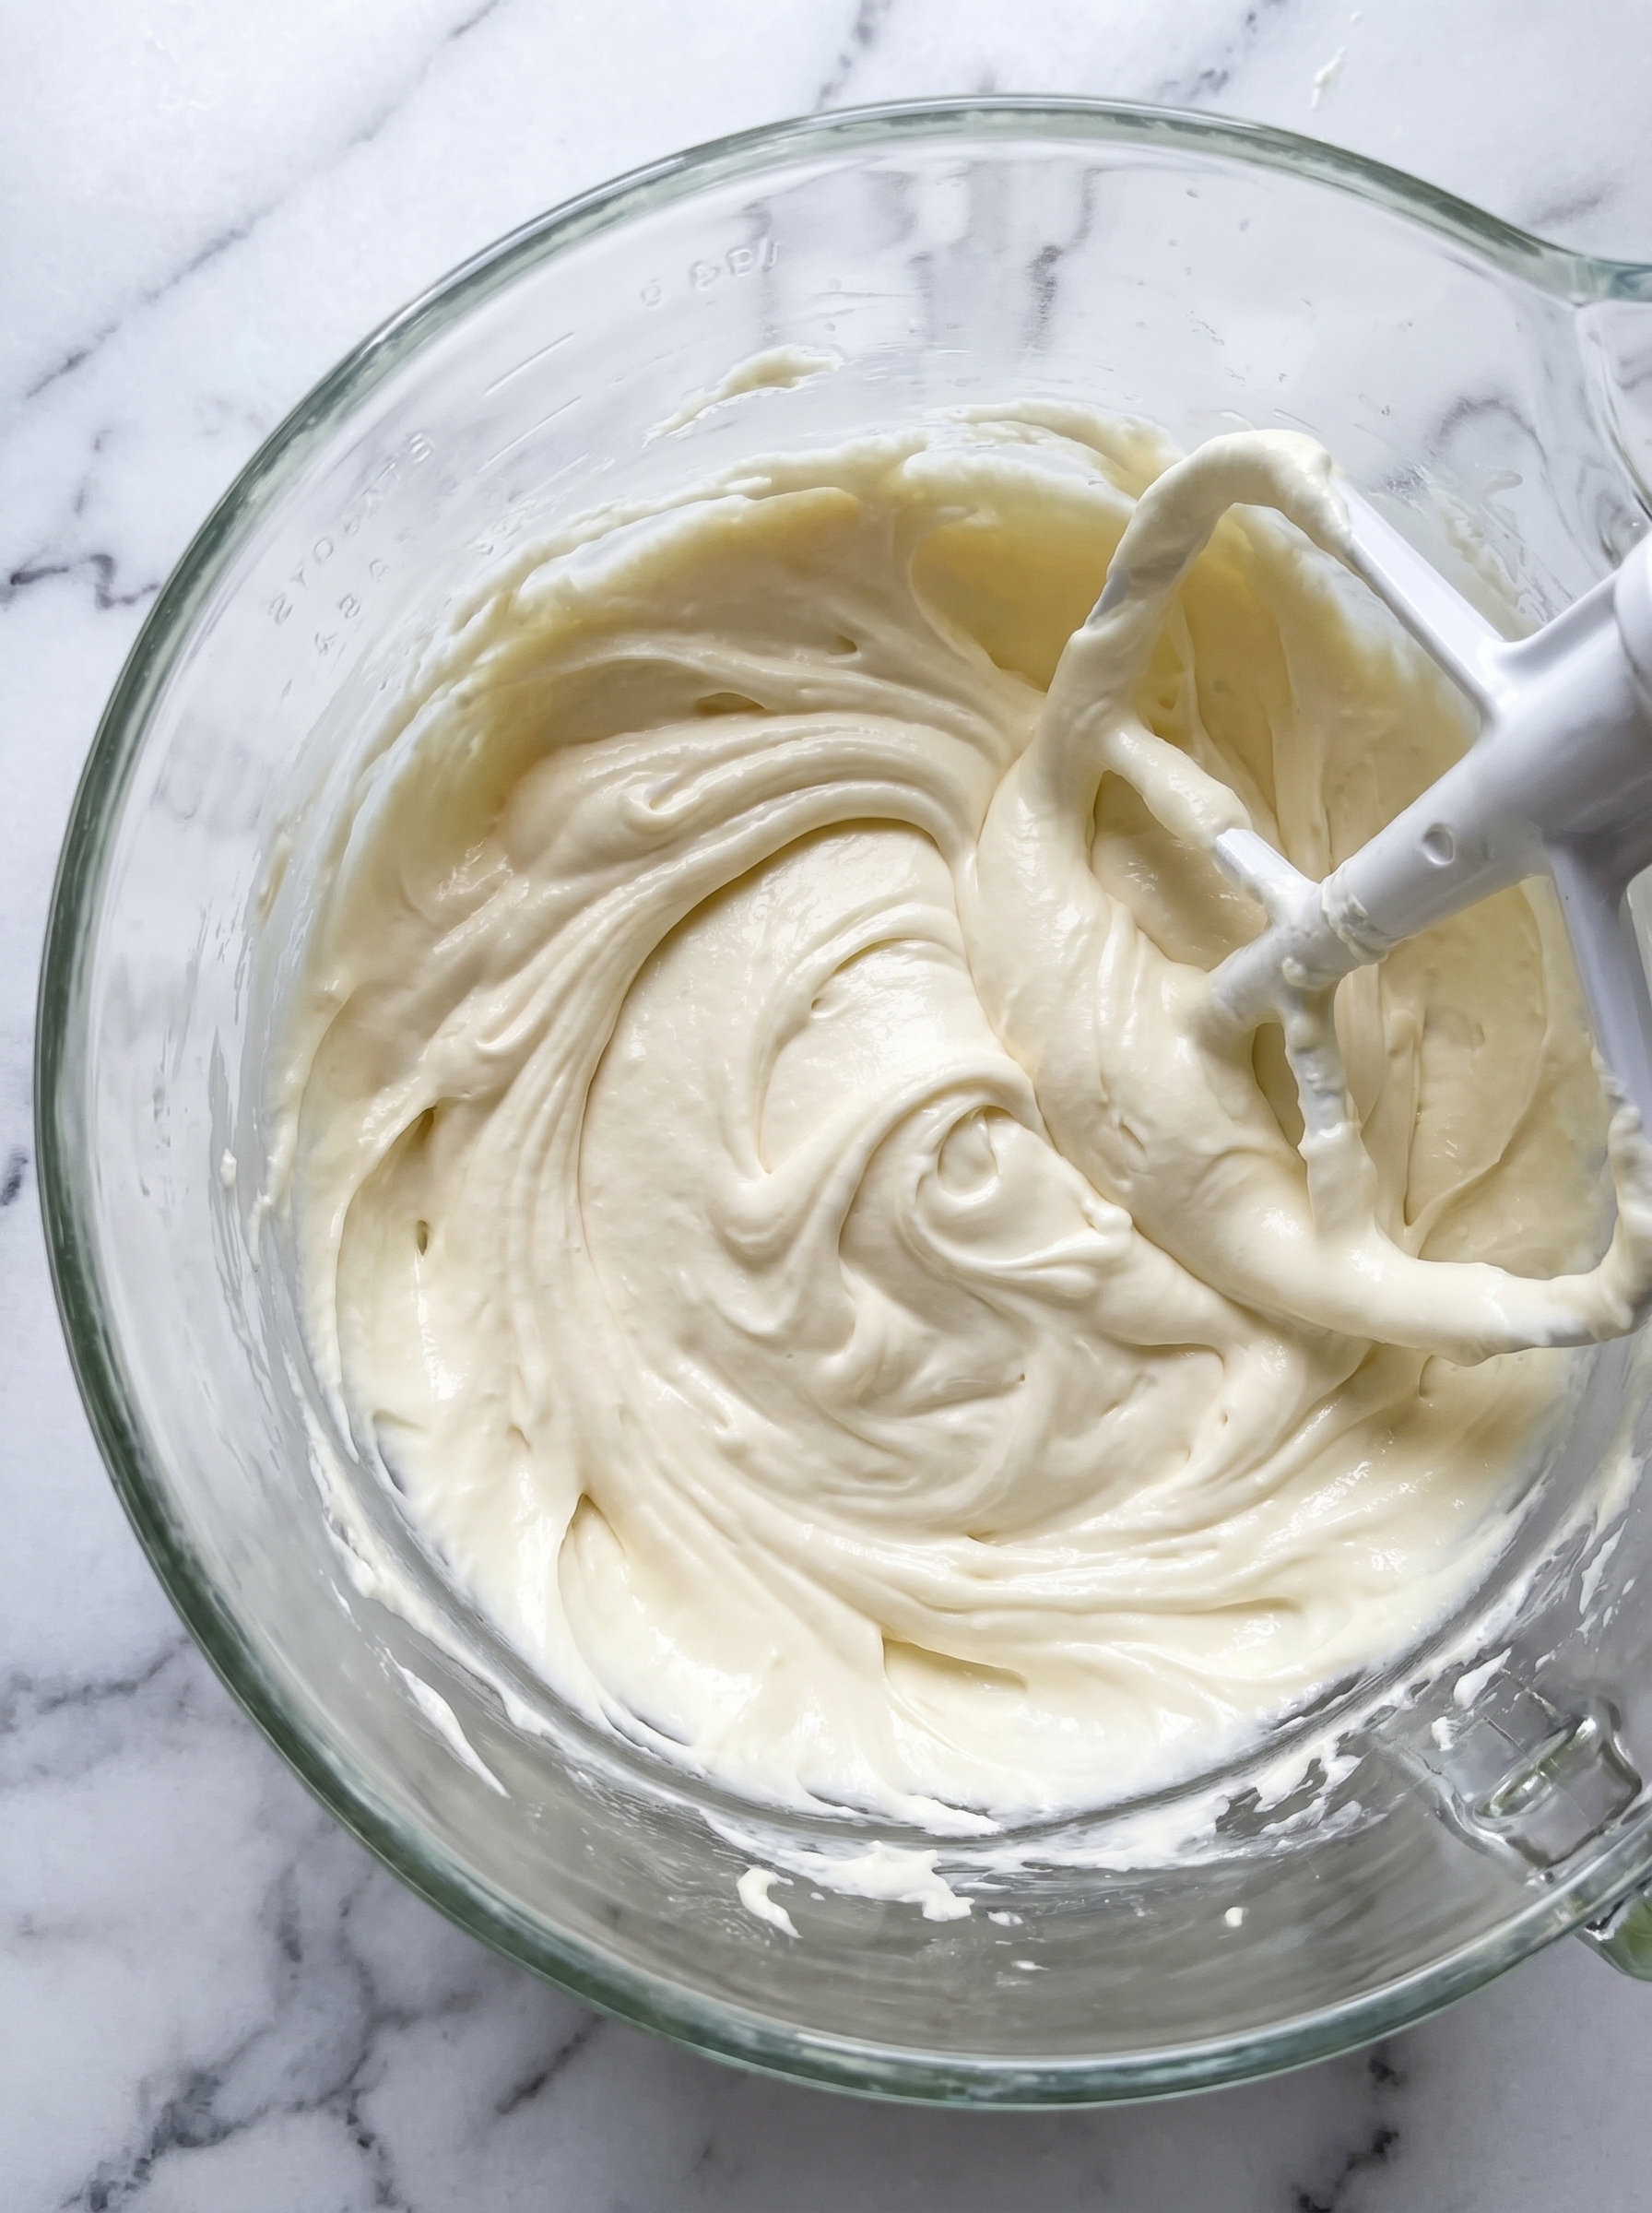
Beat cream cheese and butter until smooth, add half the powdered sugar and mix, add vanilla, then finish with remaining powdered sugar until the frosting reaches piping consistency.
Level cake domes and reserve crumbs. Place the first cake layer on a serving board, spread about 1 cup of frosting, lift chilled cheesecake using foil and place on cake, spread another cup of frosting on top of cheesecake, add the second cake layer, align and trim if needed, crumb-coat and chill briefly, then finish frosting and decorate.
Pipe shells or borders, press reserved crumbs into the sides while the frosting is tacky, and refrigerate the assembled cake in an airtight container until serving for best slices.
Last Step: Please leave a rating and comment letting us know how you liked this recipe! This helps our business to thrive and continue providing free, high-quality recipes for you.
Leave a comment & rating below or tag
@royalrecipe on social media!

Easy homemade thin-crust three-cheese spicy chicken and jalapeño pie — a flavor-packed pizza with a satisfying kick, perfect for pizza night or game day.

A bright, creamy BLT pasta salad tossed with basil pesto, fresh greens, cherry tomatoes, and crisp bacon—perfect for warm-weather gatherings and meal prep.

Tender sautéed shrimp tossed with spaghetti and a creamy sweet-spicy bang bang sauce—ready in under 30 minutes for a weeknight favorite.
Leave a comment & rating below or tag @royalrecipe on social media!
Enjoyed this recipe? Share it with friends and family, and don't forget to leave a review!
This recipe looks amazing! Can't wait to try it.
Comments are stored locally in your browser. Server comments are displayed alongside your local comments.
Join to receive our email series which contains a round-up of some of our quick and easy family favorite recipes.
