>>
30-MINUTE MEALS! Get the email series now →


A foolproof, speedy version of the beloved Thin Mints—no oven, three ingredients, and ready in minutes. Perfect for last-minute guests or a quick minty treat.

This recipe is a love letter to lazy afternoons and the memory of Girl Scout cookie boxes stacked in the pantry. I first made these Lazy No‑Bake Thin Mints on a rainy Saturday when I had a sudden craving for that crisp, minty chocolate snap but no patience for baking. I grabbed a sleeve of Nabisco Famous Chocolate Wafers, some Baker's semi‑sweet squares, and a whisper of peppermint extract and, in less time than it takes to boil water, ended up with a dozen glossy, mint‑kissed cookies that tasted every bit like the originals.
What makes these so special is the texture and simplicity: the wafers keep their light crunch under a silky chocolate coating, and the peppermint lifts the chocolate without becoming overpowering. I love that this method requires no piping, no tempering, and no long setting—the chocolate sets easily at room temperature and firms up faster in the refrigerator. These are the sort of treats I make when a neighbor drops by unexpectedly or when the kids ask for something chocolaty after school. They’re small, shareable, and addictive.
Every time I make these, someone inevitably asks for the recipe. My sister once walked in, tasted one, and immediately called her husband to tell him to buy more wafers. They’re the kind of cookie that disappears quickly at gatherings, and that always makes me happy—simple cooking that brings people together.
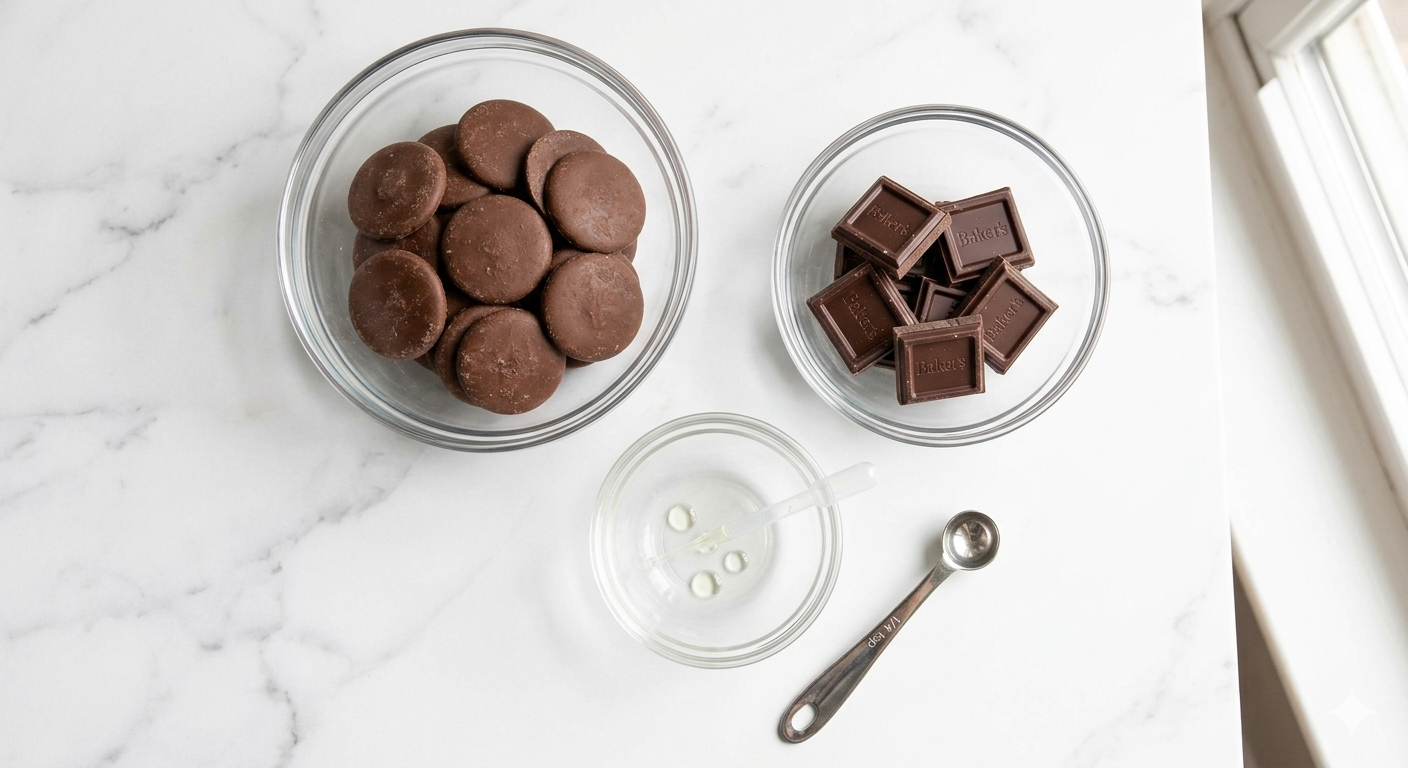
My favorite thing about this method is how reliably it recreates the classic flavor without fuss. Once, at a last‑minute brunch, I whipped these up and set them out on a plate; guests kept reaching across the table, claiming their favorites like they were passing heirlooms. Small, easy treats like these often create the sweetest memories.

Store the cookies in a single layer in an airtight container with parchment between layers to prevent sticking. At room temperature, they will remain acceptable for a day or two, but refrigeration is best for maintaining the crisp wafer and chocolate snap. When freezing, place cookies on a tray until firm, then move them to a freezer bag; thaw in the refrigerator to prevent condensation from making them soggy. Use a shallow container to avoid weight crushing the coating.
If you can’t find Baker's, use any high‑quality semi‑sweet baking chocolate or dark chocolate chopped into small pieces—avoid chips as they contain stabilizers that won’t melt as smooth. For a dairy‑free option, choose a vegan dark baking bar and verify the wafers are dairy‑free. If peppermint oil is unavailable, pure peppermint extract works fine—use slightly more (up to 1/2 teaspoon) because it’s less concentrated. For a lighter mint, stir in 1 teaspoon of cocoa powder for depth.
Serve these on a small dessert platter with a dusting of cocoa or a few fresh mint leaves for presentation. They pair beautifully with strong coffee or a minty hot chocolate. For a party, arrange them with other small cookies and chocolates on a tiered stand; the minty bite is an excellent palate cleanser between richer bites. Garnish with a tiny sprinkle of flaky sea salt on half the batch for a sweet‑salty contrast.
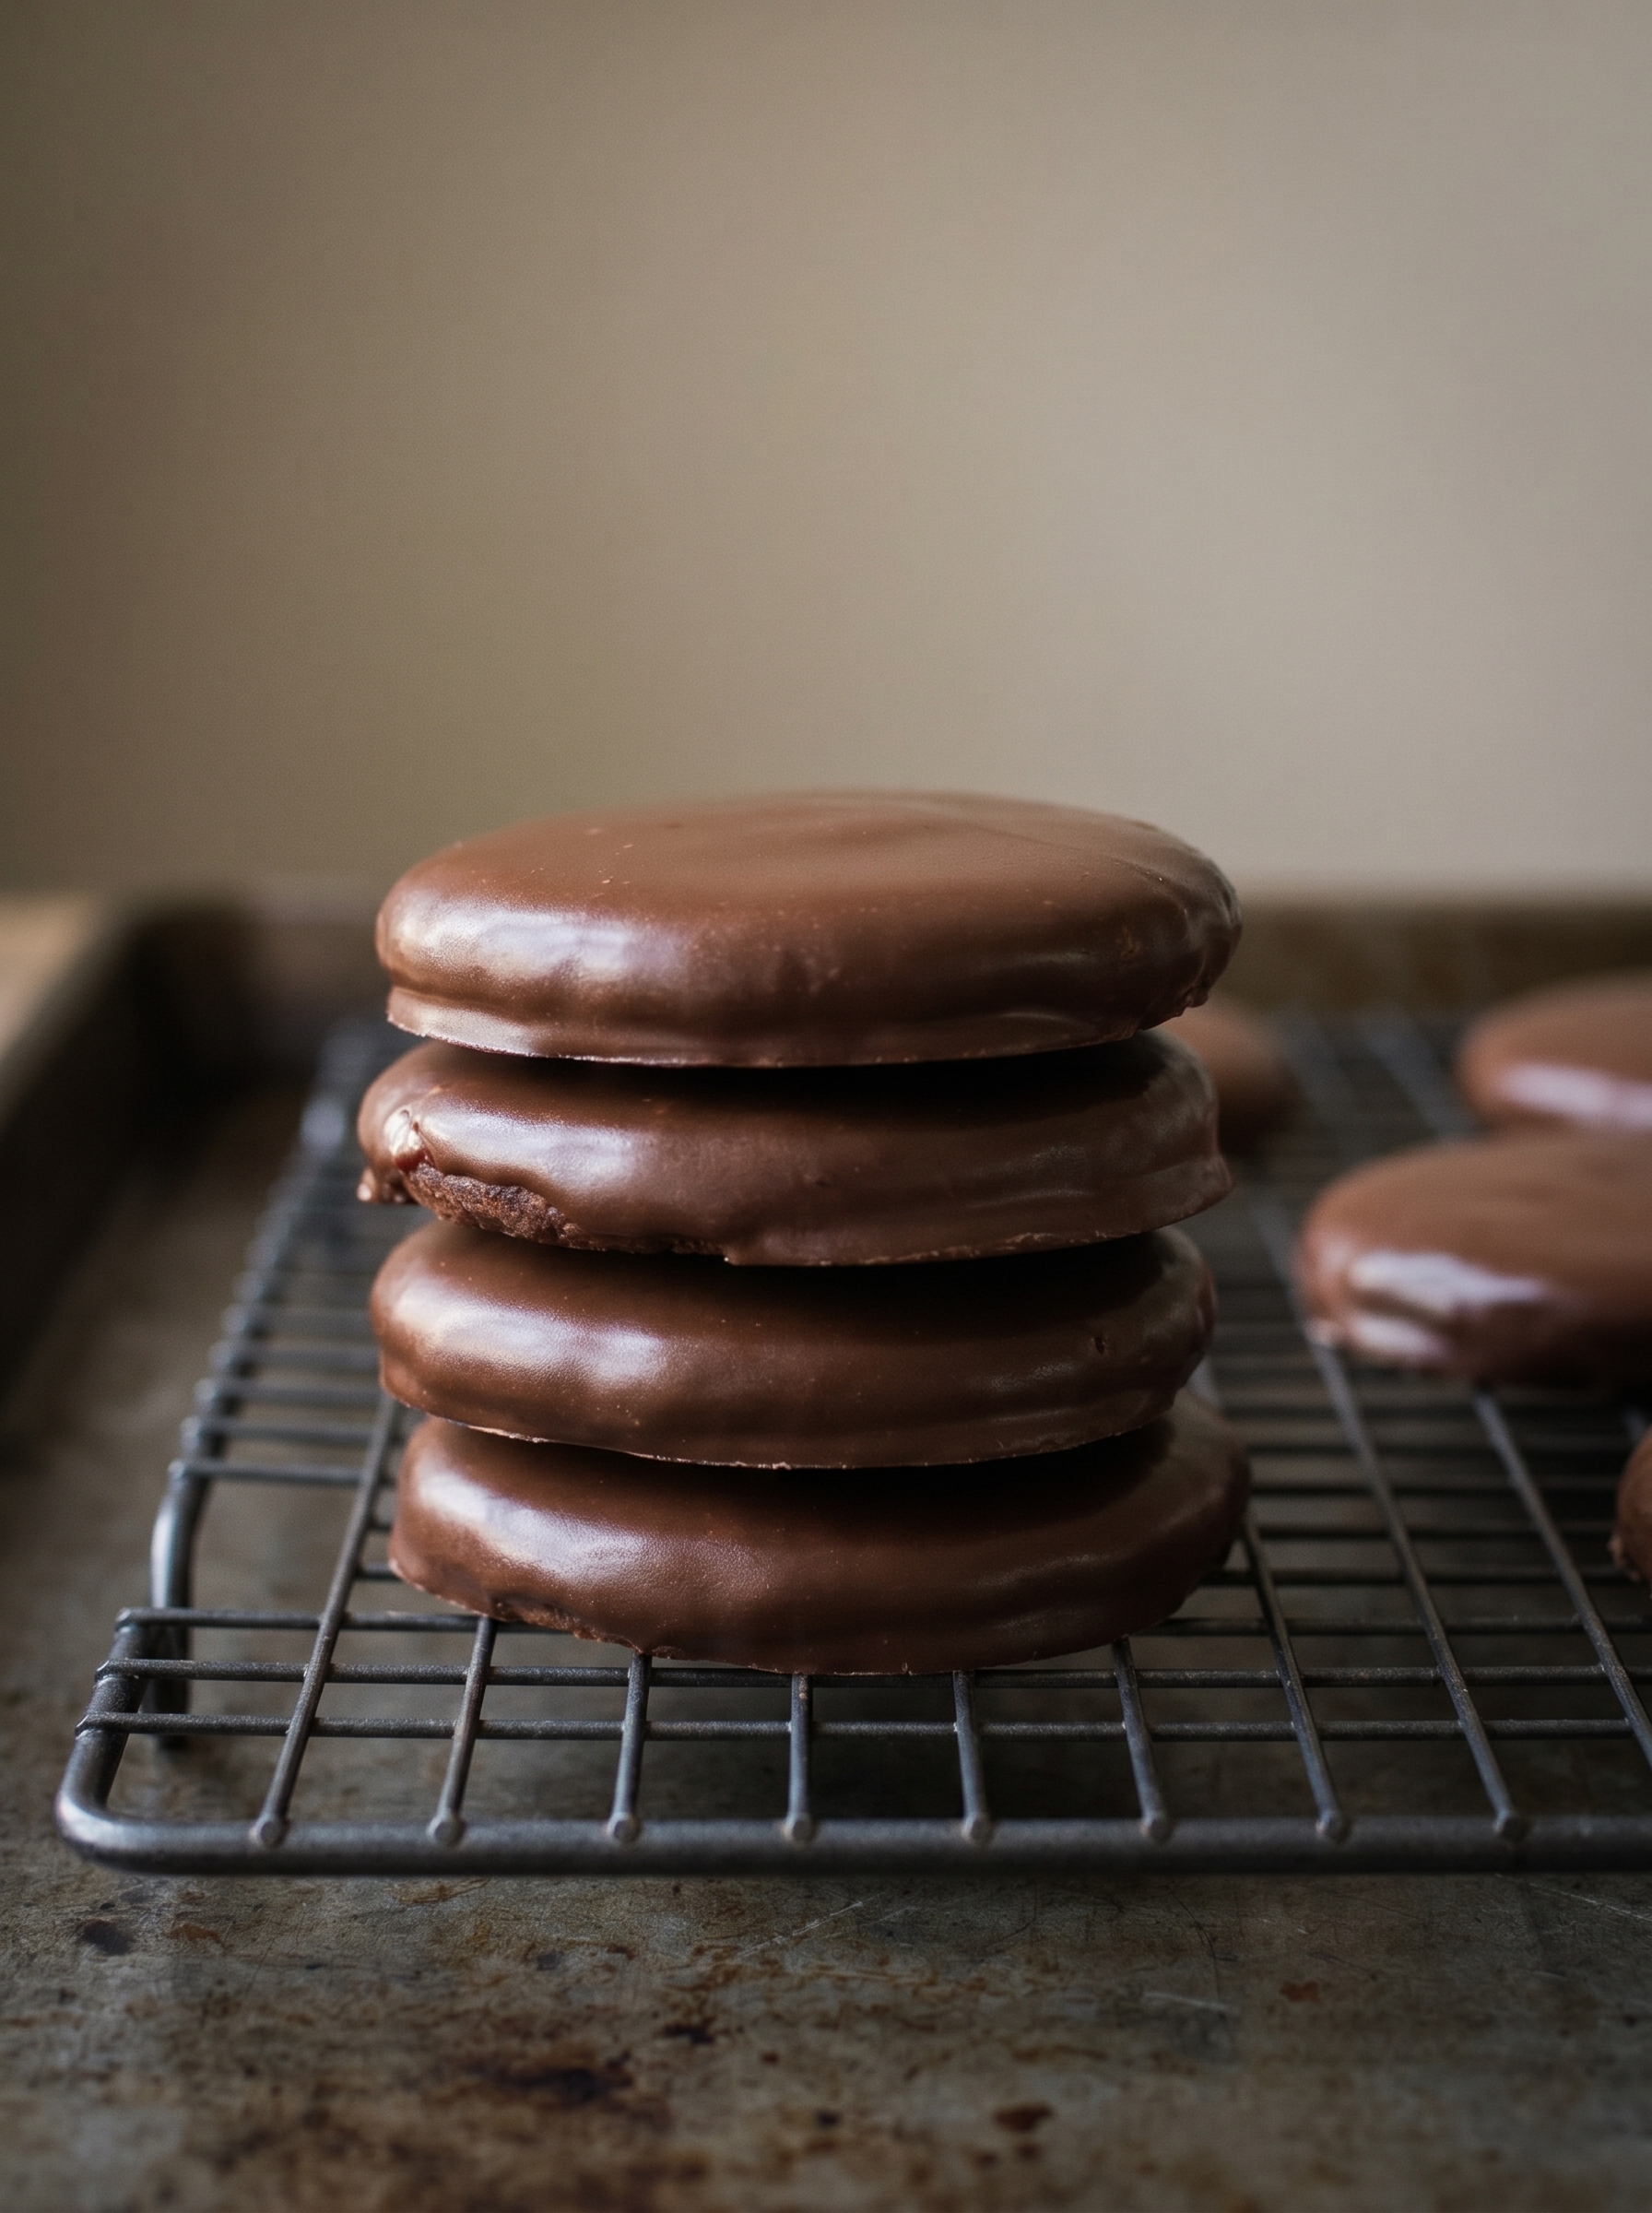
The classic Thin Mint is an American favorite, made famous by Girl Scouts and adapted in homes nationwide. These cookies capture that tradition in a minimal form—taking a manufactured wafer and transforming it with homemade chocolate and mint. This version leans into convenience culture: honoring the flavor while celebrating shortcuts that keep quality intact. It’s a modern, time‑saving twist on a nostalgic treat.
For winter holidays, swap peppermint for orange extract and make Chocolate‑Orange wafers. In spring or summer, add a thin drizzle of melted white chocolate tinted with a drop of green food coloring for a festive look. For a spooky Halloween twist, tint part of the coating with purple or orange candy melts and scatter them on a dessert table for dramatic color contrast.
Make large batches ahead of time: double or triple the chocolate and melt in a heatproof bowl over a pot of simmering water if you prefer the stovetop. Store the dipped cookies in the fridge layered with parchment; portion into snack packs for lunchboxes or frozen meals. Dipping in small batches ensures chocolate stays glossy—reheat gently if it becomes too thick.
These Lazy No‑Bake Thin Mints are proof that great flavor doesn't require complexity. Whether you’re feeding a crowd or indulging a quiet craving, this little recipe delivers big on nostalgia and ease. Try them once, and they’ll become one of your go‑to quick sweets.
Chop chocolate into small, uniform pieces so it melts evenly and stays glossy.
Use a 4‑cup glass measuring cup as a dip bowl—its shape helps excess chocolate drip back into the bowl.
Tap the fork against the bowl to remove excess chocolate; this keeps the coating thin and crisp.
This nourishing lazy no‑bake thin mints recipe is sure to be a staple in your kitchen. Enjoy every moist, high protein slice — it is perfect for breakfast or as a wholesome snack any time.
Yes. Store in an airtight container in the refrigerator for up to 10 days. For longer storage freeze for up to 3 months.
Start with 1/4 teaspoon peppermint and increase to 1/2 teaspoon if needed. Peppermint oil is more concentrated than extract.
If your kitchen is warm, refrigerate for 10 minutes to speed setting. Avoid overheating chocolate in the microwave or it will seize.
This Lazy No‑Bake Thin Mints recipe makes perfectly juicy, tender, and flavorful steak every time! Serve with potatoes and a side salad for an unforgettable dinner in under 30 minutes.
Line a baking sheet with parchment or waxed paper and place the 15 wafers in a single layer nearby for dipping.
Chop the 8 ounces of semi‑sweet baking chocolate into small, uniform pieces so it melts smoothly in the microwave.
Place chopped chocolate in a microwave‑safe bowl. Microwave on high for 60 seconds, stir, then microwave in 15‑second bursts stirring between until mostly melted and glossy. Do not overheat.
Stir in 1/4 teaspoon peppermint extract or oil, taste, and increase up to 1/2 teaspoon if desired for stronger mint flavor.
Using a fork, gently dip each wafer, coating both sides. Let excess chocolate drip back into the bowl, then place on parchment to set.
Let cookies set at room temperature for 10–20 minutes or chill for 10 minutes in the refrigerator. Store in an airtight container in the refrigerator for up to 10 days or freeze for up to 3 months.
Last Step: Please leave a rating and comment letting us know how you liked this recipe! This helps our business to thrive and continue providing free, high-quality recipes for you.
Leave a comment & rating below or tag
@royalrecipe on social media!

Easy homemade thin-crust three-cheese spicy chicken and jalapeño pie — a flavor-packed pizza with a satisfying kick, perfect for pizza night or game day.

A bright, creamy BLT pasta salad tossed with basil pesto, fresh greens, cherry tomatoes, and crisp bacon—perfect for warm-weather gatherings and meal prep.

Tender sautéed shrimp tossed with spaghetti and a creamy sweet-spicy bang bang sauce—ready in under 30 minutes for a weeknight favorite.
Leave a comment & rating below or tag @royalrecipe on social media!
Enjoyed this recipe? Share it with friends and family, and don't forget to leave a review!
This recipe looks amazing! Can't wait to try it.
Comments are stored locally in your browser. Server comments are displayed alongside your local comments.
Join to receive our email series which contains a round-up of some of our quick and easy family favorite recipes.