>>
30-MINUTE MEALS! Get the email series now →


Ultra-creamy, melon-forward frozen bars made with just four ingredients — a vegan, paleo take on the beloved Melona treat. Ready with minimal hands-on time and deep, authentic flavor.
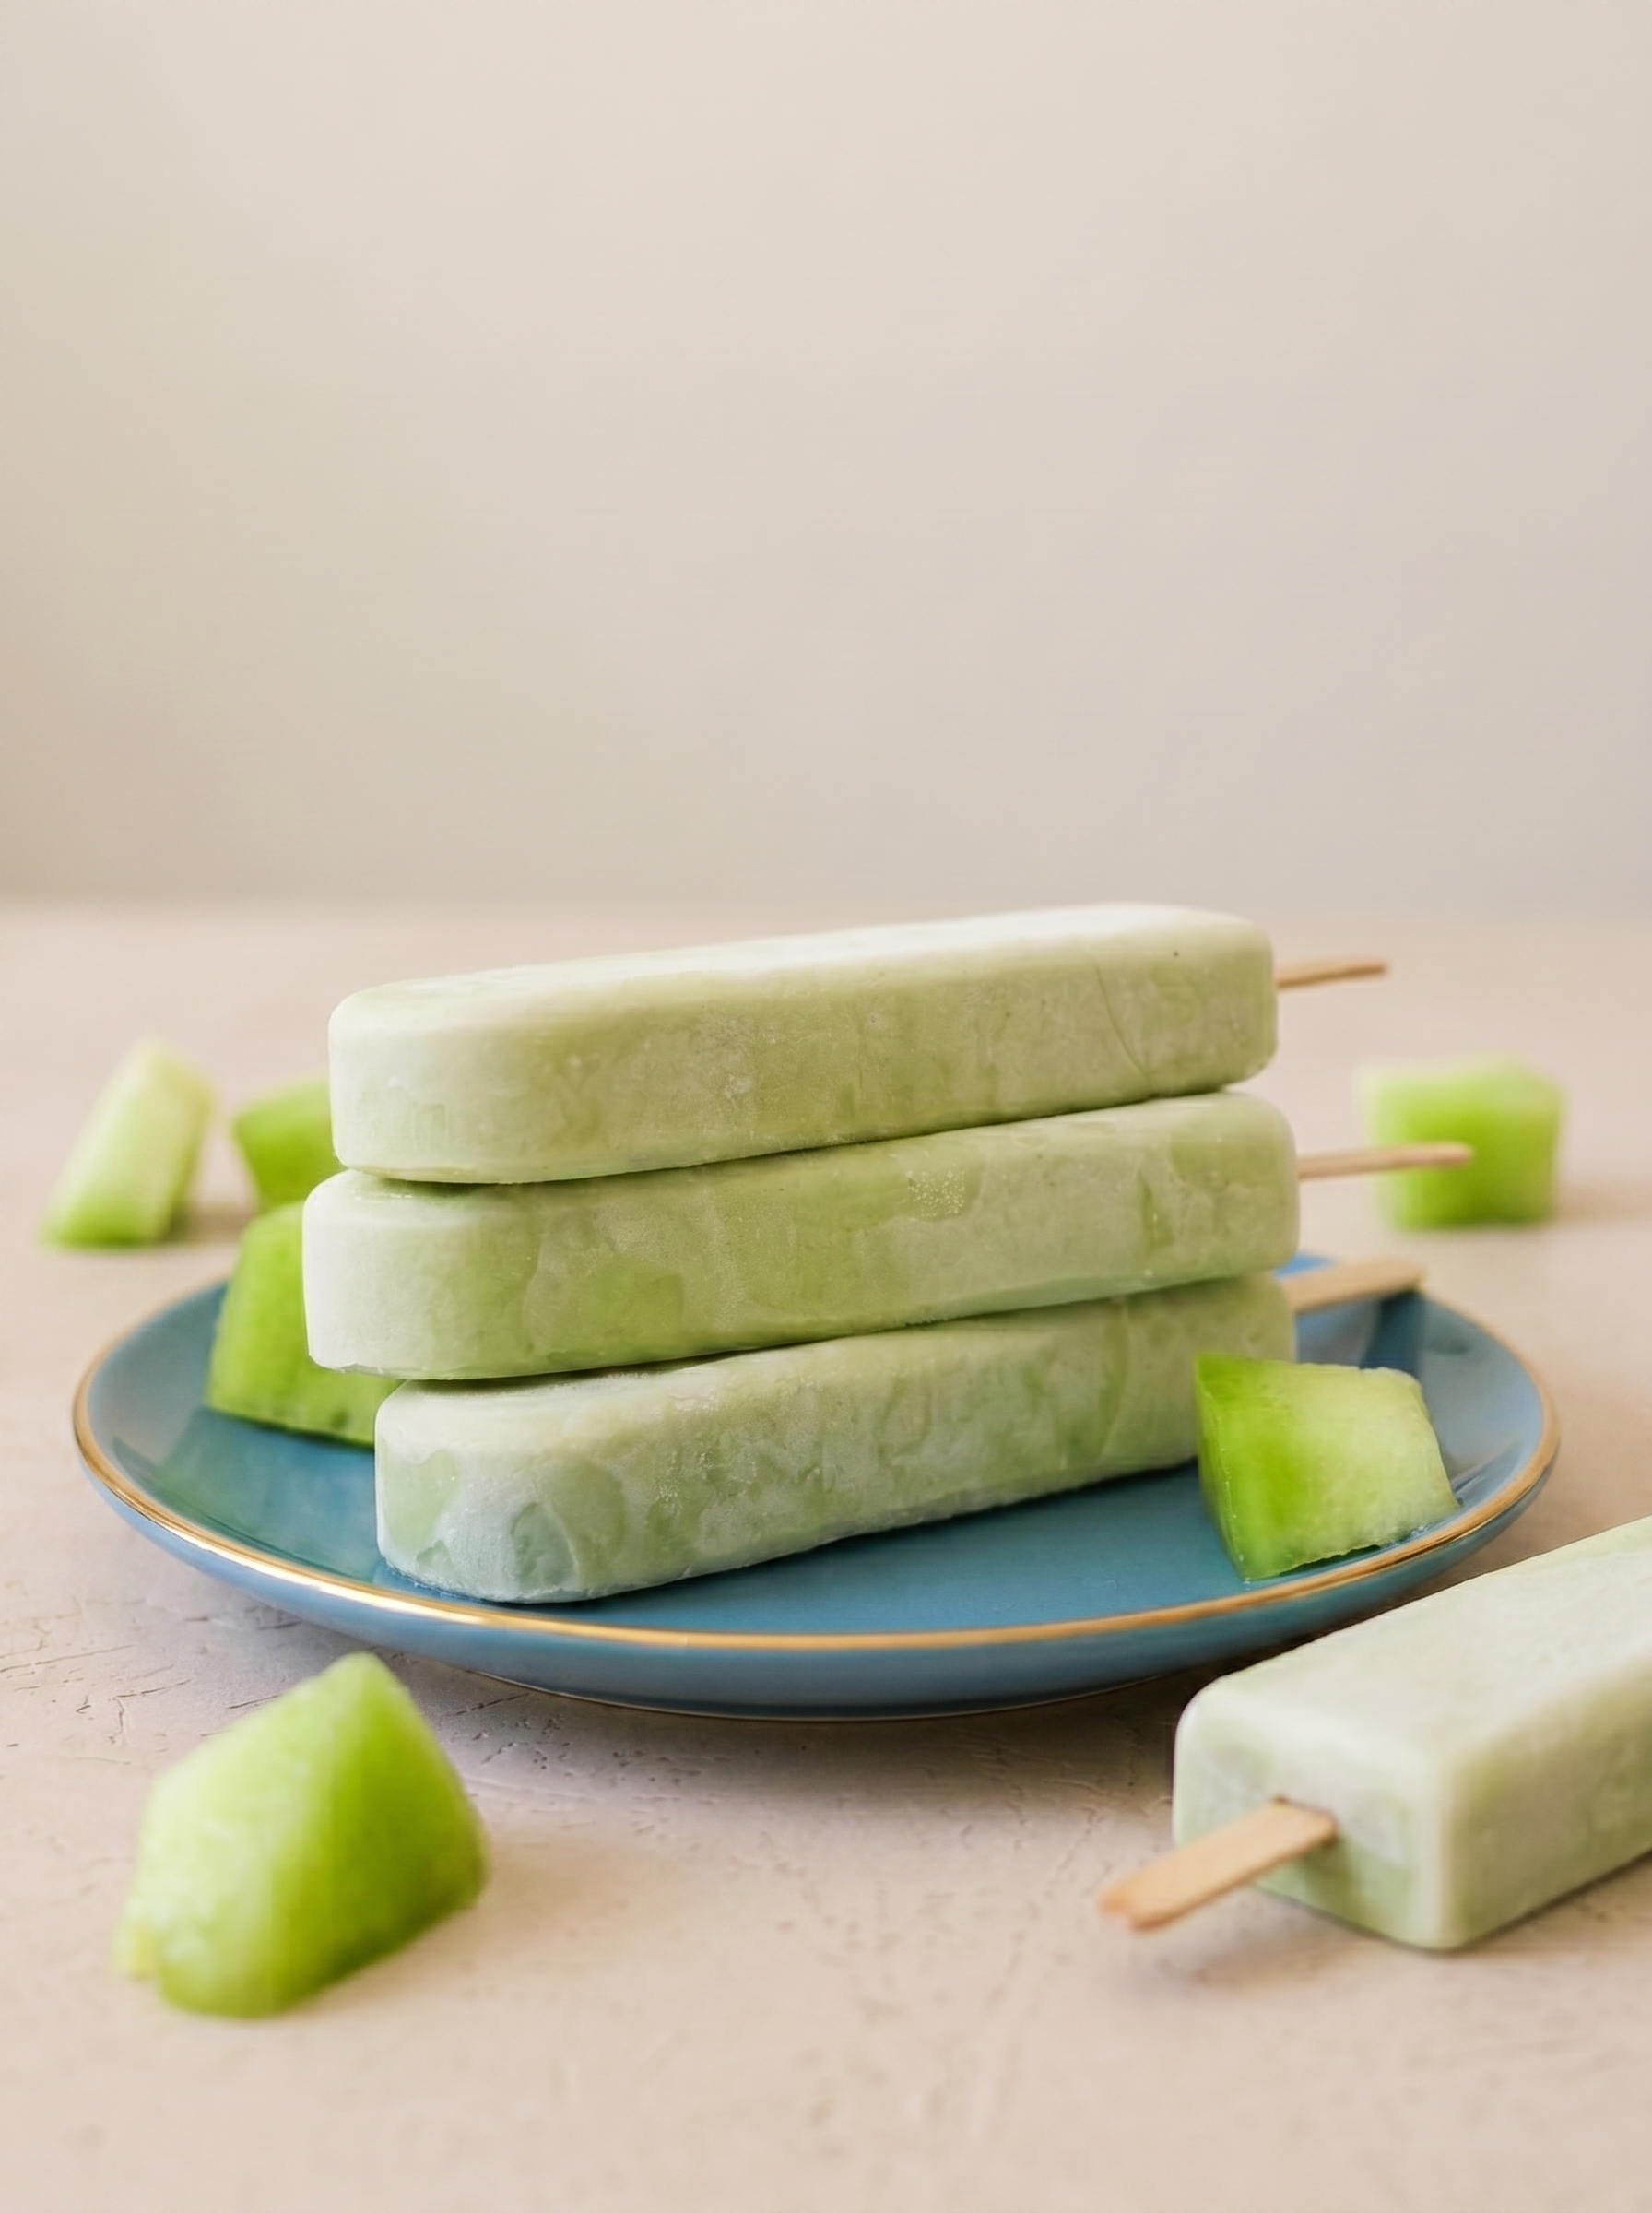
This recipe is my sunny, nostalgic answer to the bright green bars I devoured as a kid: an ultra-creamy, melon-forward frozen bar made with just four main ingredients. I first tinkered with this combination during a summer when honeydews were arriving at the farmers market perfectly sweet; I wanted the familiar texture of a commercial melon bar without dairy or stabilizers. The result is a rich, velvet bar with a true honeydew aroma and a gentle sweetness that tastes like the real thing — only cleaner, fresher, and kinder to the body.
What makes these bars special is the cashew-coconut base that mimics the creaminess of milk-based ice creams while keeping the recipe entirely plant-based and paleo-friendly. The blended cashews create a silky mouthfeel, the full-fat coconut milk adds richness and body, and ripe honeydew gives the color and signature flavor. They’re perfect for hot days, easy to make for kids, and impressive enough to serve at casual gatherings.
I first served these on a neighborhood potluck evening and watched them disappear faster than any other treat. My kids argued playfully over who got the last bar, and a neighbor told me they couldn’t believe it was dairy-free. Over time I learned to pick the ripest honeydew and to fine-tune sweetness so the melon sings without overpowering the cashew base.
My favorite part about these bars is how they capture the simple childhood joy of a packaged dessert but translate it into something fresh and homemade. Family and friends comment on the texture first — they expect icy fruit popsicles and instead get a dense, creamy bite that melts on the tongue. That reaction made me tweak soaking times and sweetness until the balance felt just right: melon-forward, lightly sweet, and luxuriously creamy.
Store frozen bars individually wrapped in parchment or plastic wrap, then place them in a rigid airtight container or freezer bag to prevent freezer burn and odor transfer. Properly wrapped bars will keep for up to 3 months. For short-term storage, keep them in the back of the freezer where temperature is most stable. When reheating to serve, let a bar sit at room temperature for 2 to 3 minutes or briefly run the mold under warm water to ease removal; avoid leaving them out too long or they’ll become overly soft.
If you’re nut-free, substitute 1 1/2 cups canned white beans (well rinsed and drained) or 1 1/2 cups silken tofu for cashews to approximate creaminess, though texture and flavor will shift. For a coconut-free version, full-fat oat creamer or a neutral full-fat nondairy milk can be used instead of coconut milk, but reduce to 2 tablespoons initially to maintain thickness. If honeydew is out of season, ripe cantaloupe works — it will be more orange and slightly tangier, so reduce maple syrup by 1 tablespoon if sweetness is a concern.
Serve bars as a refreshing dessert or an afternoon pick-me-up. Pair with a light green tea or sparkling water with a slice of lime to cut richness. For gatherings, arrange bars on a chilled platter lined with crushed ice and garnish with thin ribbons of mint or a sprinkle of toasted coconut. For a playful twist, dip half the bar in melted dark chocolate and freeze briefly for a contrast of bitter and sweet.
The original inspiration is the iconic Korean melon bar produced by a company called Binggrae, a staple in East Asian convenience stores since the late 20th century. The commercial bars are beloved for their uniform texture and unmistakable pale green color. This homemade version pays homage while swapping dairy and additives for whole-food ingredients and a short ingredient list, bridging modern dietary preferences with a classic frozen treat.
In summer, use the ripest honeydew you can find — the fragrance is the best indicator of flavor. In cooler months, when honeydew is less vibrant, switch to cantaloupe or even frozen mango for a different but equally delicious profile. For a holiday twist, stir in a pinch of cardamom or lime zest to brighten the flavor before freezing. These simple seasonal swaps keep the method intact while celebrating what’s fresh.
Prepare and freeze a double batch for easy snacks during busy weeks. Pour the blended mixture into molds and pop them into the freezer; once solid, remove and individually wrap in parchment before storing in a labeled freezer bag. Pre-soak cashews the night before to minimize morning prep. If you want single-serve portions without molds, use small paper cups with sticks; when frozen solid, peel the cup away and transfer bars to a container.
These bars are a bright, simple way to enjoy summer fruit any time of year. They’re forgiving, adaptable, and always feel like a small celebration — share them, tweak them, and make the recipe your own.
Soak cashews for at least 3 hours or overnight to achieve a smooth, dairy-like texture when blended.
Use ripe honeydew that smells sweet at the stem end for the most authentic flavor.
If bars are difficult to unmold, run warm water over the outside of the mold for 10–20 seconds.
Adjust sweetness after blending — start with 3 tablespoons maple syrup and add more to taste.
This nourishing homemade melona ice cream bars (vegan & paleo) recipe is sure to be a staple in your kitchen. Enjoy every moist, high protein slice — it is perfect for breakfast or as a wholesome snack any time.
Yes — soak raw cashews at least 3 hours, or overnight for best results. Rinse before blending to remove any residual soaking water.
Freeze for at least 6 hours, though overnight is best for a fully solid bar.
This Homemade Melona Ice Cream Bars (Vegan & Paleo) recipe makes perfectly juicy, tender, and flavorful steak every time! Serve with potatoes and a side salad for an unforgettable dinner in under 30 minutes.
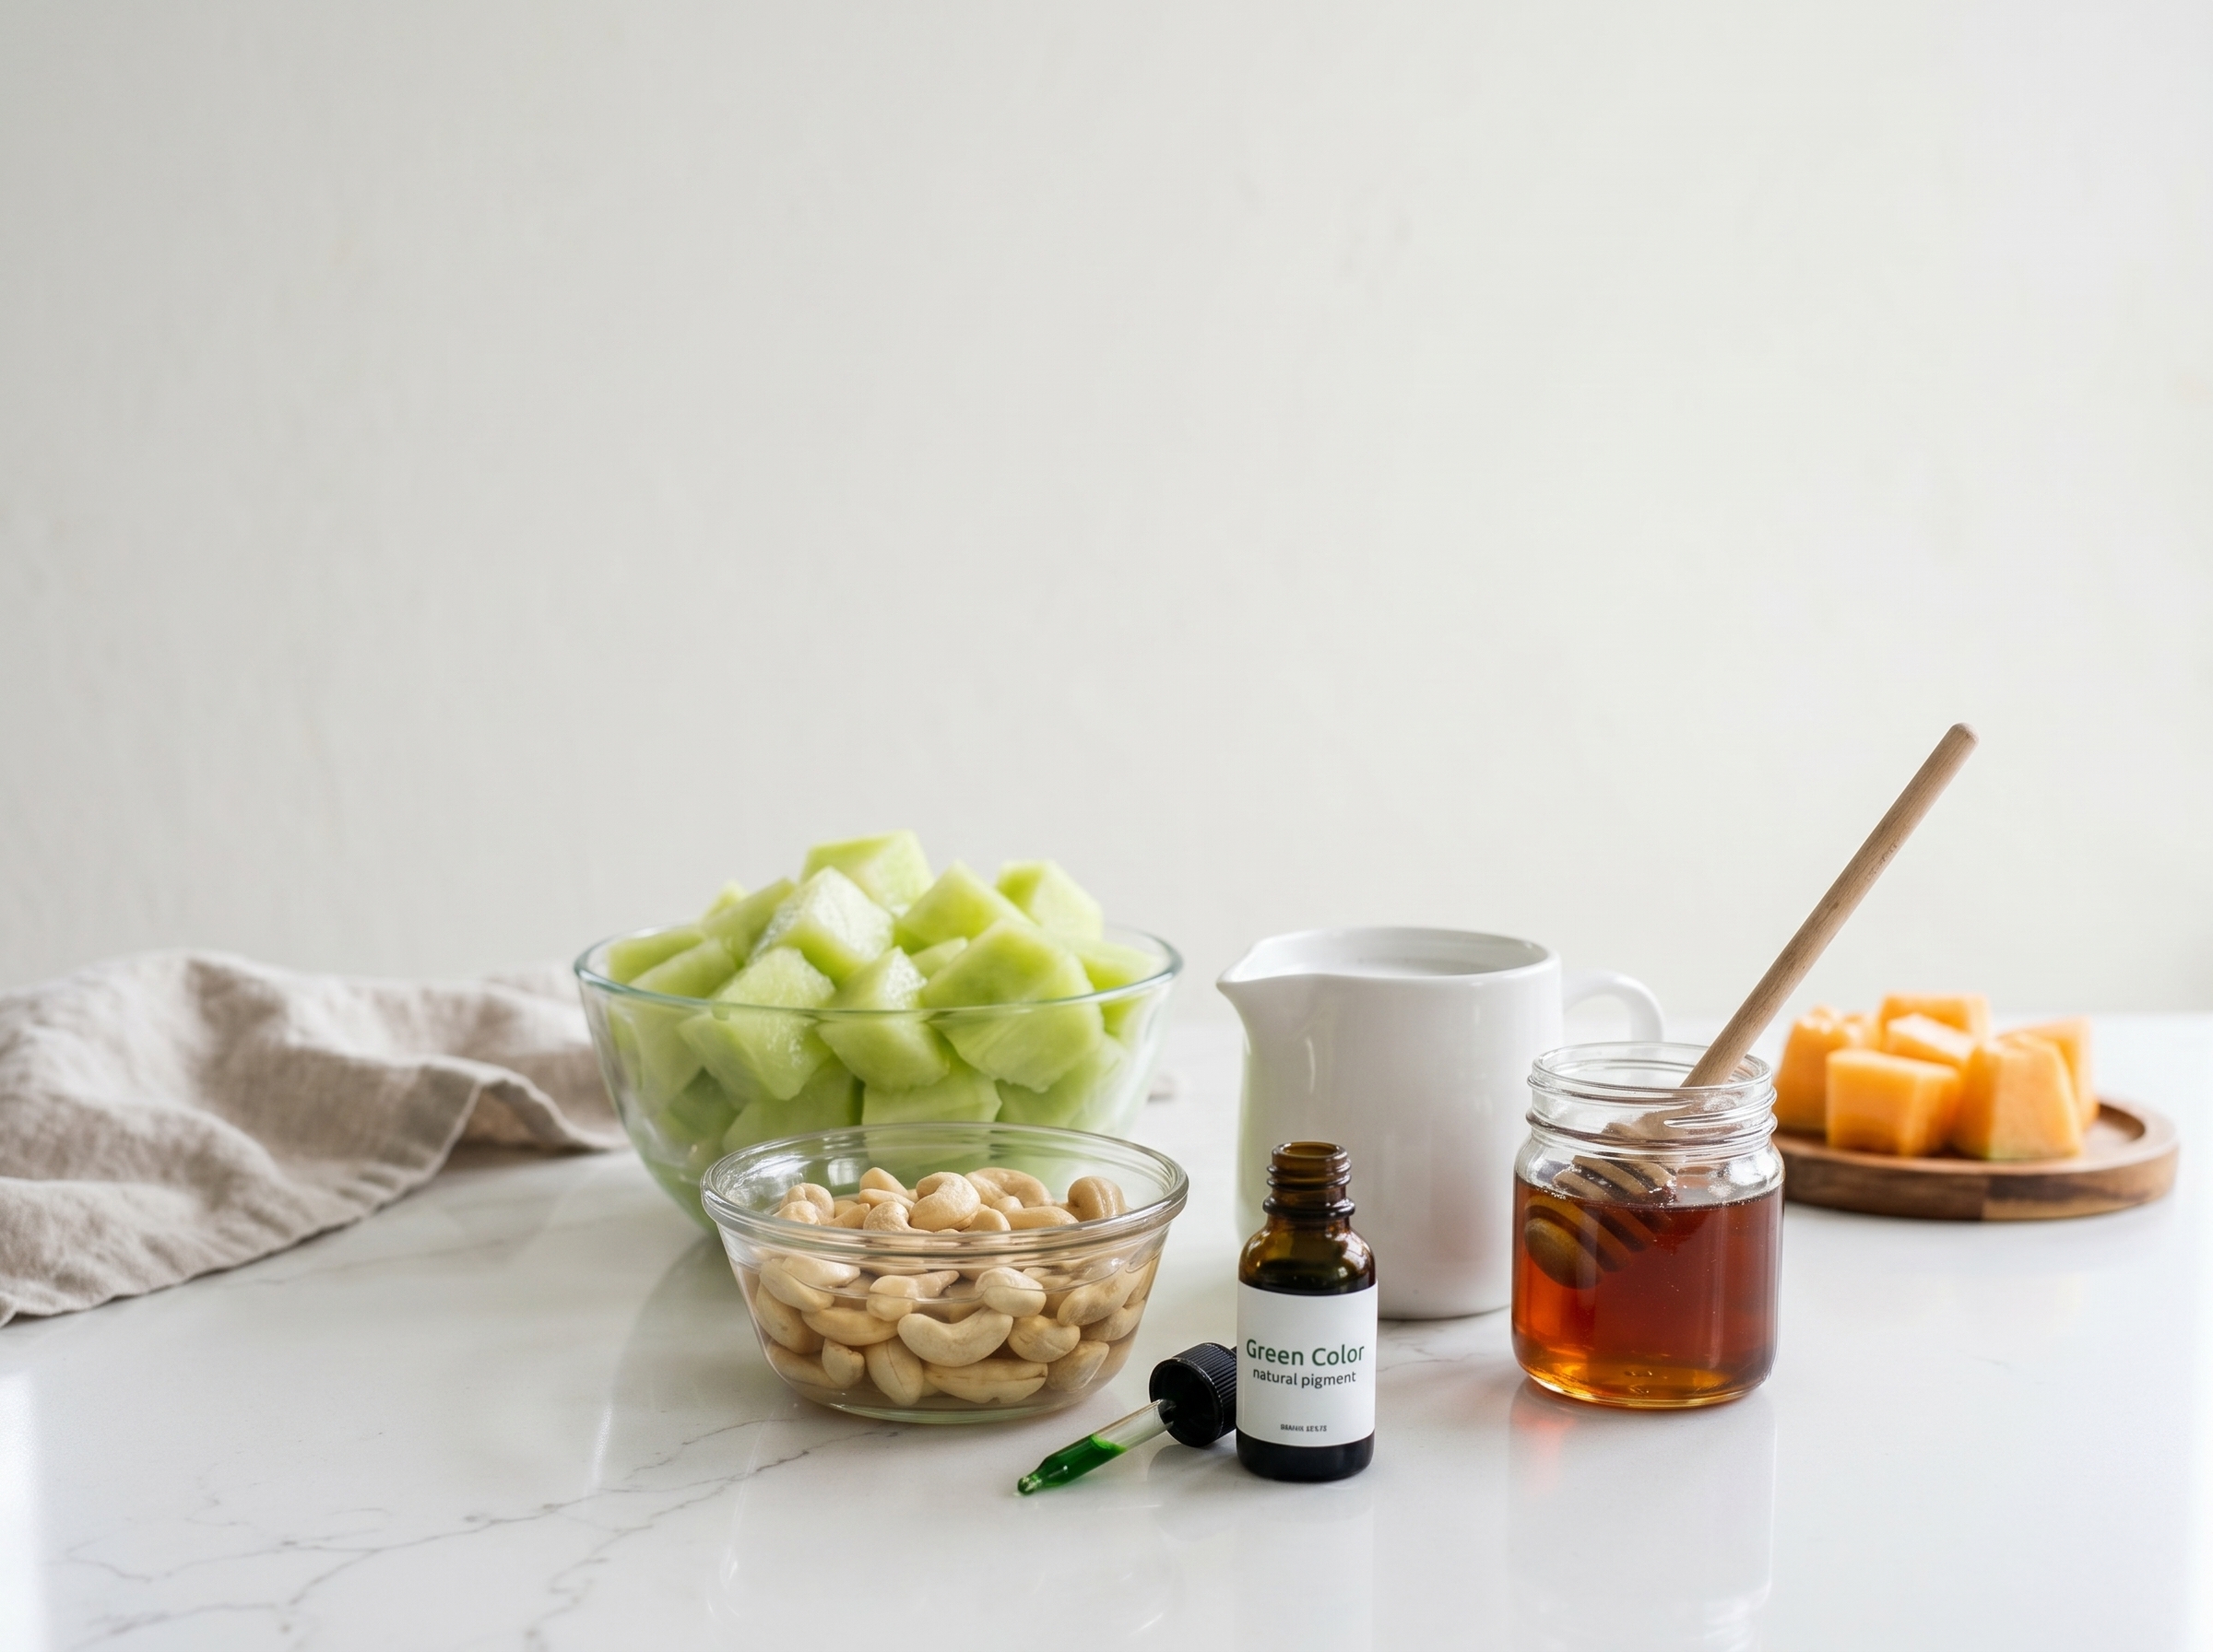
Place raw cashews in a bowl and cover with room-temperature water. Soak at least 3 hours or overnight. Drain and rinse well, then pat lightly dry before blending.
Add drained cashews, 1/4 cup full-fat coconut milk, 1 1/2 cups honeydew, and 3 tablespoons maple syrup to a high-powered blender. Blend until completely smooth and creamy, scraping sides as needed. Taste and add maple syrup if more sweetness is desired.
If desired, add natural green food coloring a few drops at a time and blend until color is even. If the mixture is too thick to pour, add 1 teaspoon of water at a time to reach a pourable custard consistency.
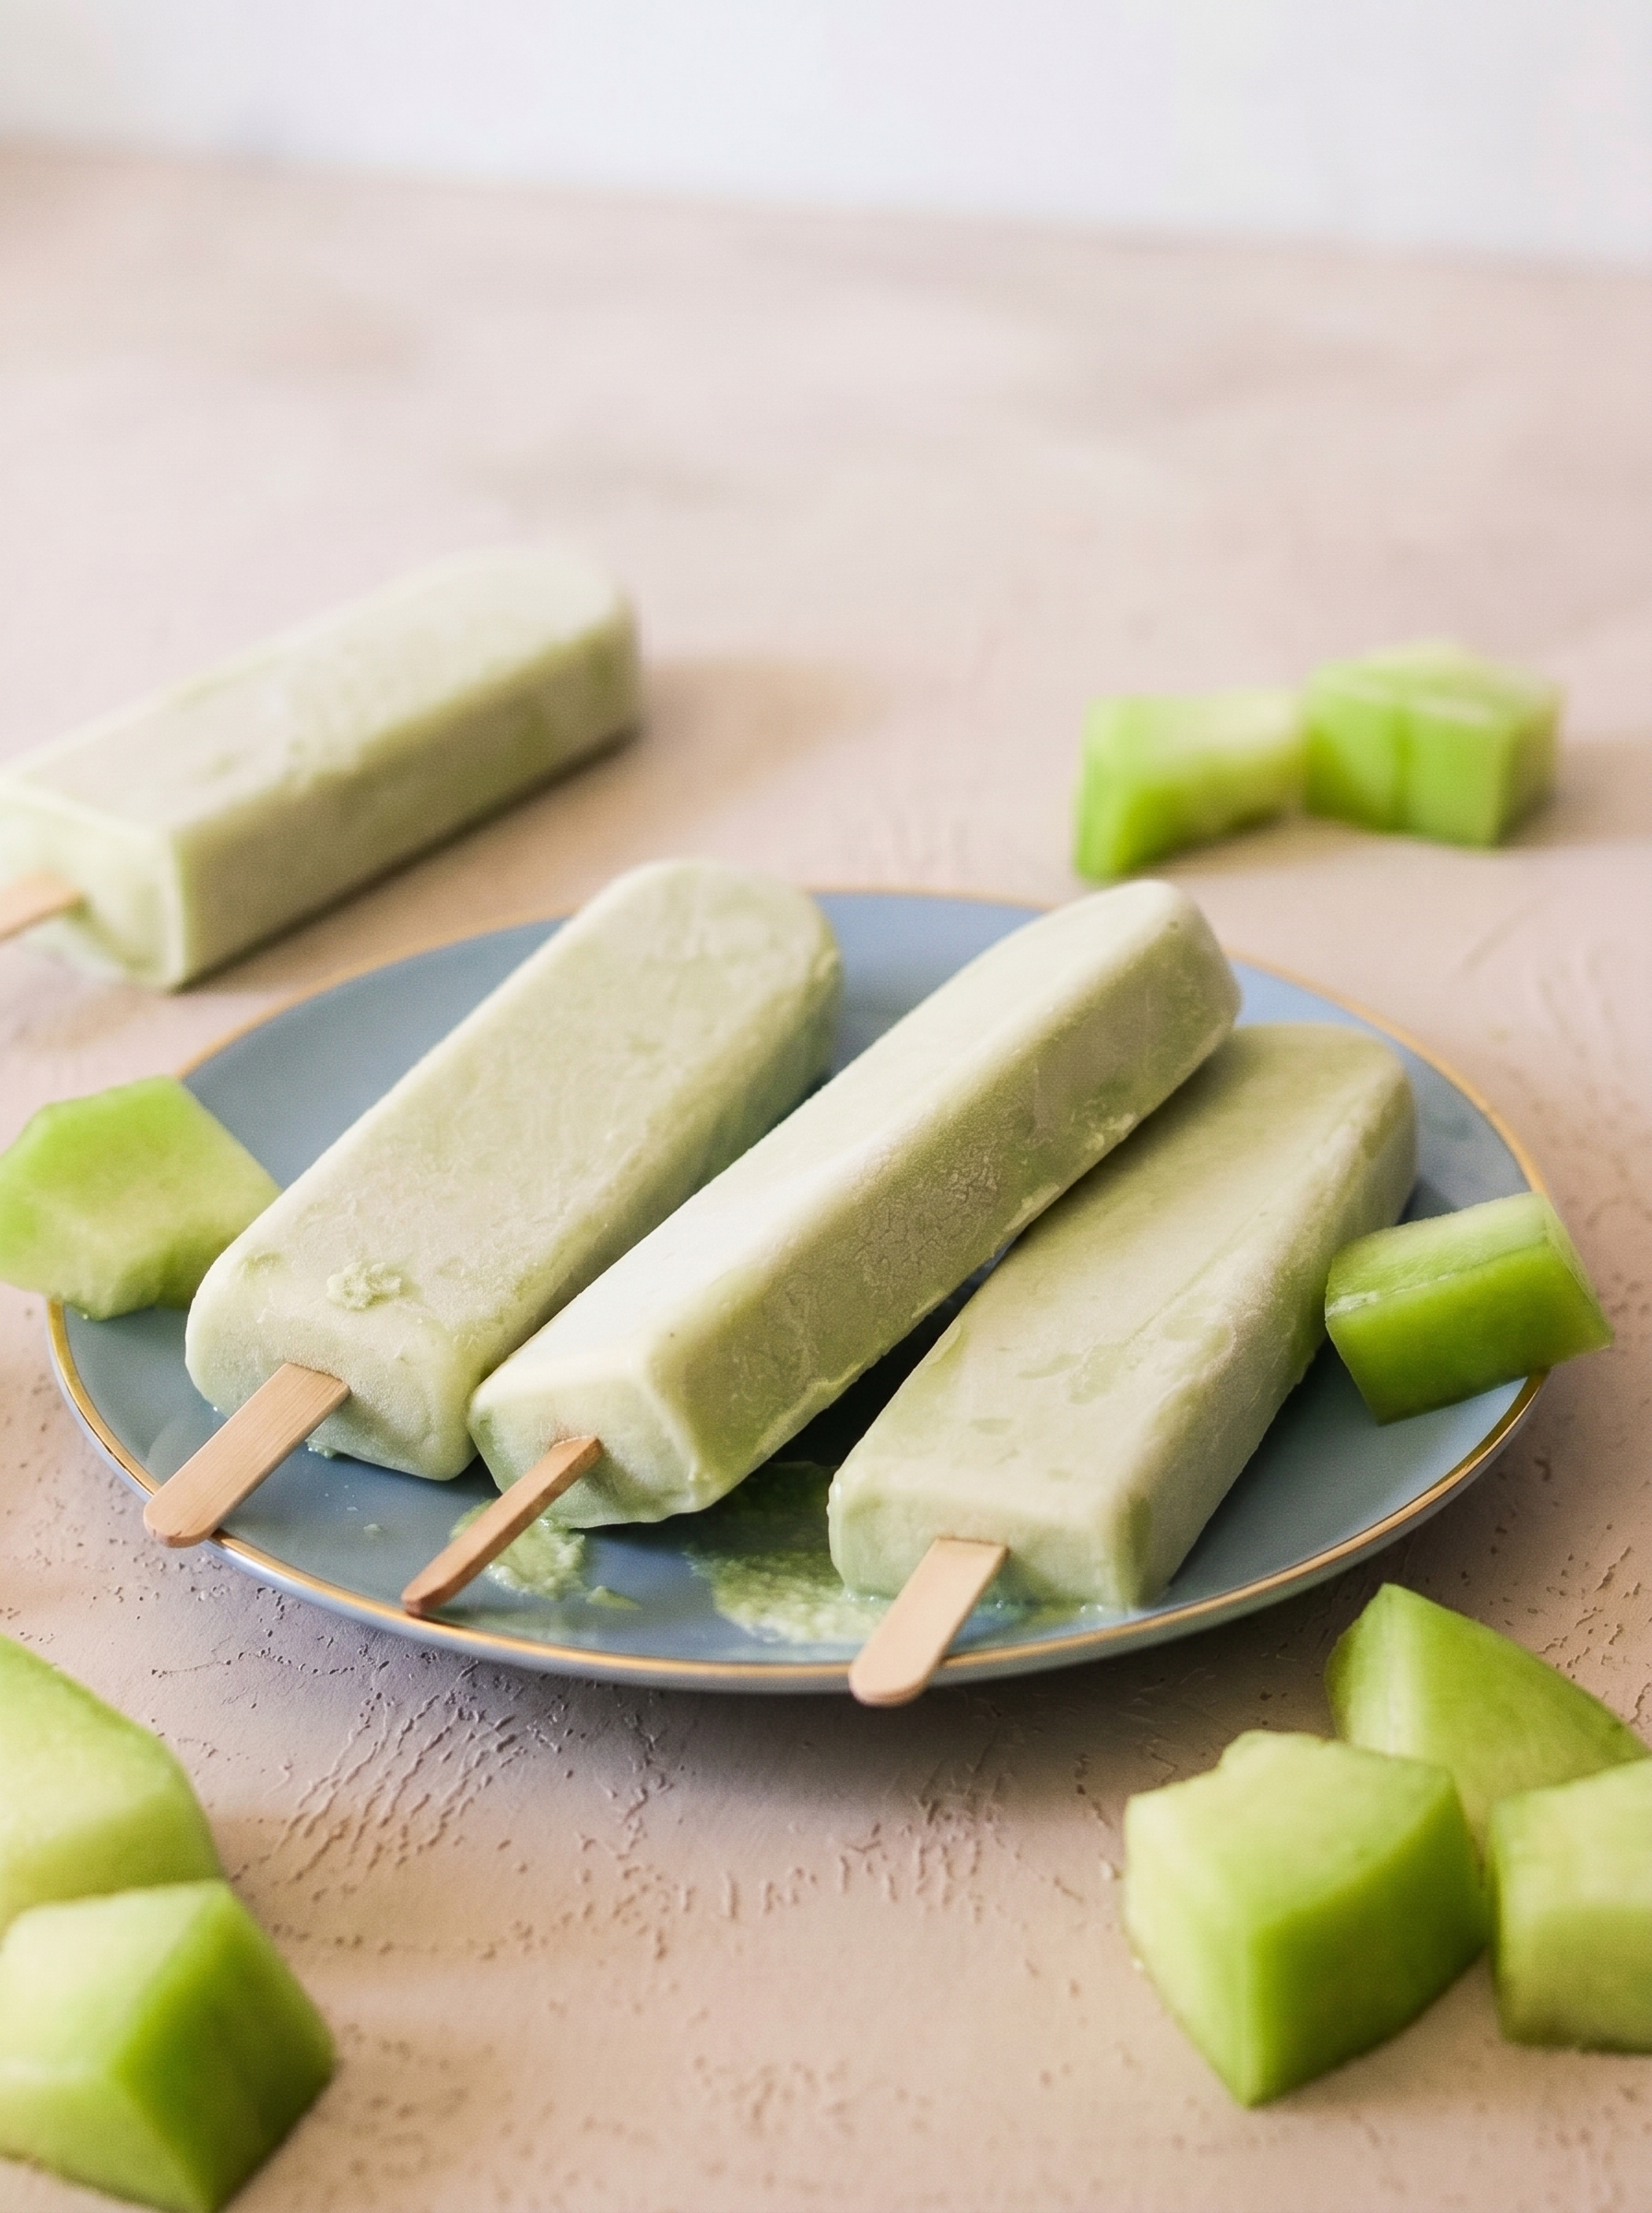
Pour the blended mixture into popsicle molds, leave a small gap for expansion, insert sticks, and place level in the freezer. Freeze for at least 6 hours or overnight until fully solid.
To unmold, run warm water briefly over the mold exterior for 10–20 seconds and gently pull each stick. Serve immediately or wrap bars individually for storage.
Last Step: Please leave a rating and comment letting us know how you liked this recipe! This helps our business to thrive and continue providing free, high-quality recipes for you.
Leave a comment & rating below or tag
@royalrecipe on social media!

Easy homemade thin-crust three-cheese spicy chicken and jalapeño pie — a flavor-packed pizza with a satisfying kick, perfect for pizza night or game day.

A bright, creamy BLT pasta salad tossed with basil pesto, fresh greens, cherry tomatoes, and crisp bacon—perfect for warm-weather gatherings and meal prep.

Tender sautéed shrimp tossed with spaghetti and a creamy sweet-spicy bang bang sauce—ready in under 30 minutes for a weeknight favorite.
Leave a comment & rating below or tag @royalrecipe on social media!
Enjoyed this recipe? Share it with friends and family, and don't forget to leave a review!
This recipe looks amazing! Can't wait to try it.
Comments are stored locally in your browser. Server comments are displayed alongside your local comments.
Join to receive our email series which contains a round-up of some of our quick and easy family favorite recipes.
