>>
30-MINUTE MEALS! Get the email series now →


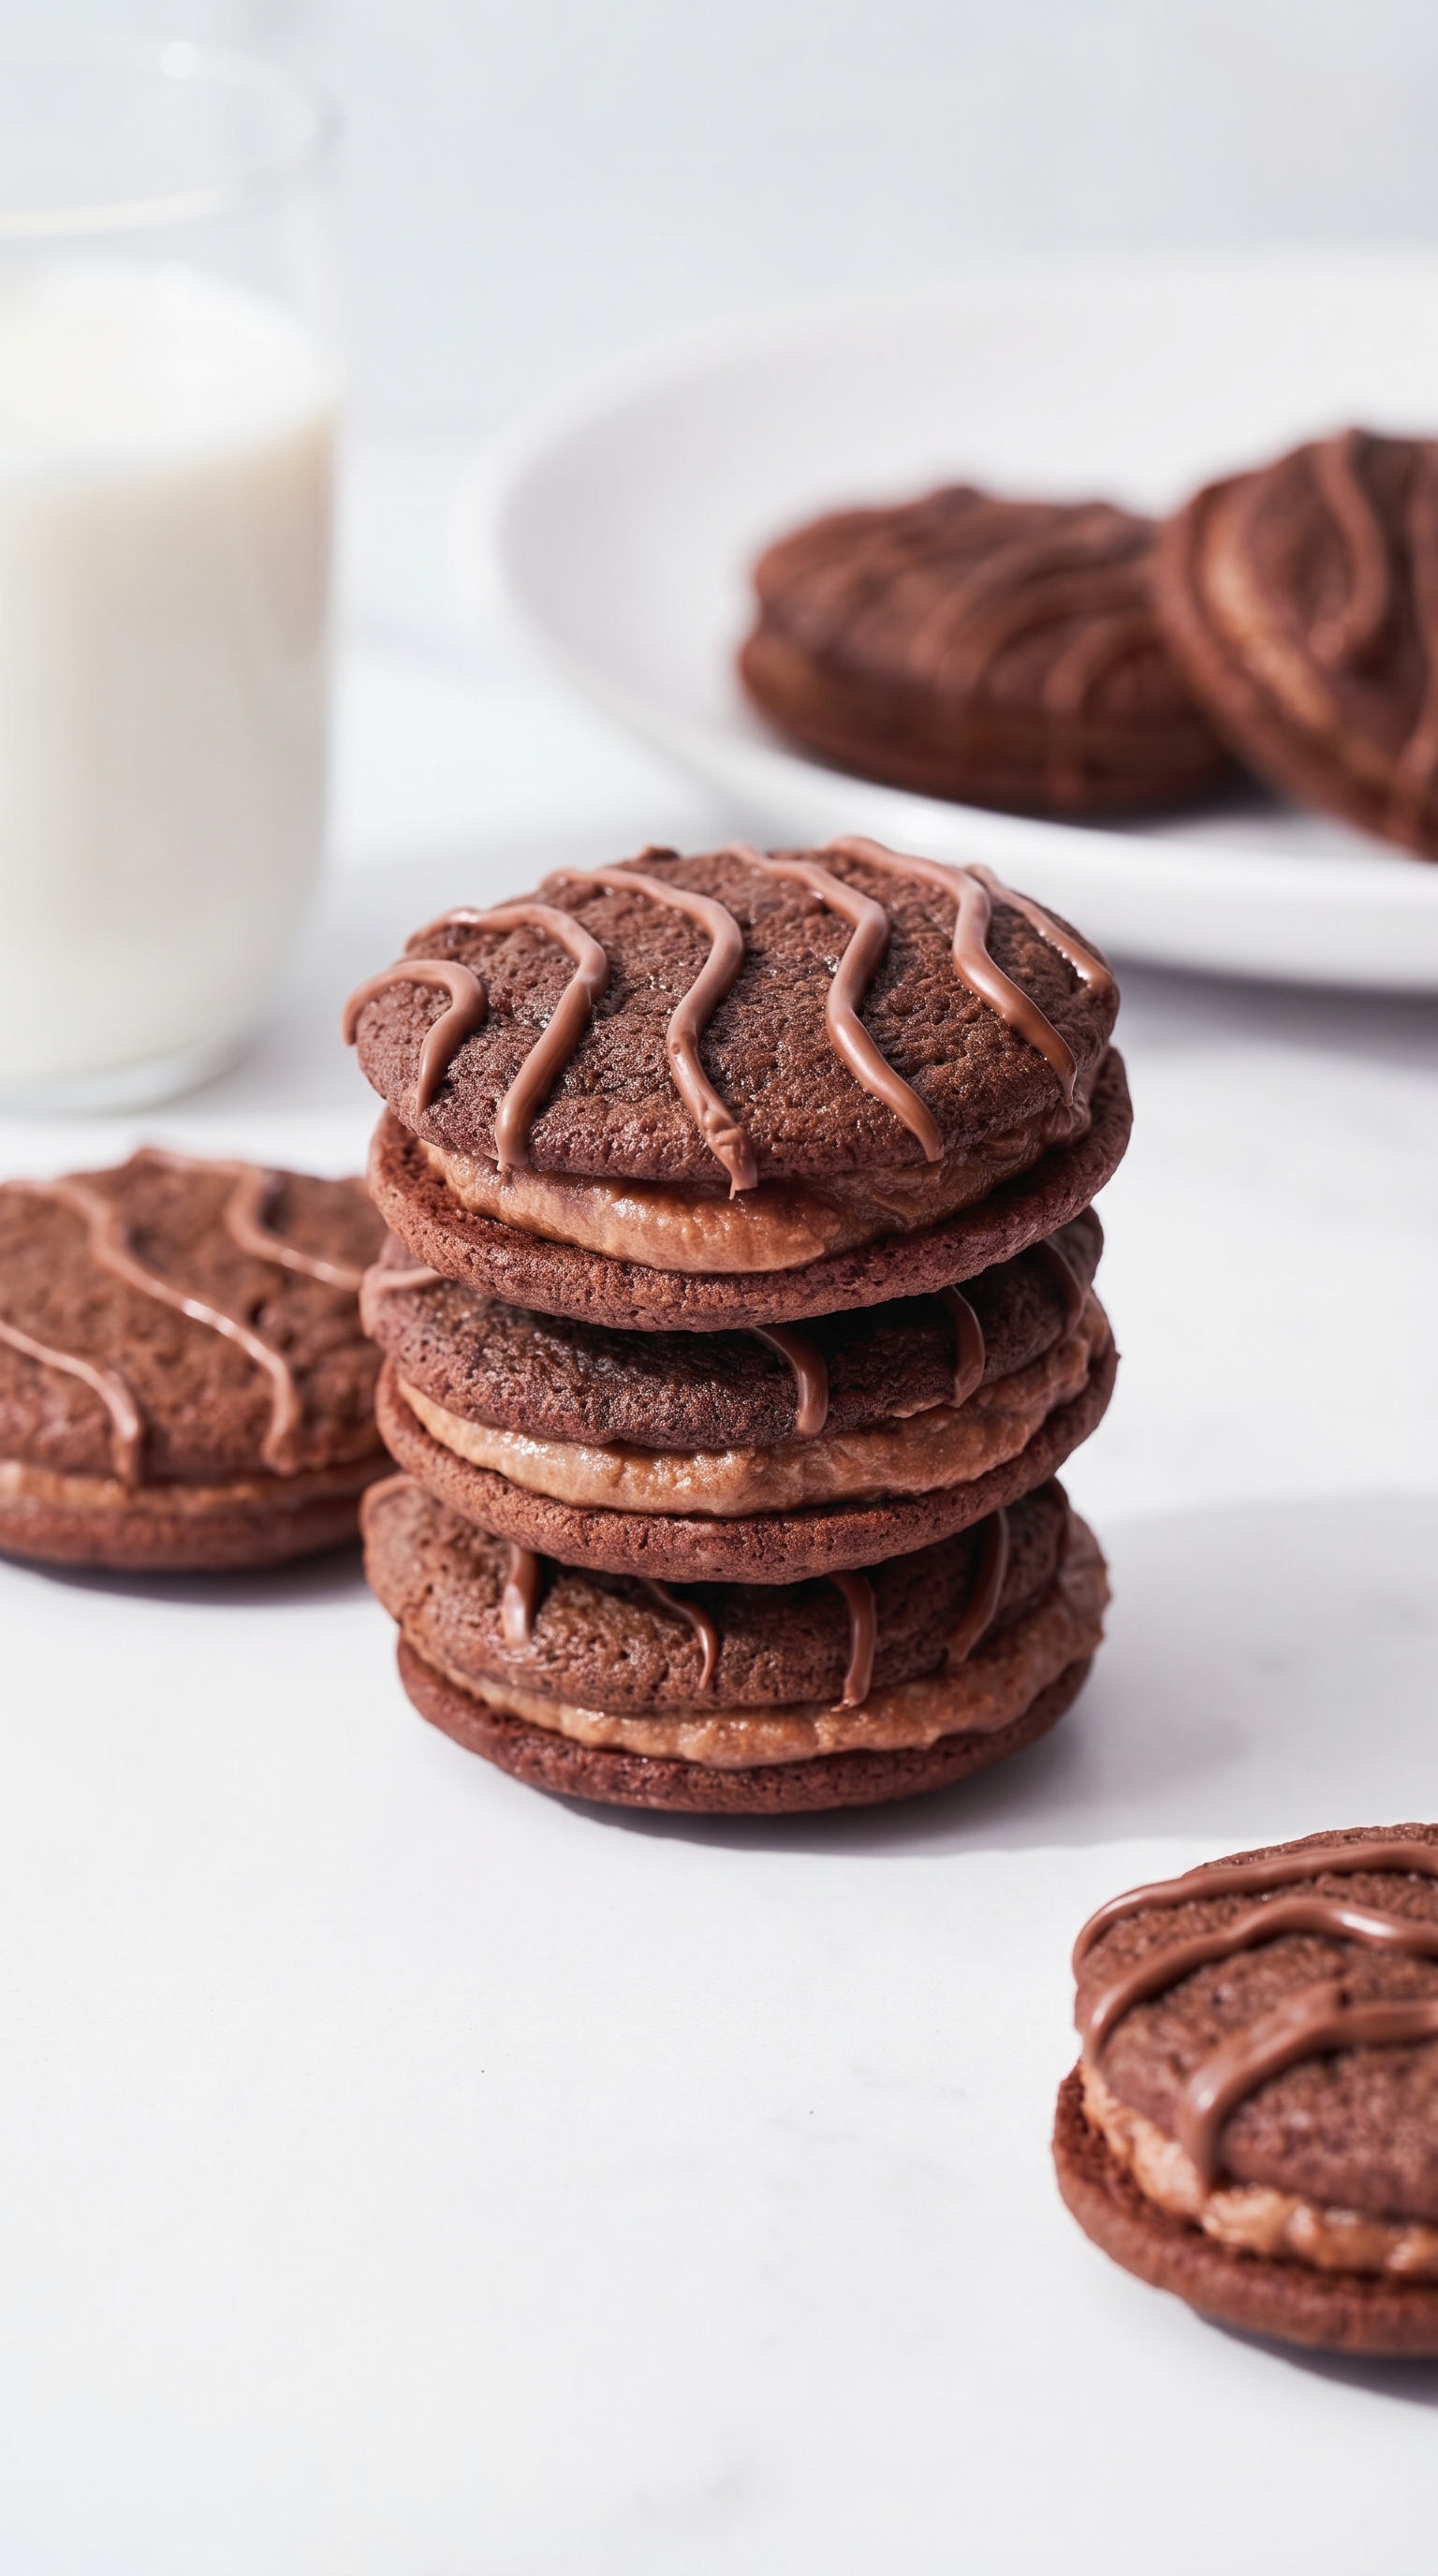
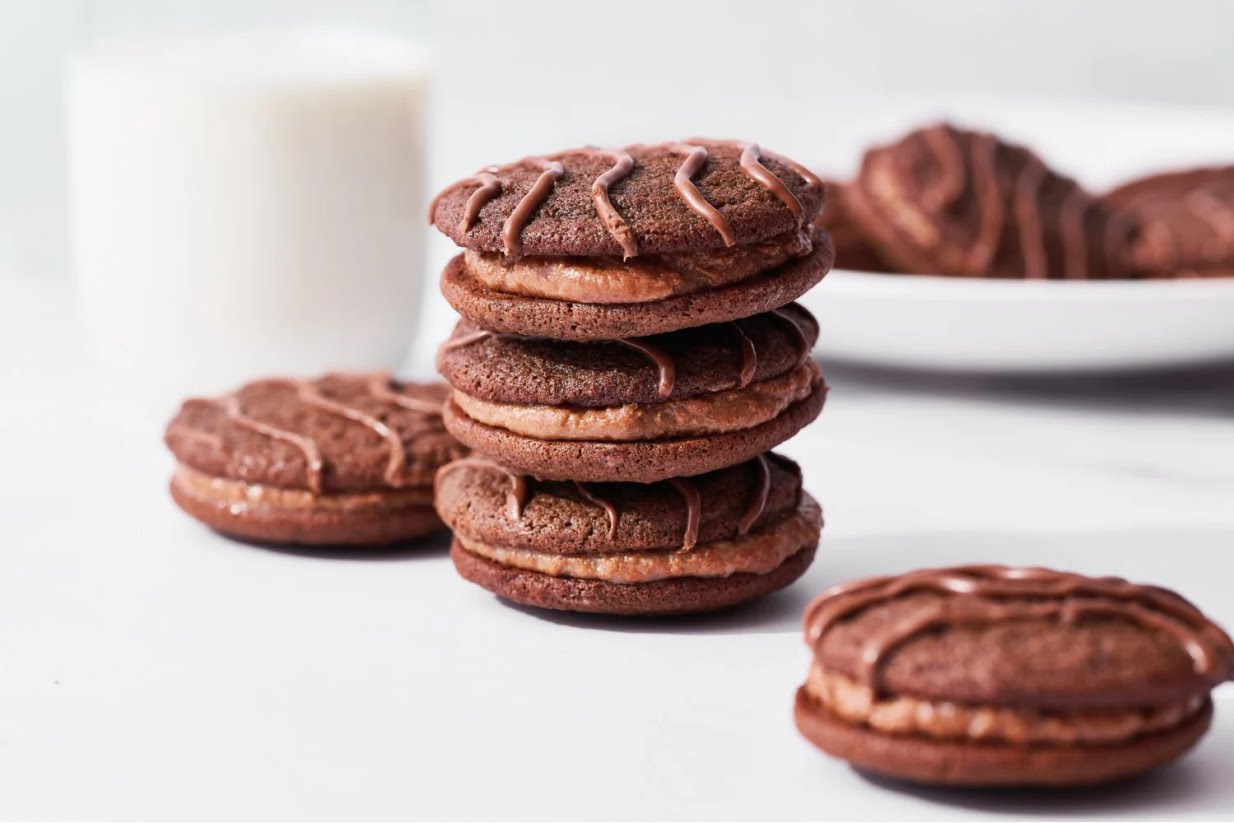
Chewy, fudgy, and nostalgic sandwich cookies — homemade Fudge Rounds that taste even better than the packaged originals.
I remember the first time my partner took a bite and closed their eyes — they said it tasted like a childhood memory upgraded. Friends who grew up on the original packaged cookies insisted these were even better: more chocolate depth, less waxy sweetness, and a softer chew that felt indulgent yet homemade. Over holiday seasons these vanish first from the cookie plate, which tells me they’re doing their job as both comforting and slightly addictive treats.
My favorite part is watching the chocolate set and then biting into the tender, fudgy center that yields just enough resistance before giving way. Friends often ask for the recipe because the texture hits a nostalgic note: chewy, bendy, and soft without being greasy. I have swapped chocolates and extracts over the years and each variation brings a new memory; these rounds are flexible and forgiving, rewarding small tweaks with big flavor returns.
Store unassembled cookies in a single layer at room temperature for up to 24 hours to maintain chewiness, then assemble before serving for the best texture. For longer keeping, refrigerate assembled rounds in an airtight container for up to 5 days; place parchment between layers to prevent sticking. To freeze, flash-freeze the cookie halves on a tray for an hour, then transfer to a freezer bag; freeze assembled sandwiches up to 1 month. Reheat briefly at room temperature or in the fridge; avoid microwaving for long periods which can make them greasy.
If you don’t have light corn syrup, use the same amount of golden syrup as a substitute — it keeps texture similarly chewy. For a dairy-free version, substitute vegan butter and choose dairy-free chocolate chips; note that flavor and texture will be slightly different. You can swap milk chocolate chips for semi-sweet if you prefer less sweetness, and a tablespoon of espresso powder dissolved in the warm water will intensify chocolate flavor without making the cookies taste like coffee.
Serve chilled for a fudgier bite or at room temperature for a softer mouthfeel. Present them on a simple platter with a dusting of cocoa or powdered sugar for a café-style look. They pair beautifully with a glass of cold milk, espresso, or a scoop of vanilla ice cream for dessert. For parties, stack them on a tiered tray with labels describing chocolate type or any nut additions to help guests choose.
In winter, swap vanilla for a teaspoon of peppermint extract and dip half the rounds in melted dark chocolate for a festive treat. For autumn, add 1/2 teaspoon ground cinnamon and replace half the powdered sugar in the filling with maple sugar for a warm, spiced variation. Summer lends itself to fresh berries alongside the plate or using orange zest in the filling for bright citrus notes that cut through the richness.
Bake the cookie halves up to two days ahead and store layered between parchment in the refrigerator. Make the filling the day you plan to assemble for the freshest texture; if you must make it ahead, keep it chilled and re-whip briefly before piping. For gifting, assemble and chill completely, then wrap individual sandwiches in parchment and pack into a decorated box. They travel well and hold up for several hours at cool room temperature.
I often make a double batch for holiday cookie exchanges; at our last event someone told me these tasted like a grown-up version of their childhood favorite. A neighbor with a strict sweet tooth swapped these for store-bought and said mine were better because they tasted 'real' and chocolate-forward. Parents report them as a hit with kids who usually prefer store-bought treats because these are chewy and familiar, yet more flavorful.
These Homemade Fudge Rounds are the kind of recipe that becomes a staple: quick enough for a weekday baking urge, nostalgic enough for holiday traditions, and forgiving enough for tweaks. Bake a batch, stash a few in the freezer, and share them — they’ll disappear fast and leave everyone asking for the recipe.
Use cool room temperature butter (not melted) to control spread and ensure tender crumb.
Sift cocoa and powdered sugar to avoid lumps in the filling and for a smooth texture.
Chill briefly after drizzling chocolate to set it cleanly before assembling the sandwiches.
Use a spring-loaded scoop for even cookie sizes so assembly is uniform and baking is consistent.
Warm the water for the filling to about 100°F to help the filling become silky and pipeable.
This nourishing homemade fudge rounds recipe is sure to be a staple in your kitchen. Enjoy every moist, high protein slice — it is perfect for breakfast or as a wholesome snack any time.
Yes. Assemble, then freeze wrapped tightly for up to 1 month. Thaw in the refrigerator before serving.
Use golden syrup in the same amount as a corn syrup substitute. The texture will be very similar.
This Homemade Fudge Rounds recipe makes perfectly juicy, tender, and flavorful steak every time! Serve with potatoes and a side salad for an unforgettable dinner in under 30 minutes.
Preheat oven to 350°F and line two baking sheets with parchment paper to prevent sticking and promote even baking.
Beat butter and sugar on medium-high until light and fluffy, about 2 to 3 minutes, scraping the bowl to ensure even creaming.
Beat in the egg, corn syrup, and vanilla until smooth, then scrape down the bowl to keep the mixture uniform.
Whisk flour, cocoa, cornstarch, baking soda, and salt. Add to the wet mix on low and beat until combined; the dough will be soft and slightly sticky.
Drop 1 1/2-tablespoon scoops of dough on sheets and bake 8 to 9 minutes until slightly puffed and edges set. Cool on racks; cookies will flatten as they cool.
Melt milk chocolate chips with vegetable oil and drizzle or pipe over cookies, then refrigerate until the chocolate sets, at least 30 minutes.
Beat butter, add sifted cocoa and powdered sugar, then mix in warm water and vanilla until light and pipeable. Pipe onto flat cookie halves and sandwich.
Serve immediately or store assembled rounds in an airtight container at room temperature for 1 day, refrigerated up to 5 days, or frozen up to 1 month.
Last Step: Please leave a rating and comment letting us know how you liked this recipe! This helps our business to thrive and continue providing free, high-quality recipes for you.
Leave a comment & rating below or tag
@royalrecipe on social media!

Easy homemade thin-crust three-cheese spicy chicken and jalapeño pie — a flavor-packed pizza with a satisfying kick, perfect for pizza night or game day.

A bright, creamy BLT pasta salad tossed with basil pesto, fresh greens, cherry tomatoes, and crisp bacon—perfect for warm-weather gatherings and meal prep.

Tender sautéed shrimp tossed with spaghetti and a creamy sweet-spicy bang bang sauce—ready in under 30 minutes for a weeknight favorite.
Leave a comment & rating below or tag @royalrecipe on social media!
Enjoyed this recipe? Share it with friends and family, and don't forget to leave a review!
This recipe looks amazing! Can't wait to try it.
Comments are stored locally in your browser. Server comments are displayed alongside your local comments.
Join to receive our email series which contains a round-up of some of our quick and easy family favorite recipes.
