>>
30-MINUTE MEALS! Get the email series now →


Thin, crispy baked potato chips made with just potatoes, a touch of olive oil and salt — a simple, healthy snack that beats store-bought chips every time.
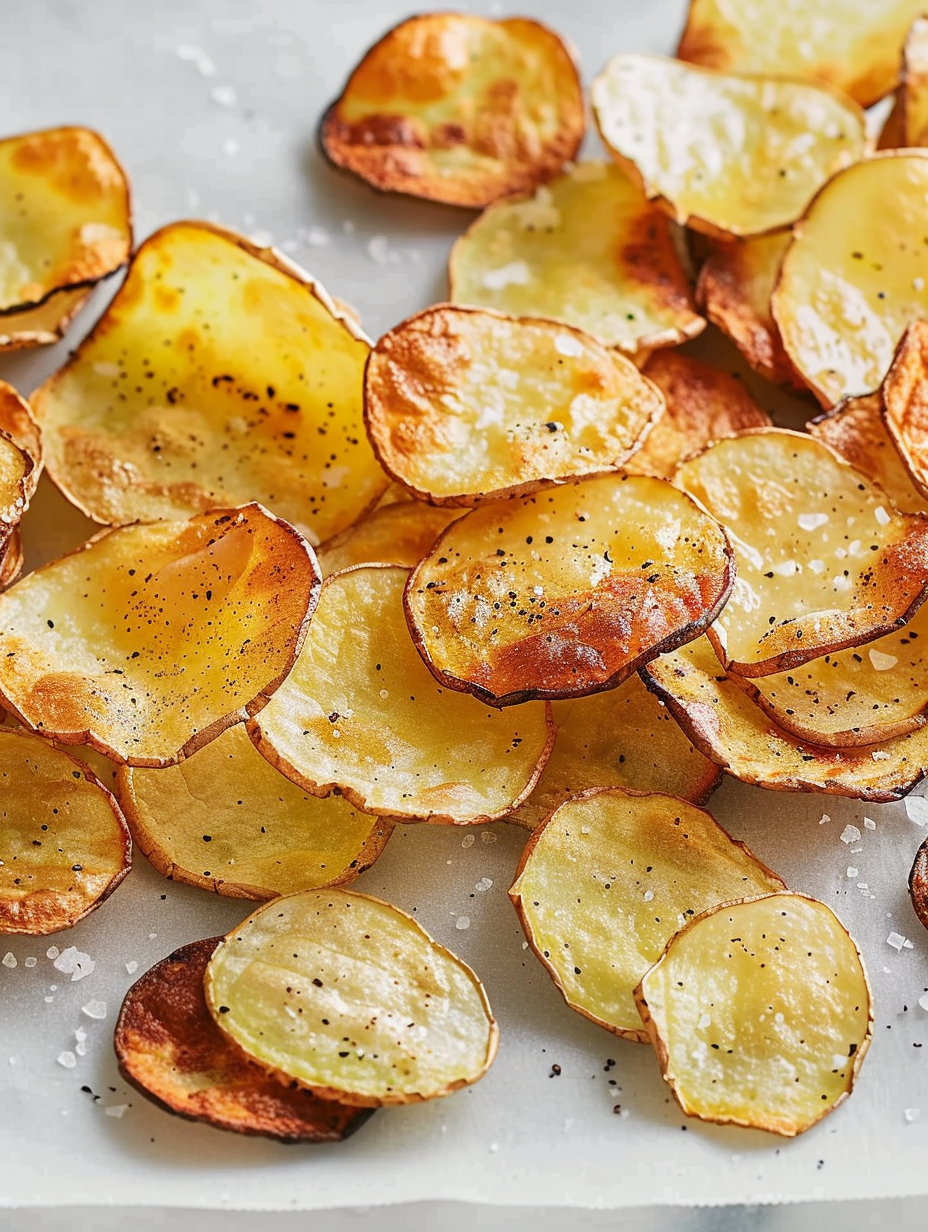
This simple, healthy snack has been my go-to when I want something crunchy, salty, and truly homemade. I discovered this technique on an afternoon when I had a basket of slightly wrinkled gold potatoes and a craving for something crisp but not fried. Slicing the potatoes paper-thin, tossing them in a little olive oil and a pinch of Himalayan salt, then baking until golden created chips with a satisfying snap and a clean potato flavor. From the first batch, I knew I could never go back to the plastic-bag crunch — these have brightness, texture, and the control to season exactly how you like.
What makes these special is how little fuss is required for such a rewarding result. The slices bake quickly at 400 F and are easiest when you use a mandoline or a very sharp knife. The texture is delicate yet sturdy enough to use with dips, and the thinness keeps them light. I often make a double batch when friends are coming over because they disappear within minutes. These chips pair nicely with a cooling dip on hot days and have become a staple for casual gatherings and a late-night snack when I want something homemade and wholesome.
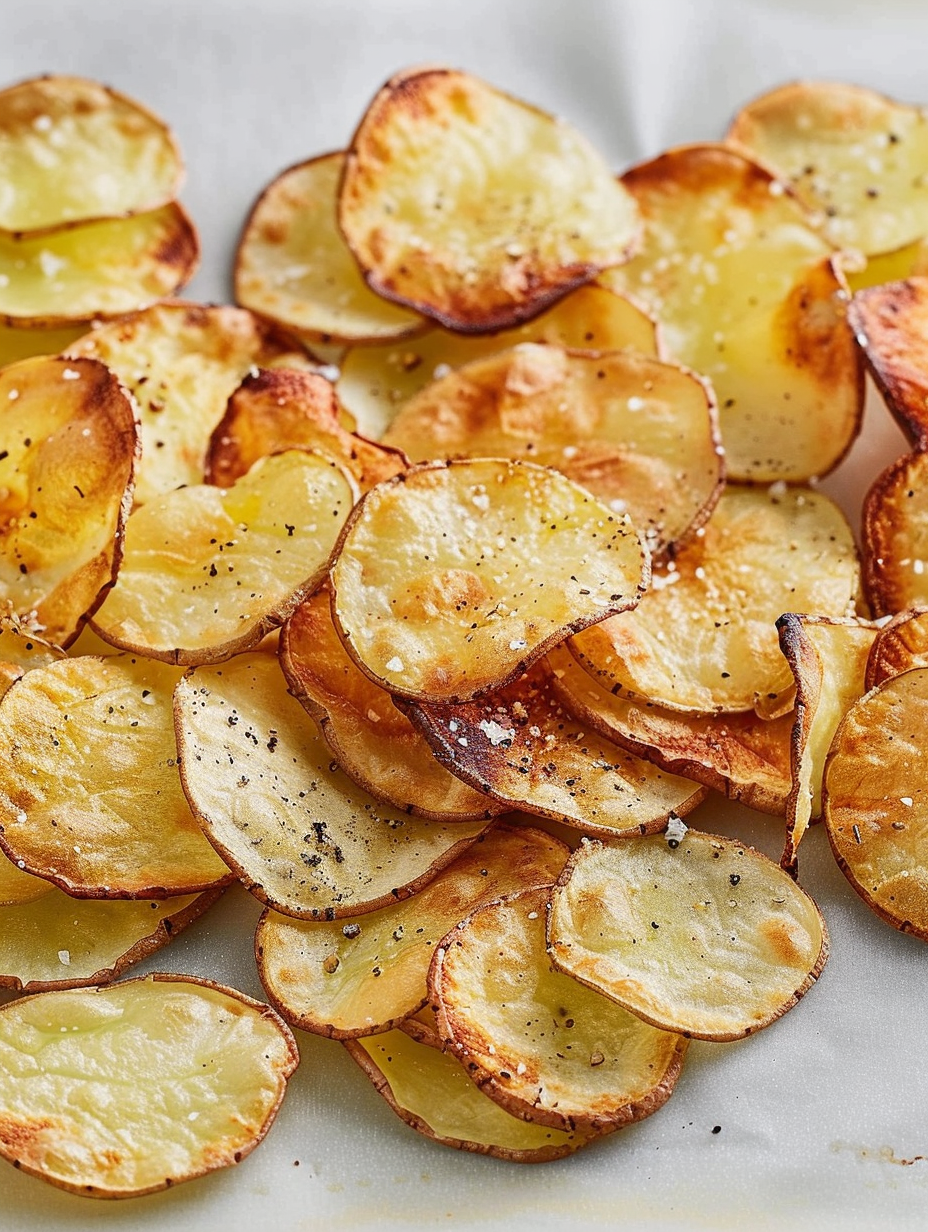
I remember making these for a small book club meeting; everyone was surprised they were baked rather than fried. The rosemary-salt variation was the runaway favorite, and someone asked for the recipe on the spot. Over time I’ve learned small tricks — patting the slices bone-dry, spacing them so they don’t touch, and pulling early when the edges turn golden — that make every batch consistent.
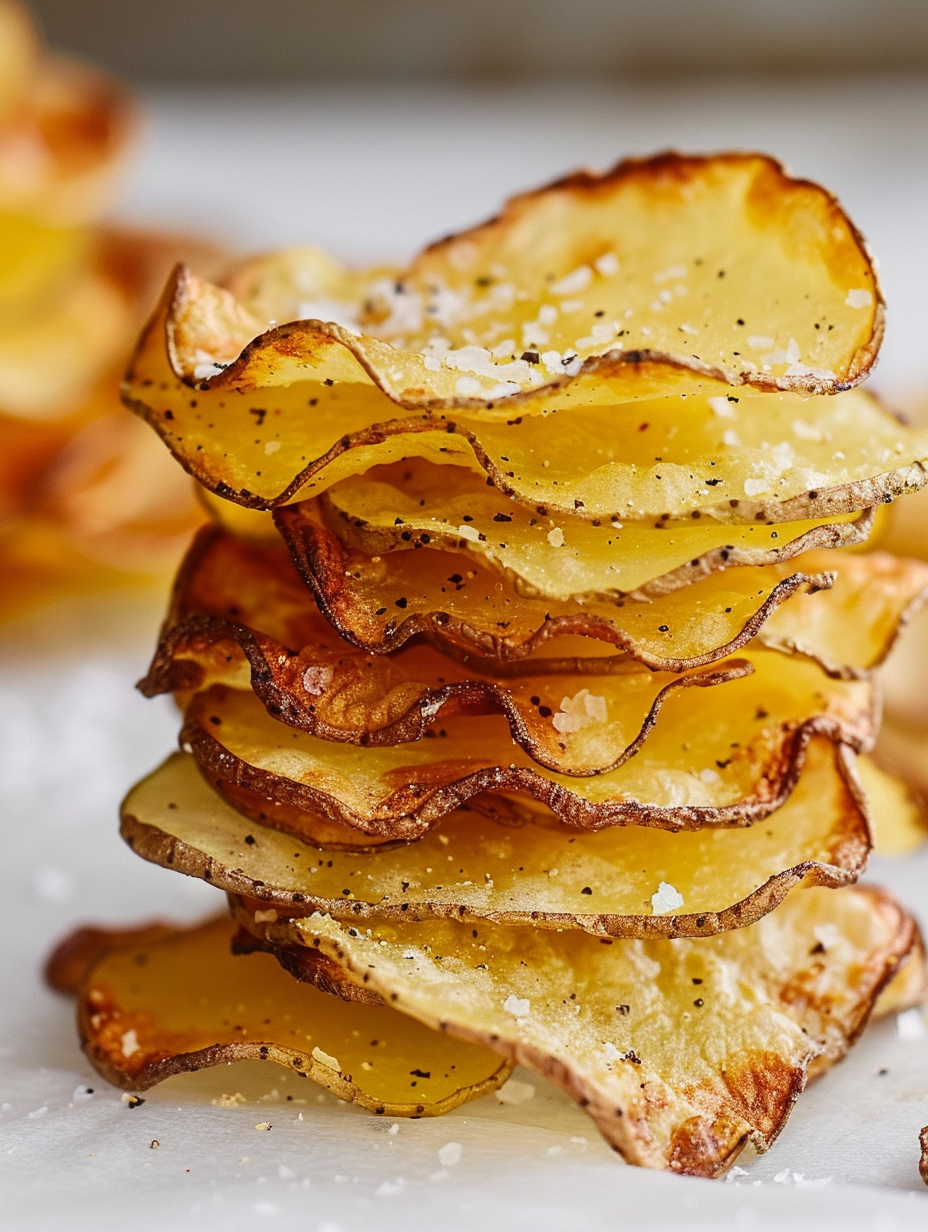
What I love most is the tactile satisfaction of stacking these homemade chips and watching them disappear at gatherings. Friends often comment on how fresh they taste compared to store-bought options, and the freedom to add unexpected spices — like a pinch of smoked paprika or a dusting of fine rosemary — makes them feel gourmet without extra effort.
For optimal crunch, allow chips to cool completely before storing. Transfer to an airtight container or a glass jar with a tight lid and store at room temperature away from humidity; they keep best for 1 to 2 days. If you must keep them longer, layering with paper towels helps absorb residual moisture, but refrigeration is not recommended — the cold will introduce condensation and soften the chips. To re-crisp slightly stale chips, spread on a baking sheet and warm in a 300 F oven for 3–5 minutes, watching carefully so they don’t brown further.
If you don’t have gold potatoes, russets or red potatoes make fine alternatives — russets yield a slightly fluffier interior with a crisp edge, while waxy reds will hold shape and have a creamier mouthfeel. Swap olive oil for avocado oil if you prefer a neutral flavor; use the same volume. For a lower-sodium option, use a pinch of flaky sea salt or a salt-free herb blend. If you want an ultra-light version, use a cooking spray to lightly mist each side instead of tossing in oil, though you may sacrifice a bit of flavor and browning.
Serve these chips with a variety of dips: a classic herbed yogurt dip (for non-vegan guests), hummus, or a tangy avocado-lime dip pairs wonderfully. For an appetizer, arrange on a platter with a bowl of garlic aioli and a sprinkle of fresh parsley. They also make an excellent crunchy topping for salads or soups — crumble a few chips over tomato soup for contrast. Garnish with lemon zest or chopped fresh rosemary for an elevated presentation.
Thinly sliced and crisped tubers have long been enjoyed in many cultures, but the modern potato chip is most closely associated with American snack food history from the 19th century. Making them at home reconnects that tradition with simple, wholesome ingredients. Baked variations reflect contemporary dietary shifts toward lighter, less-oily preparations while preserving the communal joy of sharing a crunchy snack.
In summer, add a dusting of lemon zest and sea salt for brightness. During autumn, try a pinch of smoked paprika and a little ground cinnamon for a warm, smoky profile. For holiday gatherings, a rosemary and cracked black pepper mix feels festive. You can also incorporate finely grated Parmesan or nutritional yeast after baking for a savory finish (nutritional yeast keeps it vegan).
Make a batch ahead and store at room temperature in an airtight container for up to 48 hours. For parties, bake several sheets in succession and let each cool fully before stacking into containers to preserve texture. Pre-slice potatoes and store them submerged in cold water for up to 24 hours in the fridge if you want to spread the work across a day — just pat slices dry thoroughly before baking to avoid sogginess.
These baked chips are proof that simple techniques and a few thoughtful steps yield a snack that’s both comforting and refined. Try different seasonings, keep a mandoline handy, and enjoy the small ritual of homemade crunch.
Pat potato slices completely dry before baking to maximize crispness.
Arrange slices so they do not touch; crowding causes steaming and soft chips.
Remove chips from the oven as soon as edges begin to brown; they will crisp up as they cool.
Use a mandoline for consistent thickness; aim for about 1/16 inch slices.
Store fully cooled chips in an airtight container at room temperature for up to 48 hours.
This nourishing homemade baked potato chips recipe is sure to be a staple in your kitchen. Enjoy every moist, high protein slice — it is perfect for breakfast or as a wholesome snack any time.
This Homemade Baked Potato Chips recipe makes perfectly juicy, tender, and flavorful steak every time! Serve with potatoes and a side salad for an unforgettable dinner in under 30 minutes.
Preheat the oven to 400 F and line a baking sheet with parchment paper or a silicone mat. Ensure the oven reaches full temperature before baking.
Using a mandoline set to 1/16 inch or a sharp knife, slice potatoes evenly. Pat slices dry on a towel to remove surface moisture for better crisping.
Toss the dry slices with 2 teaspoons of olive oil and a light pinch of salt in a bowl, or brush both sides lightly while on the sheet to save washing up.
Lay slices in a single layer without touching. Bake on the center rack for 10 minutes until edges begin to brown.
Flip each chip and bake another 7–9 minutes, watching closely to prevent burning. Remove chips as edges turn golden; they will crisp as they cool.
Let chips cool 2–5 minutes on the baking sheet, then season further if desired. Serve immediately or store cooled chips in an airtight container.
Last Step: Please leave a rating and comment letting us know how you liked this recipe! This helps our business to thrive and continue providing free, high-quality recipes for you.
Leave a comment & rating below or tag
@royalrecipe on social media!

Easy homemade thin-crust three-cheese spicy chicken and jalapeño pie — a flavor-packed pizza with a satisfying kick, perfect for pizza night or game day.

A bright, creamy BLT pasta salad tossed with basil pesto, fresh greens, cherry tomatoes, and crisp bacon—perfect for warm-weather gatherings and meal prep.

Tender sautéed shrimp tossed with spaghetti and a creamy sweet-spicy bang bang sauce—ready in under 30 minutes for a weeknight favorite.
Leave a comment & rating below or tag @royalrecipe on social media!
Enjoyed this recipe? Share it with friends and family, and don't forget to leave a review!
This recipe looks amazing! Can't wait to try it.
Comments are stored locally in your browser. Server comments are displayed alongside your local comments.
Join to receive our email series which contains a round-up of some of our quick and easy family favorite recipes.
