
EASY Crustless Custard Pie (Gluten Free Options)
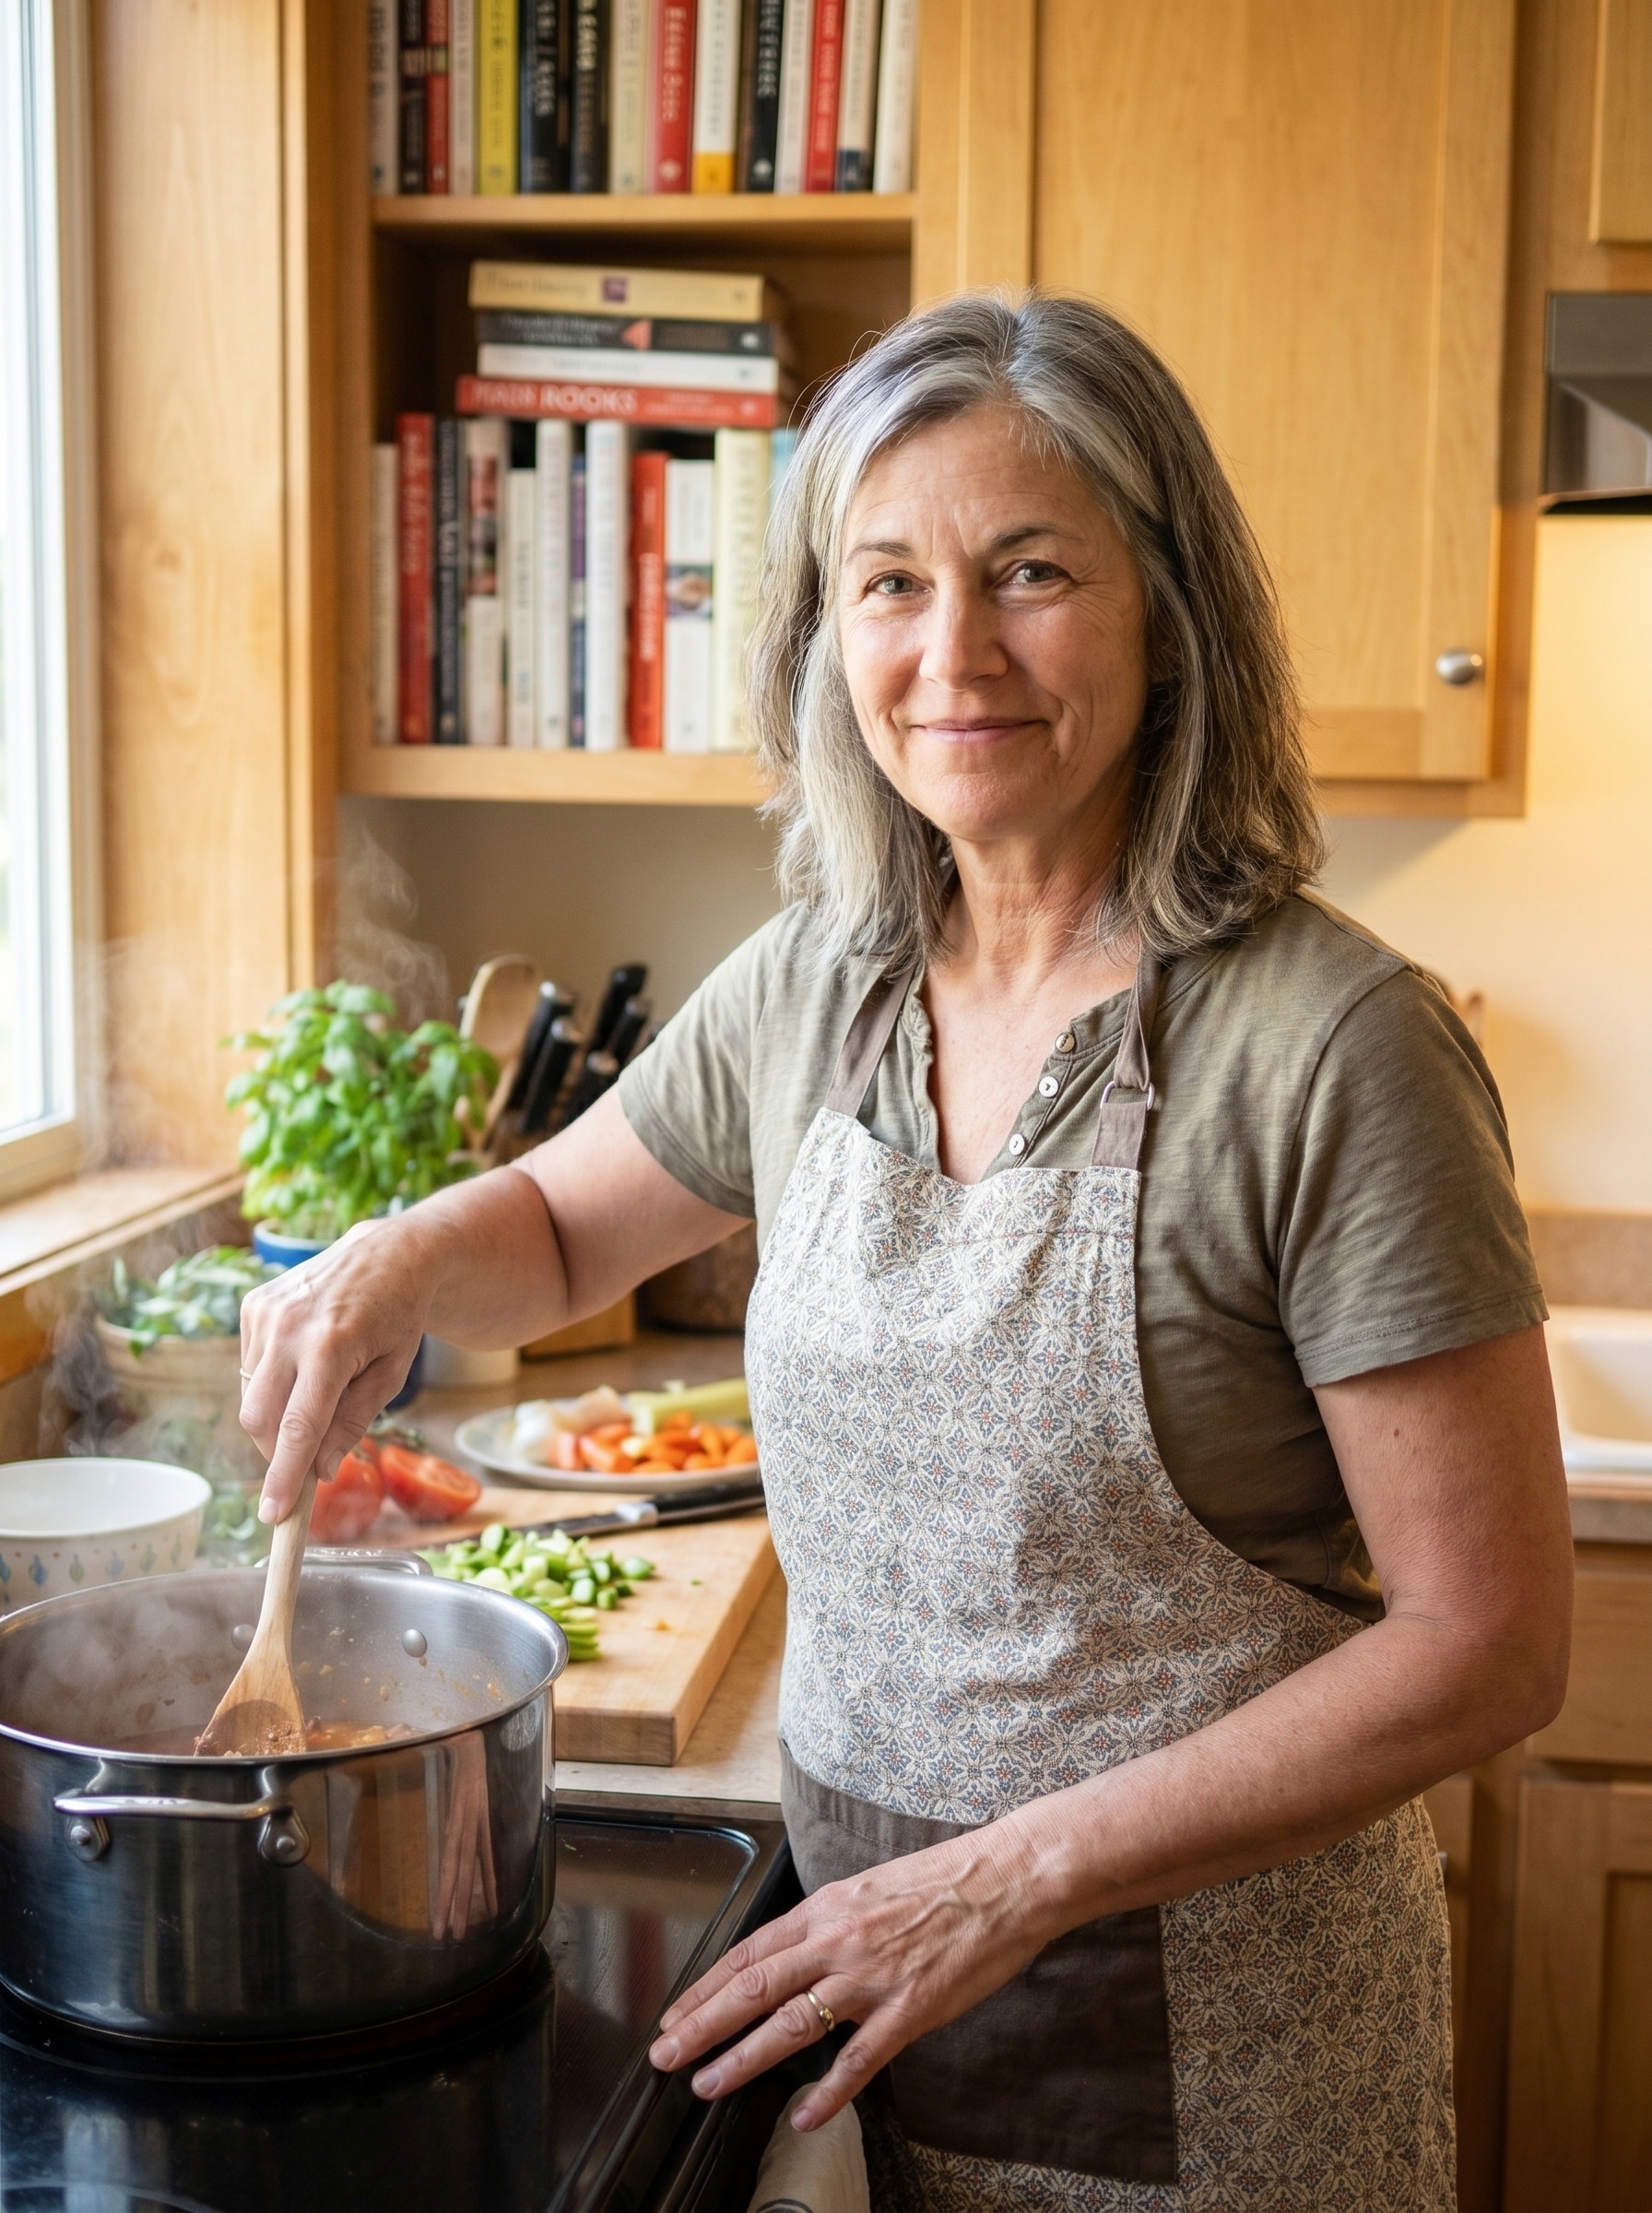
A simple, comforting crustless custard pie that forms its own golden edge as it bakes. Quick to make, adaptable for gluten-free diets, and perfect for weeknight desserts or potlucks.
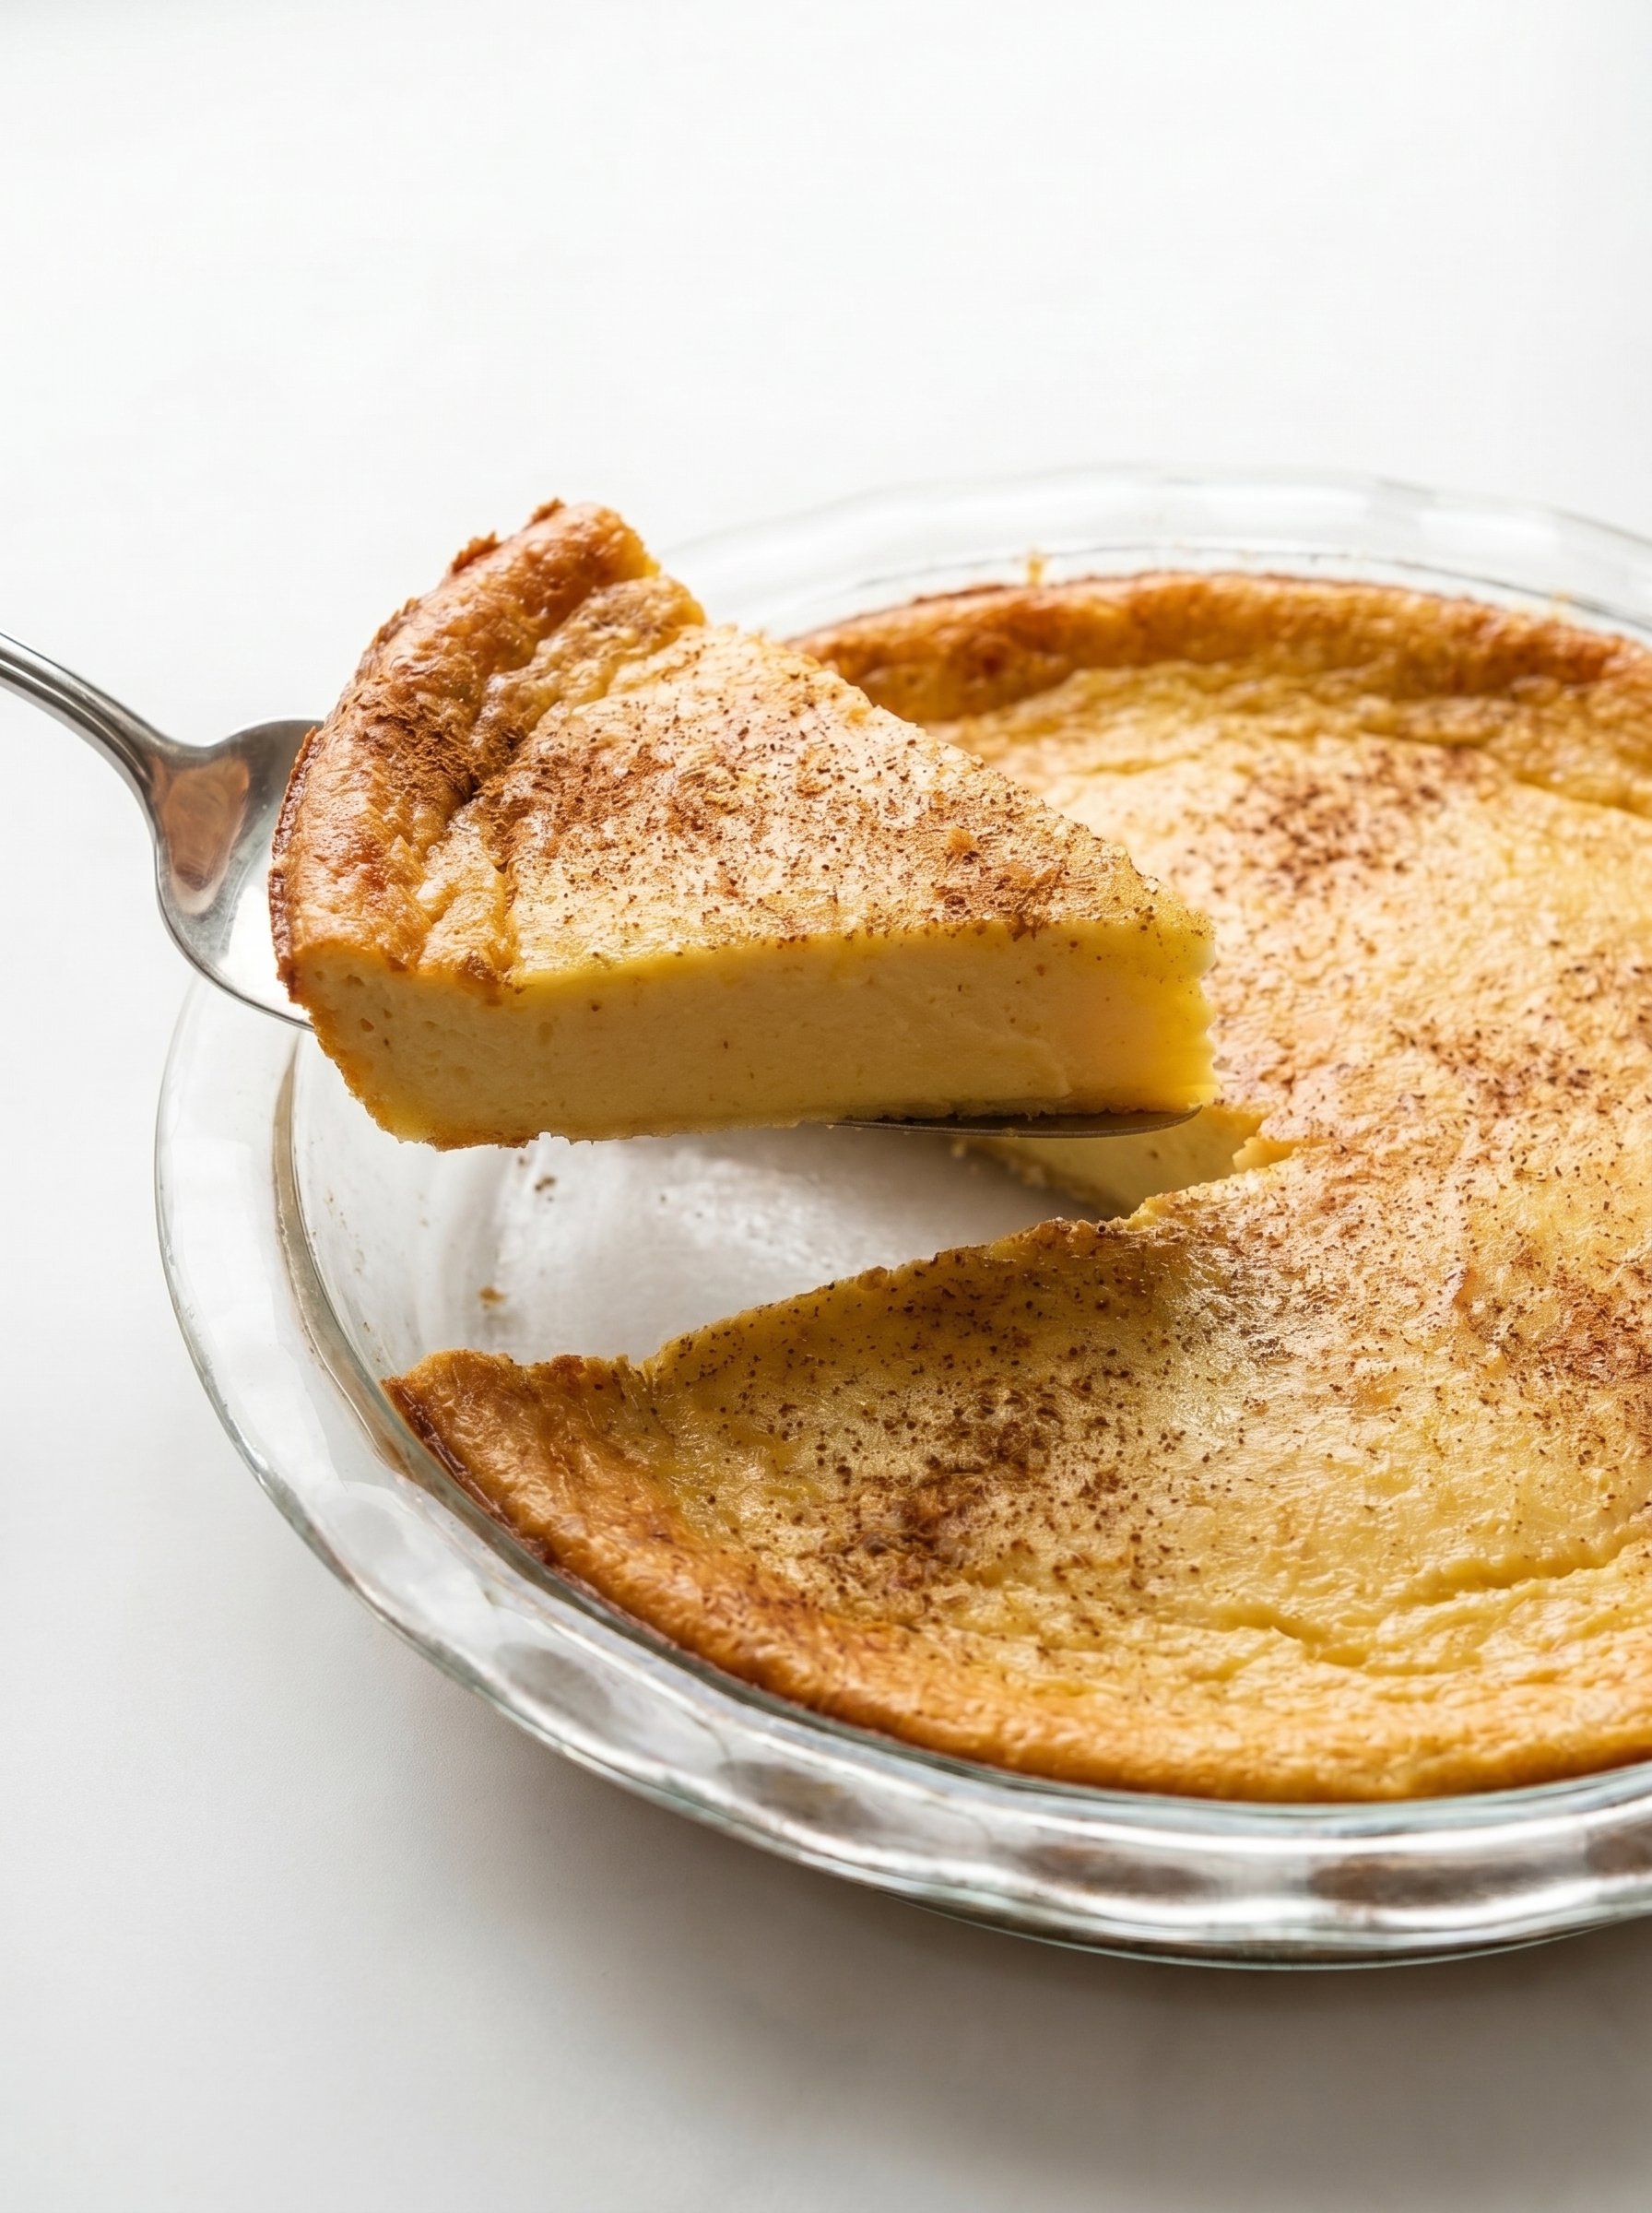
This crustless custard pie has become my emergency dessert for last-minute guests and lazy weekends. I first stumbled on this version during a busy holiday season when I had a can of coconut milk and a bag of flour staring at me — I wanted something sweet that didn’t demand rolling pastry or fiddly assembly. The result was a silken custard that rises and crisps around the edge, creating its own effortless crust. The texture sits between a soft flan and a classic baked custard: creamy in the center with a light, almost pudding-like body and a caramelized top that yields deliciously to a spoon.
What makes this recipe special is how forgiving it is. It’s sometimes called an "impossible pie" because it separates into layers during baking, but you don’t need to understand the thermodynamics to get a great result. With just a blender, a pie plate, and a handful of pantry staples you likely already have, you’ll end up with a dessert that tastes like it took twice as long. I love serving it slightly warm with a dusting of cinnamon; my family remembers the first batch I brought to brunch and still asks for it each winter.
Why You'll Love This Recipe
- Ready in about 50 minutes from start to finish with only 5 minutes of hands-on prep time: perfect when you need dessert fast.
- Uses pantry staples like eggs, milk, flour, and sugar — and it adapts effortlessly to gluten-free flour or dairy-free milk.
- No crust to roll or blind-bake, which removes a common point of failure and saves time and cleanup.
- Natural layer separation gives you a crispy perimeter and a silky interior without extra steps.
- Make-ahead friendly: cool to room temperature, refrigerate, and serve within a few days or freeze individual slices for longer storage.
- Crowd-pleasing yet simple — elegant enough for guests, uncomplicated enough for weeknight family dinners.
On the first time I served this at a small gathering, everyone assumed I’d spent hours on it. The look on my sister’s face when I admitted it was made in a blender was priceless — she called it kitchen sorcery. Over time I’ve learned a few small tweaks that improve texture and flavor, which I share below, and the recipe has become a staple whenever I need a reliable, delicious dessert.
Ingredients
- Eggs (4 large): Eggs are the structure here — they coagulate during baking to set the custard. Use large, room-temperature eggs for consistent volume and a smoother texture. Organic or free-range eggs add depth of flavor.
- Whole milk (2 cups) or unsweetened coconut milk: Whole milk gives a rich, creamy mouthfeel; swap in unsweetened coconut milk for a dairy-free version. If using coconut milk, shake the can well and use the full-fat variety for best results.
- All-purpose flour 1/2 cup (or 1/2 cup gluten-free all-purpose flour): A small amount of flour helps thicken and coax the custard into forming a golden edge. For gluten-free, use a 1:1 blend that contains xanthan gum for similar texture.
- Granulated sugar 3/4 cup (or 1/3–1/2 cup maple syrup): Cane sugar gives the familiar caramelized top; if you prefer liquid sweetener, reduce the maple to 1/3–1/2 cup depending on sweetness preference and expect a slightly darker, moister finish.
- Butter 1/4 cup (melted): Melted unsalted butter adds richness and encourages the crisp rim. For dairy-free, use melted vegan butter or neutral oil, but the flavor will shift slightly.
- Vanilla extract 2 teaspoons: Pure vanilla lifts the custard and rounds the flavors — don’t skimp on quality here.
- Salt 1/4 teaspoon: A pinch of fine salt balances the sweetness and enhances the overall flavor profile.
- Ground nutmeg and cinnamon: Use sparingly to dust the top; they add warming spice and a classic finish.
Instructions
Prepare the pan and oven: Preheat the oven to 350°F. Generously grease a 9-inch pie plate with butter or nonstick spray to prevent sticking and to promote a nicely browned edge. Position an oven rack in the center for even heat distribution. Combine the ingredients: Place the eggs, milk (or coconut milk), flour, sugar, melted butter, vanilla, and salt into the container of a blender or a food processor. Blending for about 20–30 seconds yields a fully emulsified mixture. If you don’t have a blender, whisk vigorously in a large bowl until the batter is smooth and no flour lumps remain. Pour and top: Pour the mixture into the prepared pie plate and gently tap the plate on the counter to remove large air bubbles. Lightly sprinkle a pinch of ground cinnamon and nutmeg over the surface for aroma and a traditional finish. Bake until set: Place the pie on the center rack and bake for approximately 45 minutes. The top should be golden brown and the center should be just set with a slight wobble — it will firm as it cools. Rotate the pan halfway through if your oven heats unevenly. Cool before serving: Allow the pie to cool on a wire rack for at least 30 minutes. Serving warm will be softer; fully chilled slices will cut cleaner. Dust lightly with extra cinnamon before slicing.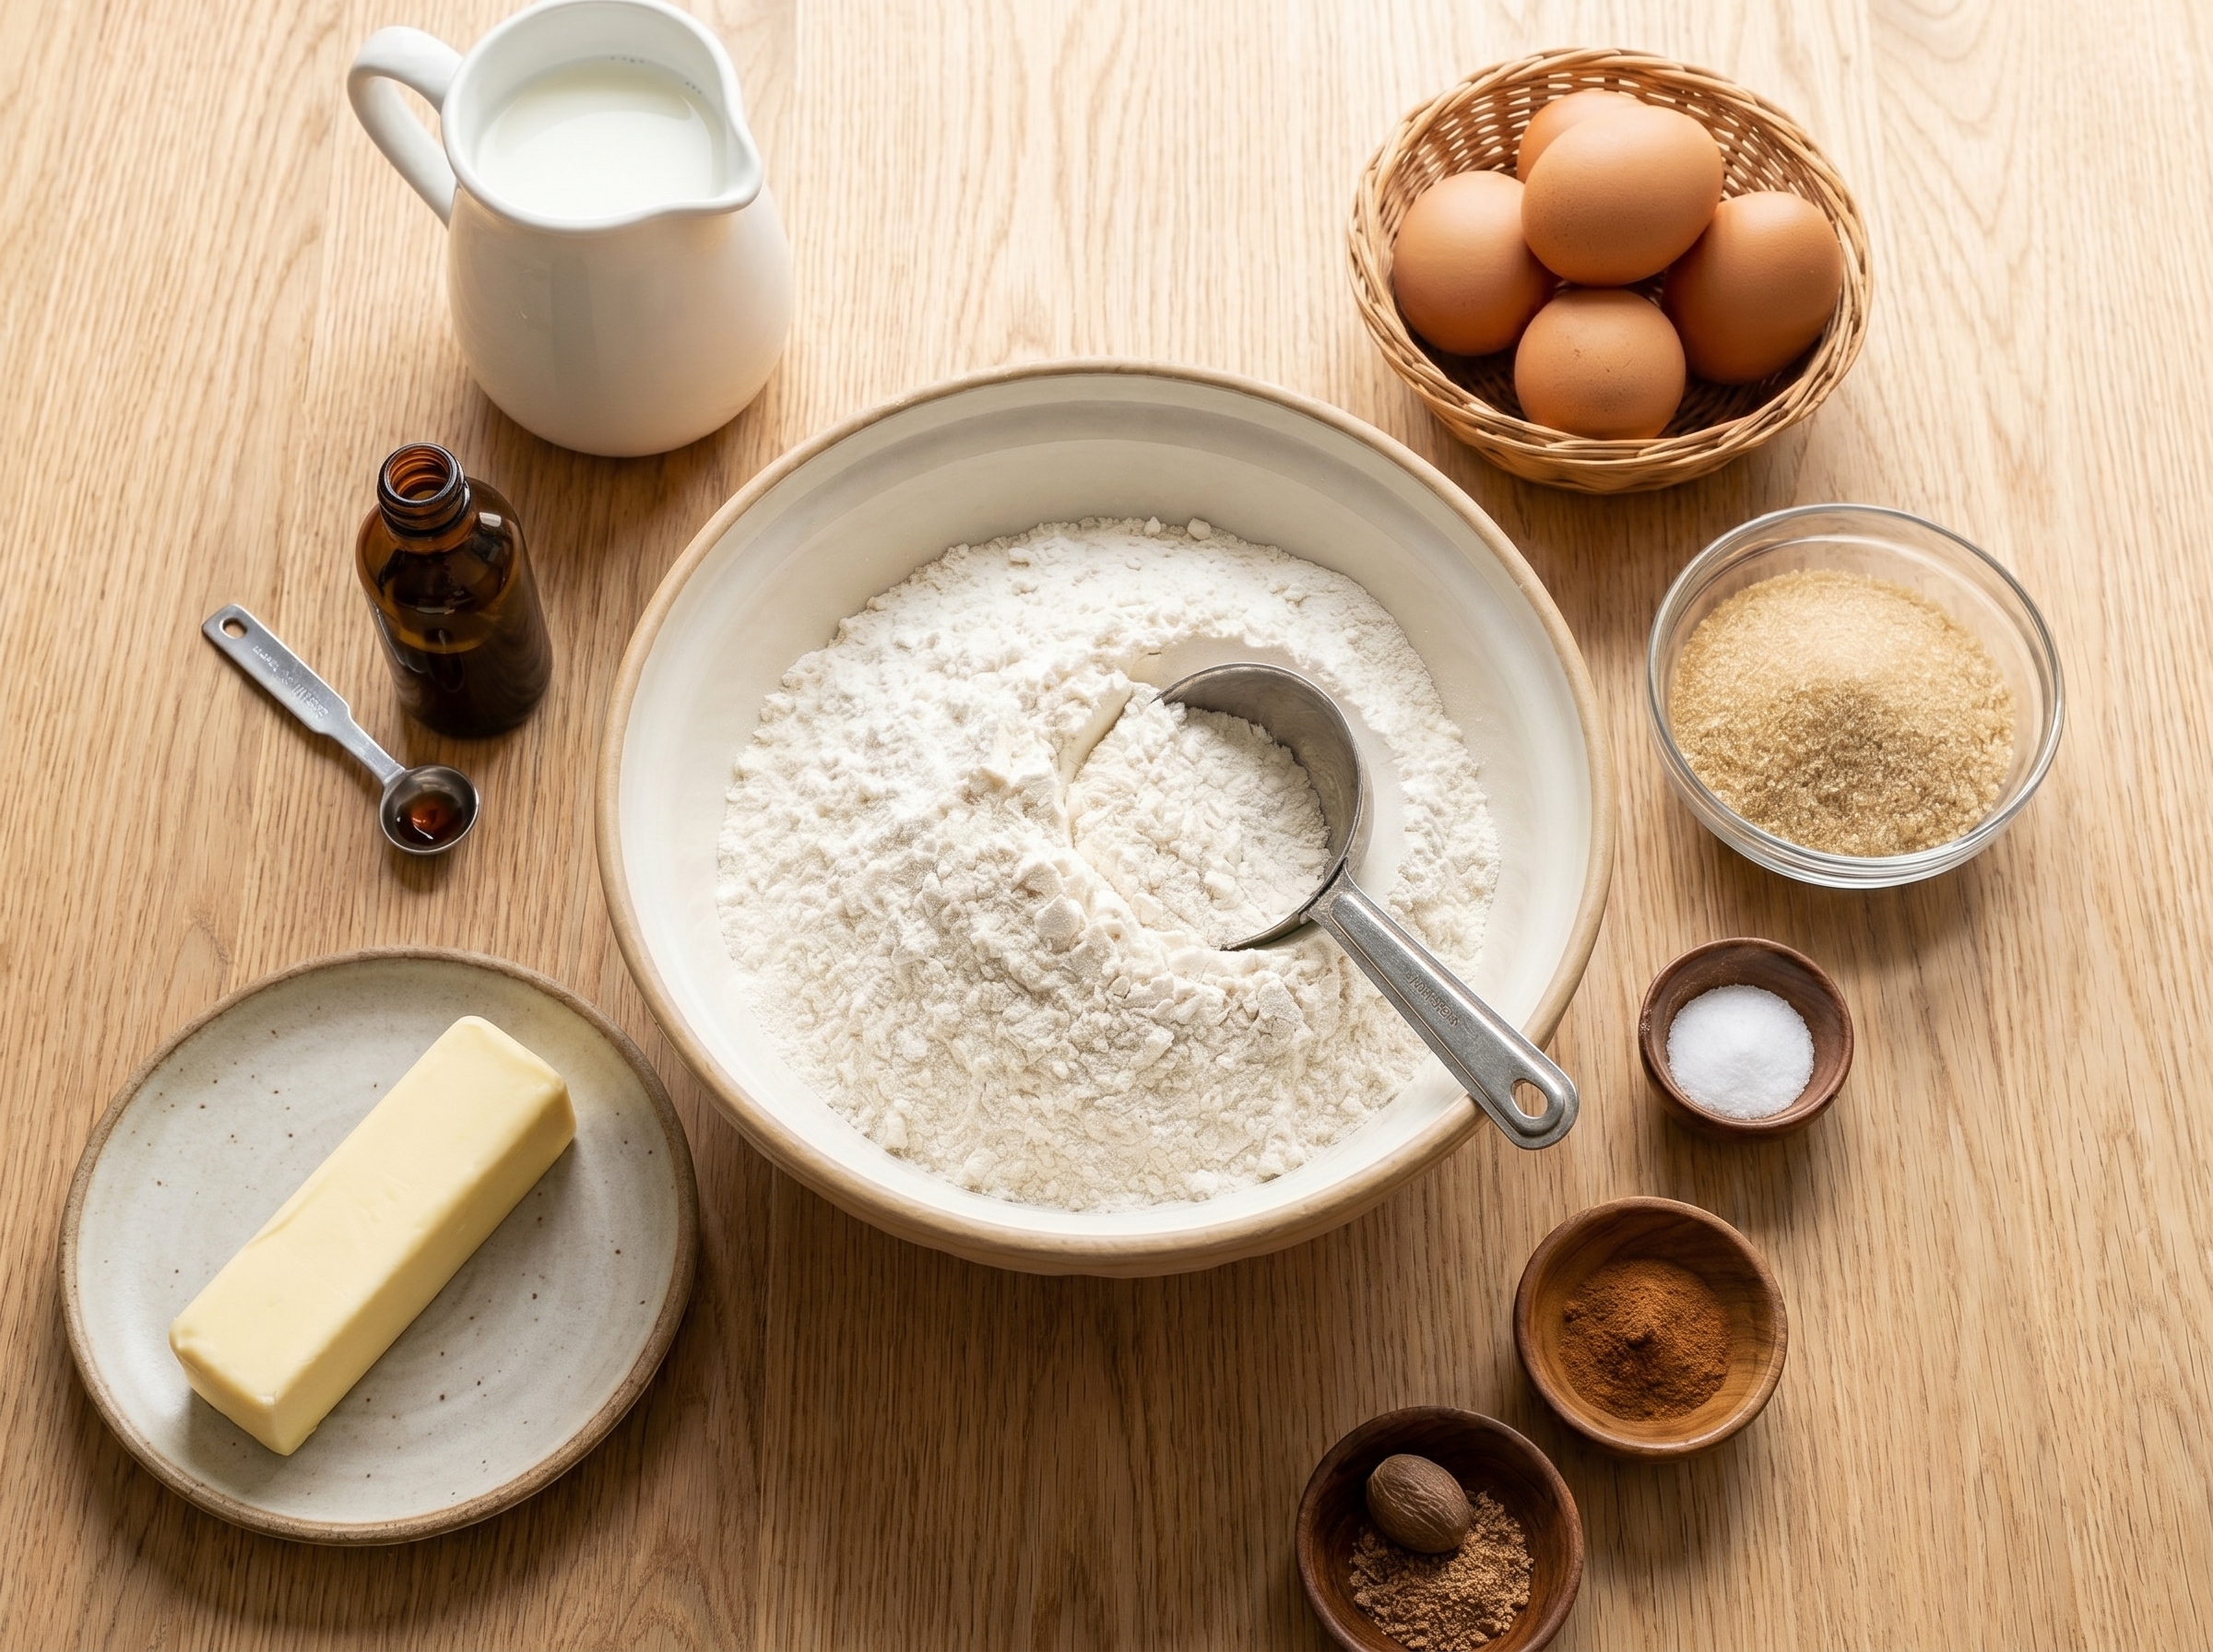
You Must Know
- This dessert stores well: refrigerate covered for up to 4 days or freeze slices for up to 3 months.
- It’s higher in carbohydrates due to sugar and flour; choose maple syrup or reduce sugar if you prefer a less-sweet version.
- For a dairy-free option, use full-fat coconut milk and dairy-free butter, but expect a subtle coconut note.
- The edge becomes slightly crisp and caramelized while the interior remains custardy — this contrast is the hallmark of the dish.
One of my favorite things about this pie is how forgiving it is when juggling busy schedules. I’ve made it for last-minute potlucks and packed it into a cooler for beach picnics. Family members who typically avoid sweets will often take a slice, and I love watching guests debate whether it’s a pie, a custard, or magic. It’s humble, reliable, and consistently gets compliments.
Storage Tips
Let the pie cool completely before storing. For short-term storage, cover the cooled pie with plastic wrap or place in an airtight container and refrigerate for up to four days. If you need longer storage, slice the pie, wrap individual pieces tightly in plastic wrap and aluminum foil, then freeze for up to three months. Reheat frozen slices gently in a 325°F oven for 10–12 minutes or microwave on low power for 20–30 seconds to preserve texture. Use a shallow, airtight container to avoid condensation that can make the top soggy.
Ingredient Substitutions
To make the pie gluten-free, swap the all-purpose flour for a 1:1 gluten-free blend containing xanthan gum. For a lower-sugar version, reduce granulated sugar to 1/2 cup and add 1–2 tablespoons of honey or use 1/3 cup pure maple syrup (reduce liquid elsewhere if needed). Dairy-free adjustments: use canned full-fat coconut milk and a dairy-free spread in place of butter. For a lighter texture, substitute one cup of milk with 1 cup evaporated milk or use half-and-half, noting that fat content affects richness and set.
Serving Suggestions
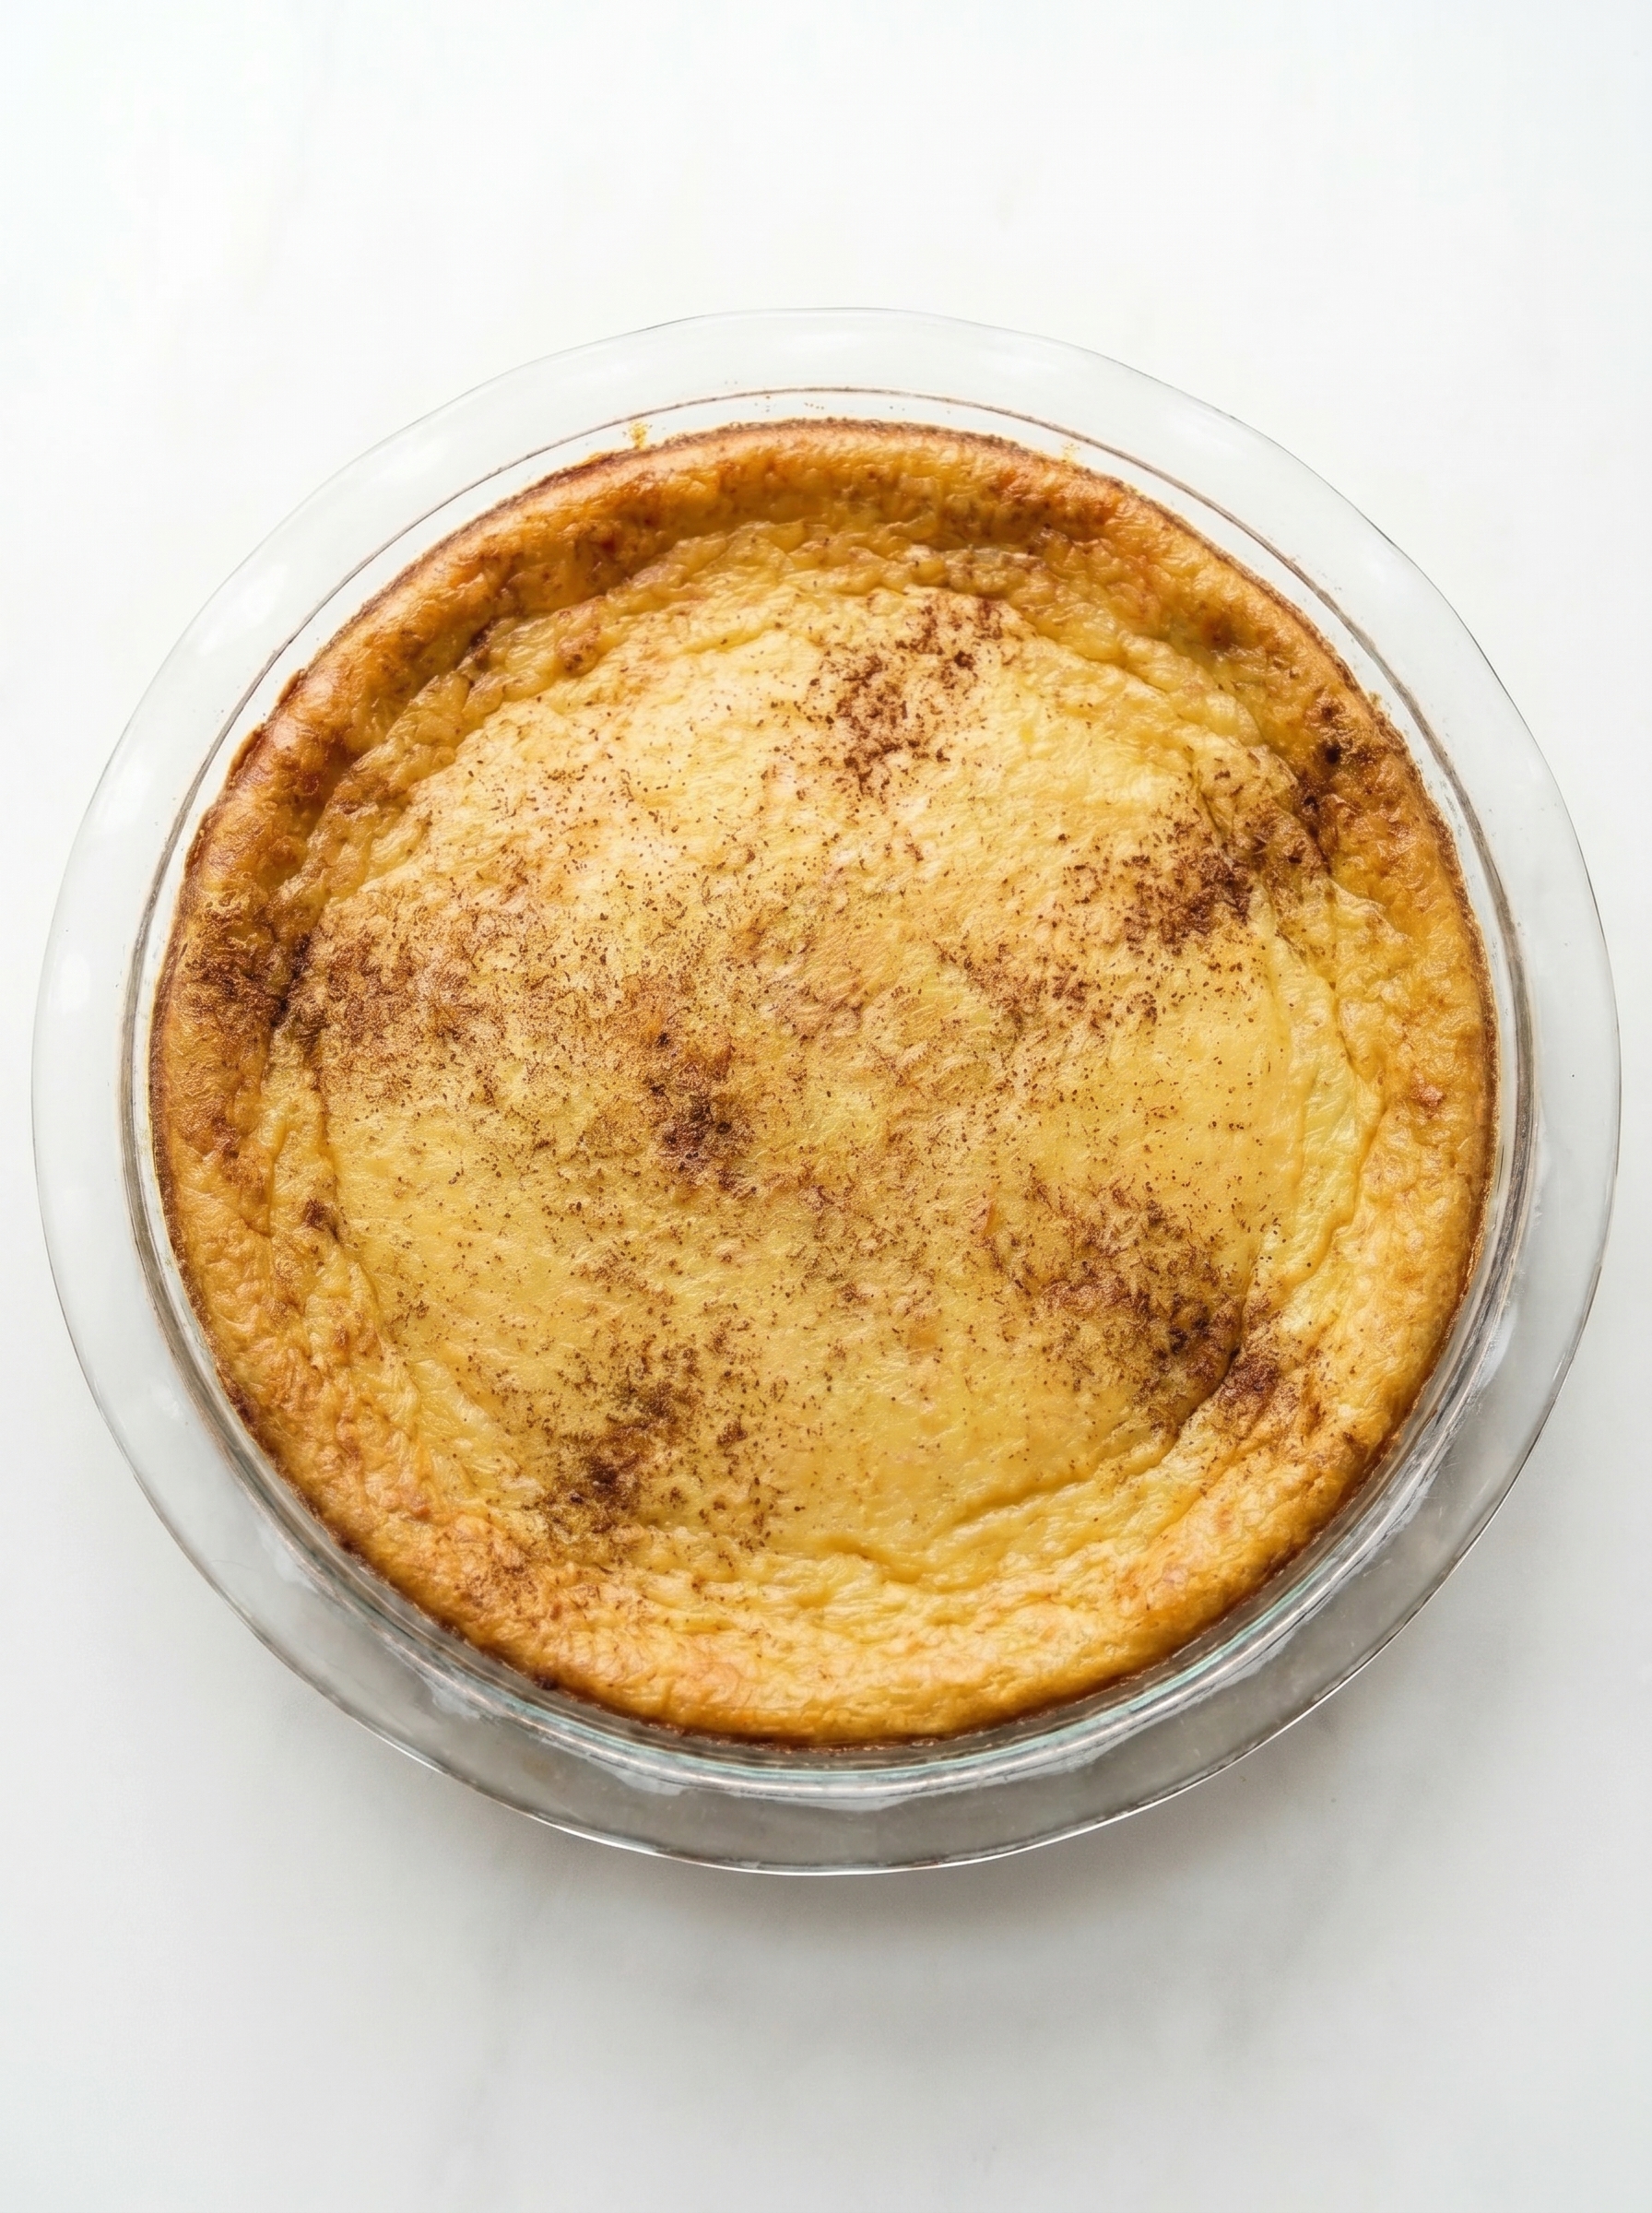
Serve slices warm with a scoop of vanilla ice cream or a dollop of lightly sweetened whipped cream. For a bright counterpoint, add a spoonful of berry compote or fresh citrus segments. Garnish with a sprinkle of toasted sliced almonds for texture or a light dusting of powdered sugar for presentation. This dish is lovely alongside coffee for brunch or as a simple finish to a family dinner; it pairs particularly well with medium-bodied dessert wines or a fresh espresso.
Cultural Background
The concept of a simple baked custard has roots in many cuisines — from classic British custards to American "impossible" or "magic" pies that separate into layers while baking. The term "impossible pie" shows up in mid-century American cookbooks where pantry economics and ease of preparation were highly valued. This crustless version echoes those traditions: straightforward technique, minimal ingredients, and results that feel homey and nostalgic. Regional variations often add citrus zest, nutmeg, or coconut for local flavor.
Seasonal Adaptations
Adjust the spices and accompaniments by season. In autumn, fold 1/2 teaspoon pumpkin pie spice into the batter and serve with caramel sauce. In spring and summer, top with macerated berries and a few fresh mint leaves. For winter holidays, increase the nutmeg slightly and add a teaspoon of orange zest to brighten the custard. Swap in maple syrup and toasted pecans for a cozy, seasonal twist.
Meal Prep Tips
Make the custard mixture the night before and refrigerate it in a sealed pitcher; give it a gentle stir before pouring into the greased pan and baking. Pre-measured dry ingredients stored in a jar make the assembly nearly instantaneous — label the jar with the wet ingredient amounts. For portioned lunches or desserts, slice and wrap portions individually and store in single-serve containers for grab-and-go sweet bites.
This crustless custard pie is one of those simple pleasures that invites improvisation. Whether you stick to the original ingredients or experiment with coconut milk, maple syrup, or gluten-free flour, it’s forgiving and consistently delicious. I hope you enjoy making it as much as my family and friends do — serve it warm, share it generously, and make it your own.
Pro Tips
Use room-temperature eggs and milk so the batter emulsifies smoothly and sets evenly.
If using maple syrup instead of sugar, start with 1/3 cup and taste the batter if you prefer less sweetness.
Allow the pie to cool for at least 30 minutes before slicing to let the custard finish setting.
For an even bake, place the pie on a middle oven rack and rotate halfway through the bake time.
Grease the pie dish well — a thin film of butter ensures clean slices and a golden edge.
This nourishing easy crustless custard pie (gluten free options) recipe is sure to be a staple in your kitchen. Enjoy every moist, high protein slice — it is perfect for breakfast or as a wholesome snack any time.
FAQs about Recipes
Can I make this pie gluten-free?
Yes — to make it gluten-free, use a 1:1 gluten-free all-purpose flour blend that contains xanthan gum. Baking time remains the same but texture may be slightly more tender.
Any tips for ingredient temperature or using maple syrup?
Room-temperature eggs blend more uniformly and yield a smoother custard. If using maple syrup, reduce additional liquid slightly and expect a darker color.
Tags
EASY Crustless Custard Pie (Gluten Free Options)
This EASY Crustless Custard Pie (Gluten Free Options) recipe makes perfectly juicy, tender, and flavorful steak every time! Serve with potatoes and a side salad for an unforgettable dinner in under 30 minutes.
Ingredients
Main
Instructions
Preheat and prepare
Preheat oven to 350°F and generously grease a 9-inch pie plate. Position the rack in the center of the oven for even heat.
Combine ingredients in blender
Place eggs, milk, flour, sugar (or maple), melted butter, vanilla, and salt into a blender. Blend for about 20–30 seconds until smooth and emulsified.
Pour into pan and top
Pour the blended mixture into the greased pie plate and tap lightly to release air bubbles. Sprinkle the surface with a light dusting of cinnamon and nutmeg.
Bake until set
Bake for approximately 45 minutes until the top is golden and the center is set with a gentle wobble. Rotate halfway if your oven runs hot on one side.
Cool and serve
Allow the pie to cool on a wire rack for at least 30 minutes before slicing. Serve warm or chilled, optionally with whipped cream or ice cream.
Last Step: Please leave a rating and comment letting us know how you liked this recipe! This helps our business to thrive and continue providing free, high-quality recipes for you.
Nutrition
Did You Make This?
Leave a comment & rating below or tag
@royalrecipe on social media!
Categories:
You might also like...
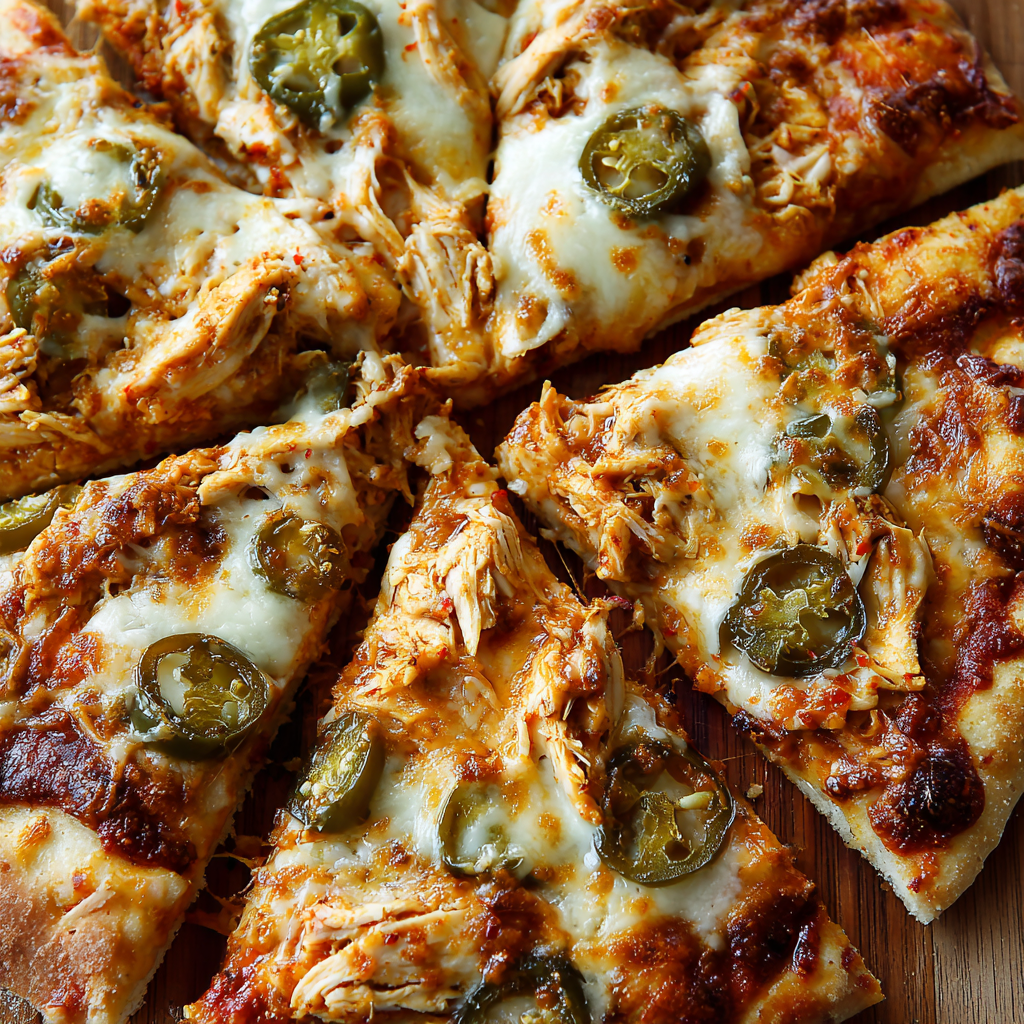
Spicy Chicken and Jalapeño Thin Crust Pizza
Easy homemade thin-crust three-cheese spicy chicken and jalapeño pie — a flavor-packed pizza with a satisfying kick, perfect for pizza night or game day.
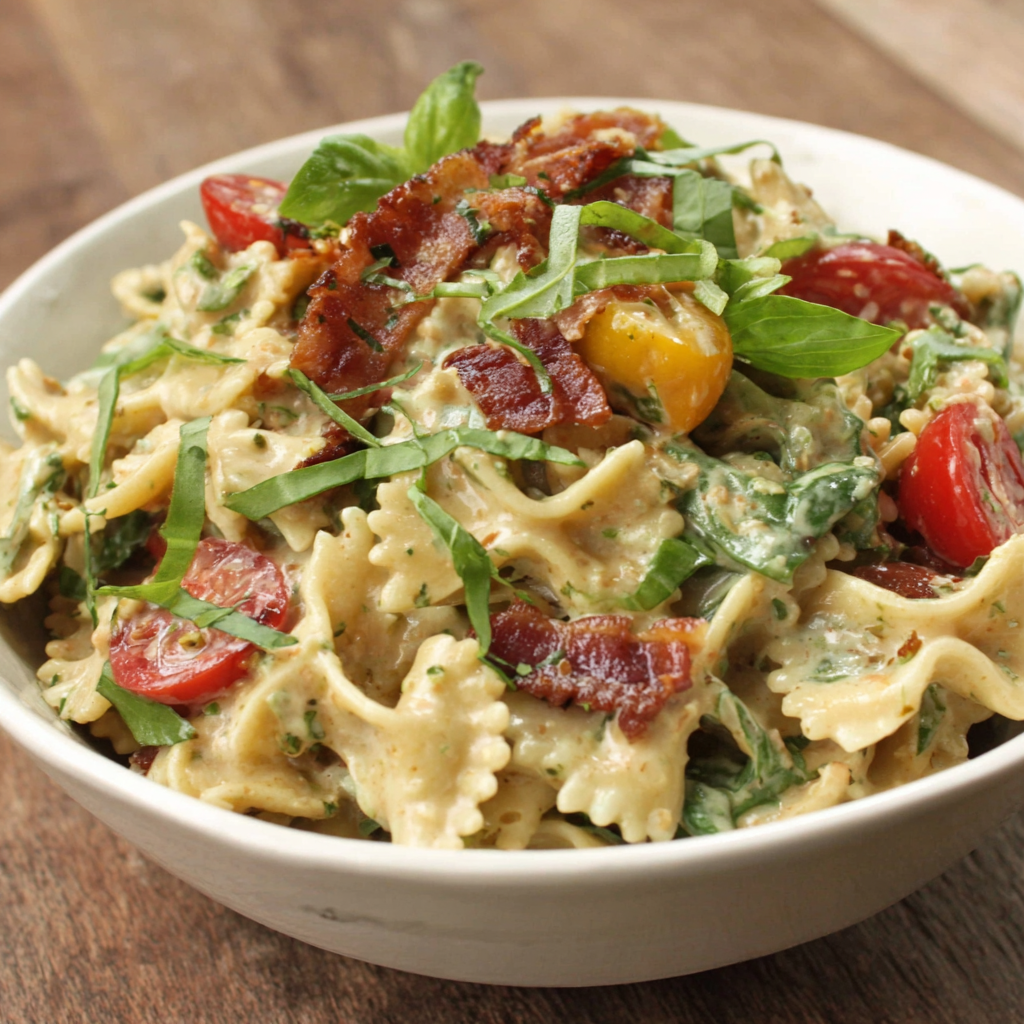
Creamy Pesto BLT Pasta Salad
A bright, creamy BLT pasta salad tossed with basil pesto, fresh greens, cherry tomatoes, and crisp bacon—perfect for warm-weather gatherings and meal prep.
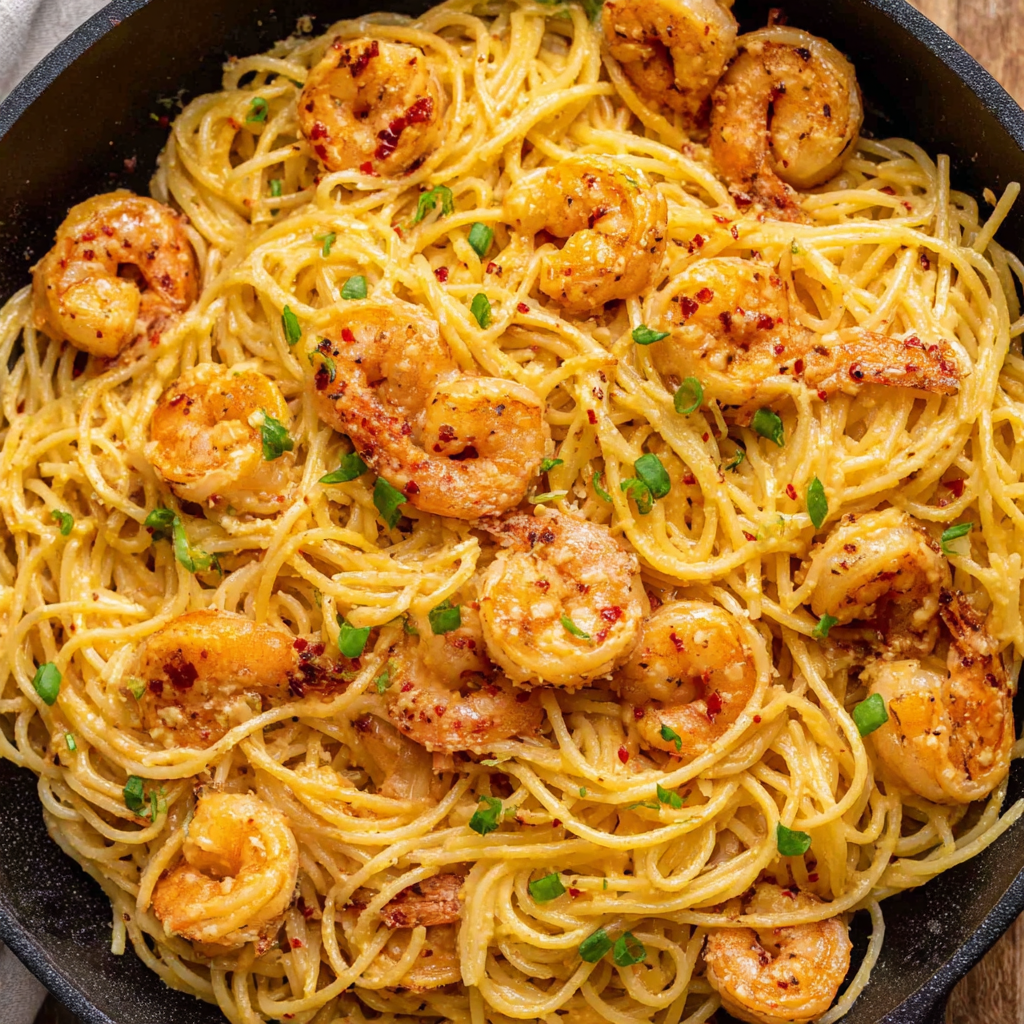
Bang Bang Shrimp Pasta
Tender sautéed shrimp tossed with spaghetti and a creamy sweet-spicy bang bang sauce—ready in under 30 minutes for a weeknight favorite.
Did You Make This?
Leave a comment & rating below or tag @royalrecipe on social media!
Rate This Recipe
Share This Recipe
Enjoyed this recipe? Share it with friends and family, and don't forget to leave a review!
Comments (1)
This recipe looks amazing! Can't wait to try it.
Comments are stored locally in your browser. Server comments are displayed alongside your local comments.
Hi, I'm Amara!
What's Popular

30-Minute Meals!
Join to receive our email series which contains a round-up of some of our quick and easy family favorite recipes.