>>
30-MINUTE MEALS! Get the email series now →


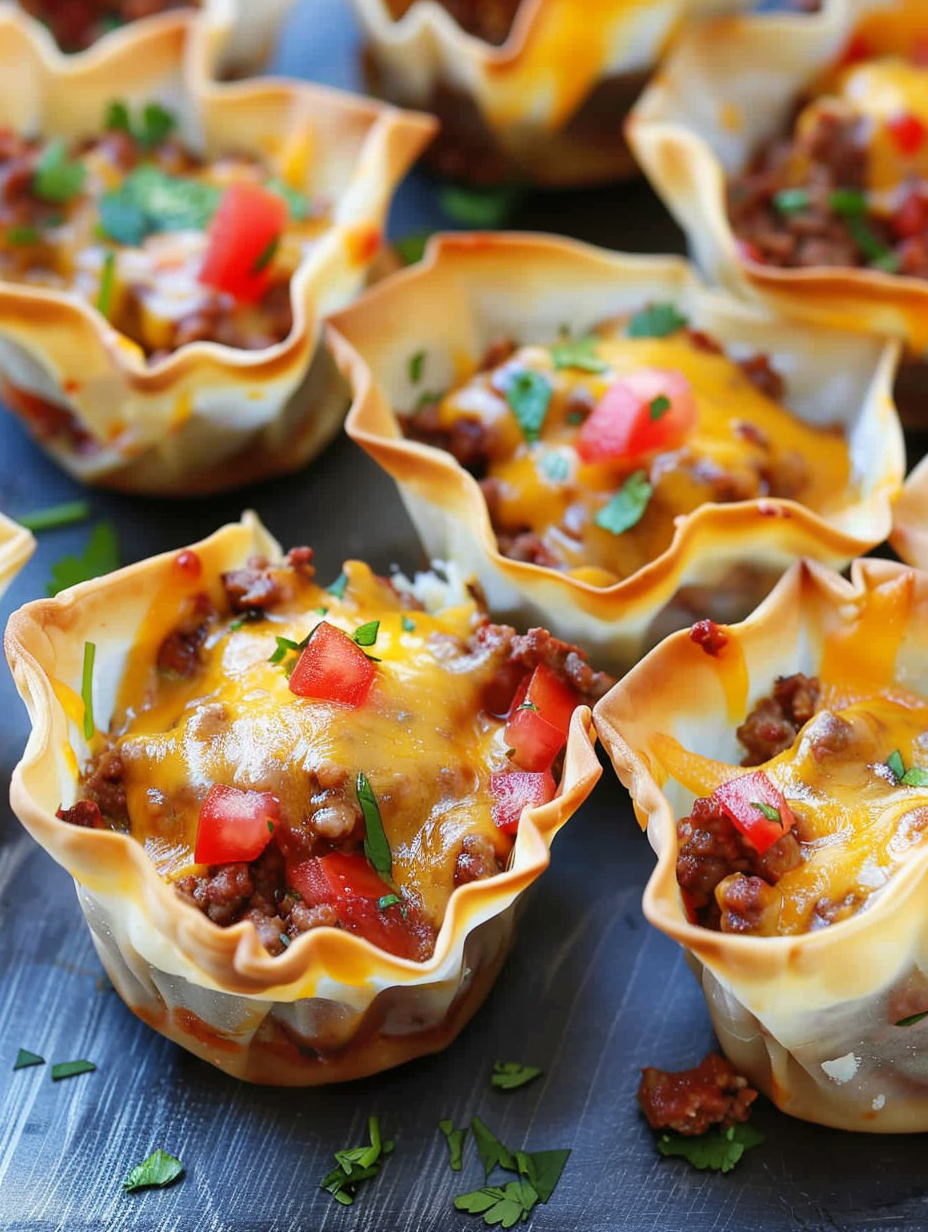
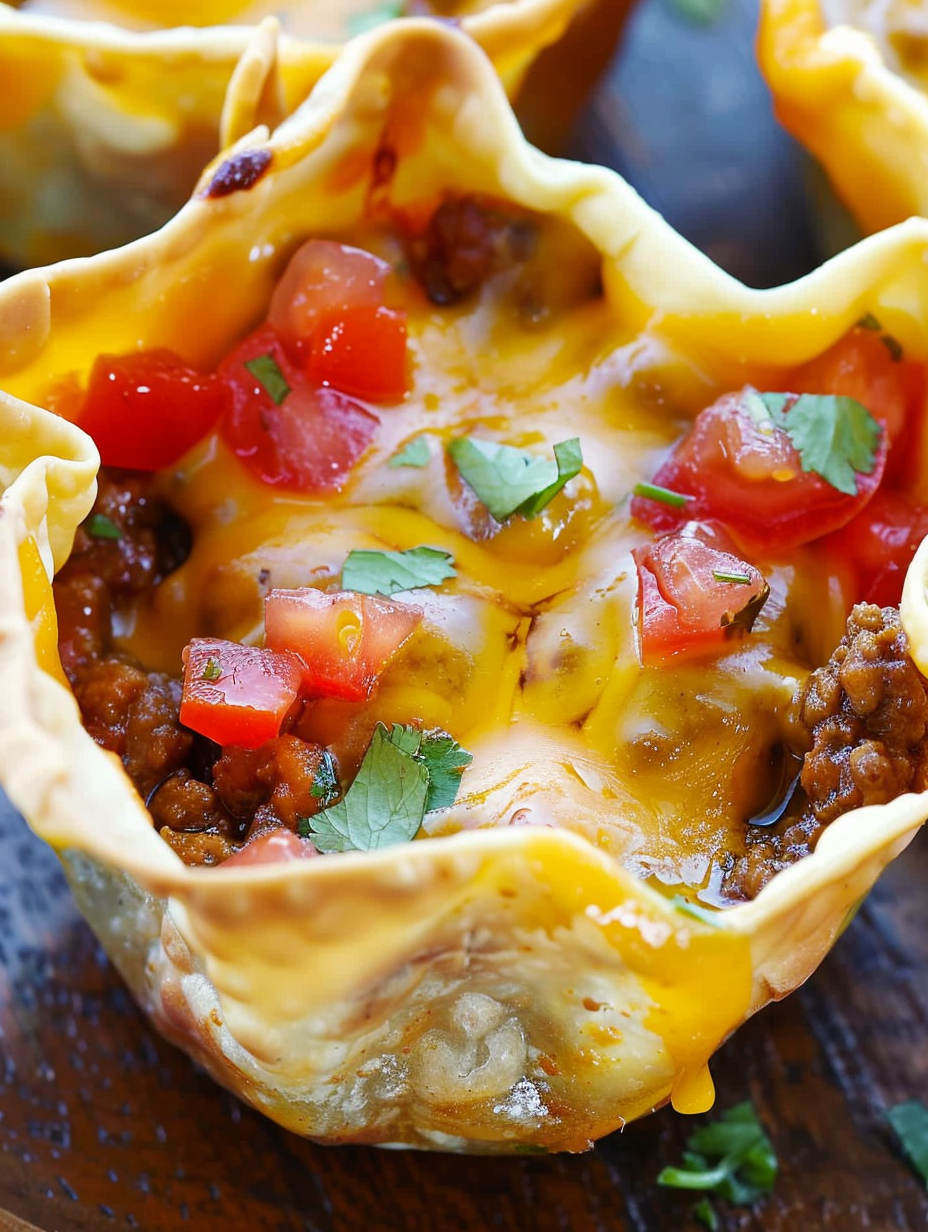
Mini crunchy taco cups made in a muffin tin, filled with seasoned beef, Ro-Tel tomatoes, and melted sharp cheddar. Perfect for weeknight dinners, parties, or make-ahead lunches.
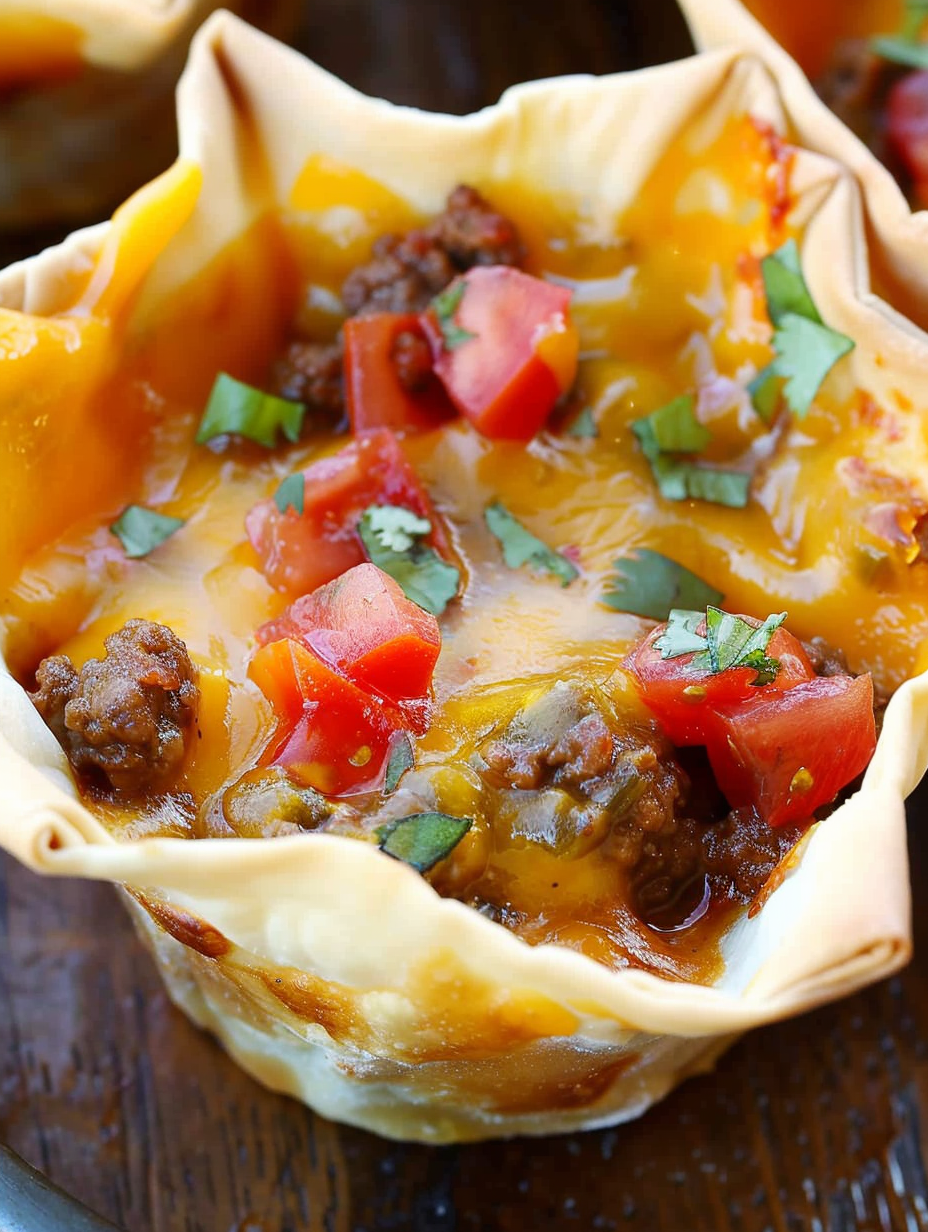
This recipe for Crunchy Taco Cups has been a constant in my rotation since the first time I made it for a casual game night. The idea of turning classic taco flavors into handheld cups using wonton wrappers appealed to me immediately because it takes all the satisfaction of a taco and strips away the balancing act of soft tortillas and overflowing fillings. I discovered this version on a busy week when I wanted something quick, portable, and fun for both adults and kids. The combination of a well-seasoned beef filling, a touch of Ro-Tel tomatoes and green chiles, and layers of sharp cheddar creates a satisfying contrast between the crisp wrapper and the juicy interior.
What makes these trump typical tacos for me is the mix of textures and the simplicity of assembly. The wonton wrappers crisp into an irresistible shell that holds up to reheating. I love how they travel well for potlucks and how they disappear in minutes at family gatherings. This recipe is forgiving, adaptable, and can be on the table in about 32 minutes start to finish. If you are looking for a dish that feels festive but is straightforward to prepare, these cups deliver big on flavor without demanding a lot of hands-on time.
I first tested this recipe on a rainy Saturday during a casual family get-together. My cousins were skeptical until the first round came out of the oven. People loved the crispy edges and the melty cheddar. Over time I adjusted the ratio of filling to wrapper so each cup would be just the right size for a single bite followed by a gratifying chew. The recipe has earned a permanent place in my rotation for easy entertaining.
My favorite aspect is the reliability. The assembly method ensures each cup has balanced filling and crisp edges every time. Family members always ask for seconds, and I appreciate how easy it is to modify the heat level and toppings to suit everyone at the table. These cups have popped up at every birthday party and casual gathering I host because people love their hand-held convenience and big flavor.
Cool the cups completely before storing to prevent condensation from making the wrappers soggy. For short-term storage, place in an airtight container and refrigerate for up to 3 days with a sheet of parchment between layers. For longer storage, freeze arranged in a single layer on a baking sheet for 1 hour then transfer to a resealable freezer bag or airtight container for up to 3 months. Reheat refrigerated cups in a 350 degrees F oven for 6 to 8 minutes; reheat frozen cups at 350 degrees F for 8 to 12 minutes until hot and crisp.
If you want to lighten the dish, use ground turkey or chicken in place of beef. For a vegetarian option, use seasoned meatless crumbles or a blend of black beans and corn with extra seasoning to add texture. Replace sharp cheddar with pepper jack for more heat or a reduced-fat cheese to cut calories. If wonton wrappers are unavailable, small tortilla rounds pressed into muffin cups will work but will yield a softer shell. To reduce sodium, use low-sodium taco seasoning or reduce the amount by half and add your own spices.
Serve the cups warm as an appetizer with sides of guacamole, sour cream, and pico de gallo for dipping. For a full meal, plate alongside a simple green salad dressed with lime vinaigrette or cilantro-lime rice. Garnish each cup with chopped cilantro, a squeeze of lime, or a thin slice of jalapeno for visual appeal and a fresh lift. They also pair well with grilled corn or a light black bean salad for a colorful, satisfying plate.
While not traditional in Mexican cuisine, the flavor profile draws on well-loved taco seasonings and the bright heat of canned tomatoes with chiles. Transforming classic taco ingredients into bite-sized formats is part of contemporary casual cooking that blends convenience with familiar flavors. This approach reflects how many home cooks reinterpret traditional elements to suit modern entertaining and portability while preserving the bold spices and fresh garnishes that characterize the original dishes.
In summer, swap canned tomatoes for fresh diced tomatoes and roasted green chiles for a fresher profile. Add grilled corn kernels to the filling to celebrate summer produce. In cooler months, introduce caramelized onions or roasted poblano peppers for deeper, smoky notes. For holiday gatherings, offer a variety board with different toppings so guests can customize each cup to their liking.
Make the beef mixture up to 2 days ahead and store it refrigerated in an airtight container. When ready to serve, assemble the cups and bake as directed. If you plan to pack lunches, refrigerate assembled but unbaked cups and bake them in the morning for a warm midday meal. Use silicone muffin liners to make removal and transport easier when reheating in the oven or toaster oven.
These Crunchy Taco Cups are one of those dishes that make casual entertaining feel effortless and festive. They are adaptable, crowd-pleasing, and come together quickly, making them a reliable choice whenever you need a tasty, portable bite.
Drain cooked beef well to prevent soggy wrappers and ensure crisp edges.
Assemble cups right before baking for the crispiest texture, or keep filling refrigerated until ready.
To reheat without drying, wrap loosely in foil and warm in a 350 F oven for 6 to 8 minutes.
This nourishing crunchy taco cups recipe is sure to be a staple in your kitchen. Enjoy every moist, high protein slice — it is perfect for breakfast or as a wholesome snack any time.
This Crunchy Taco Cups recipe makes perfectly juicy, tender, and flavorful steak every time! Serve with potatoes and a side salad for an unforgettable dinner in under 30 minutes.
Preheat oven to 375 degrees F. Generously coat a standard 12-cup muffin tin with nonstick cooking spray to prevent sticking and promote even browning.
In a skillet over medium-high heat, brown 1 pound lean ground beef until no pink remains, about 6 to 8 minutes. Drain excess fat to keep the filling from becoming greasy.
Combine the cooked beef with one envelope of taco seasoning and the drained 10-ounce can of Ro-Tel diced tomatoes and green chiles. Stir until evenly distributed and taste for seasoning adjustments.
Press one wonton wrapper into each muffin cup, add about 1.5 tablespoons of the beef mixture, top with 1 tablespoon cheese, add a second wrapper and repeat with filling and a final layer of cheese.
Bake at 375 degrees F for 11 to 13 minutes until wrappers are golden and cheese is melted. Let the cups rest in the pan for 3 to 4 minutes before removing to set the filling.
Last Step: Please leave a rating and comment letting us know how you liked this recipe! This helps our business to thrive and continue providing free, high-quality recipes for you.
Leave a comment & rating below or tag
@royalrecipe on social media!

Easy homemade thin-crust three-cheese spicy chicken and jalapeño pie — a flavor-packed pizza with a satisfying kick, perfect for pizza night or game day.

A bright, creamy BLT pasta salad tossed with basil pesto, fresh greens, cherry tomatoes, and crisp bacon—perfect for warm-weather gatherings and meal prep.

Tender sautéed shrimp tossed with spaghetti and a creamy sweet-spicy bang bang sauce—ready in under 30 minutes for a weeknight favorite.
Leave a comment & rating below or tag @royalrecipe on social media!
Enjoyed this recipe? Share it with friends and family, and don't forget to leave a review!
This recipe looks amazing! Can't wait to try it.
Comments are stored locally in your browser. Server comments are displayed alongside your local comments.
Join to receive our email series which contains a round-up of some of our quick and easy family favorite recipes.
