>>
30-MINUTE MEALS! Get the email series now →


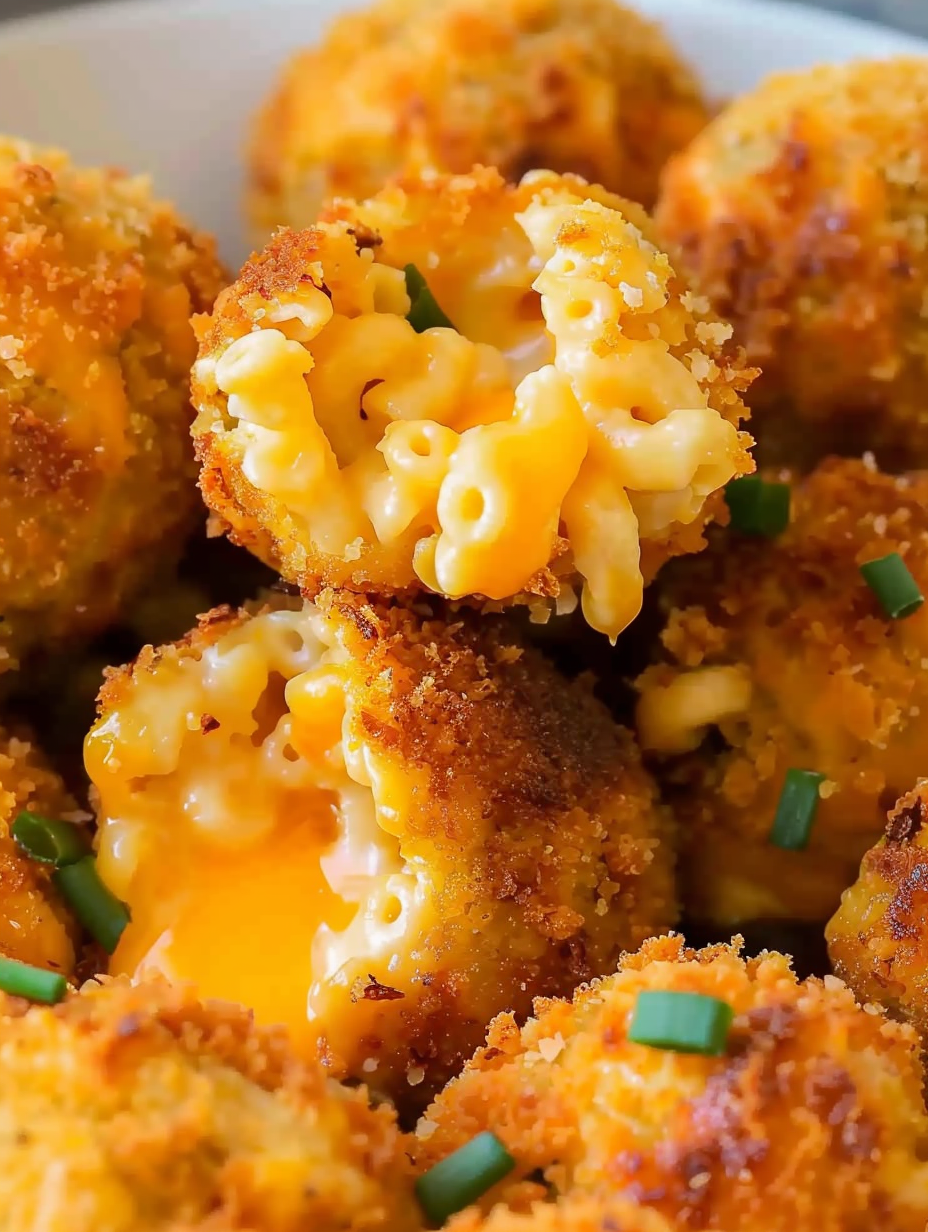
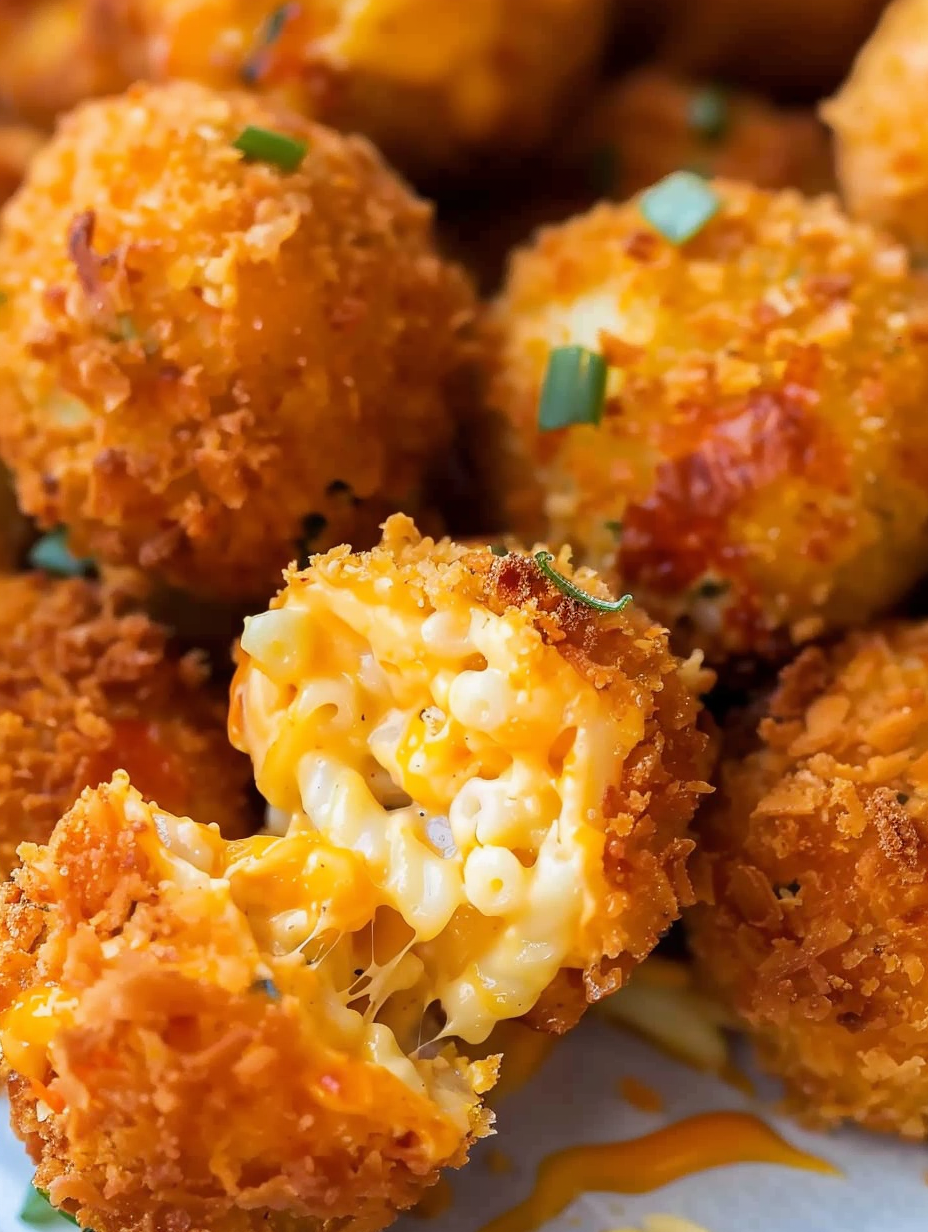
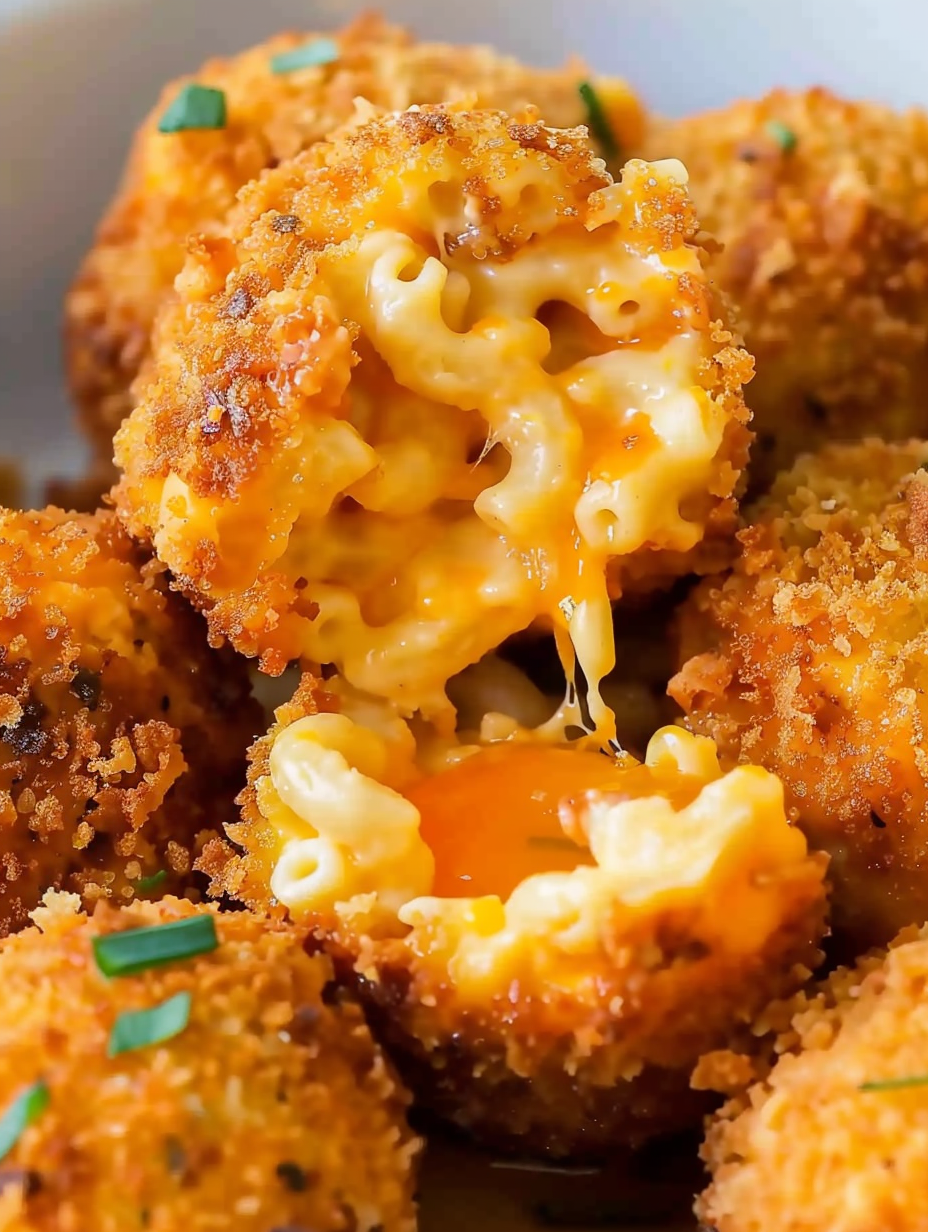
Leftover mac and cheese transformed into golden, crunchy bites — crispy on the outside, gooey and cheesy on the inside. Perfect for appetizers, sides, or party snacks.
From my earliest trial, family reactions were immediate and loud — these became the star dish at casual gatherings. I like to serve them alongside simple dips like marinara or a smoky chipotle mayo. Over time I learned to add a touch more cheese when the mac is watery, and to use a candy thermometer to keep oil at a steady 350°F for the crispiest results.
My favorite part is watching the first ball get bitten into — that initial crack of the crust followed by the hot, cheesy pull is deeply satisfying. Over the years I’ve served these at birthday parties, potlucks, and even as a playful side with a green salad; each time they bring the same delighted reactions and requests for the recipe.
To store, place cooled balls in an airtight container with a sheet of parchment between layers to prevent sticking. Refrigerate for up to 24 hours. For longer storage, freeze on a baking sheet until solid (about 1 hour), then transfer to a freezer-safe bag and label with the date — they keep well for up to 3 months. Reheat from frozen in a preheated 400°F oven on a wire rack for even crisping: 12–15 minutes should do it. Avoid reheating in a microwave if you want to preserve the crunchy exterior.
If you need to adapt ingredients, here are reliable swaps: use a blend of Monterey Jack and cheddar for milder flavor, or pepper jack for a spicy kick. For a gluten-free version, substitute gluten-free panko and ensure your leftover pasta was made from gluten-free noodles. If you want lower fat, reduce added cheese slightly and bake instead of frying (see variations). For a crisper coat when using regular breadcrumbs, mix in 1/2 cup panko to lighten the texture. Avoid flour alone as a coating — it will not produce the same crunch.
Serve alongside bright, acidic dips to cut the richness: classic marinara, a lemony herb yogurt dip, or a tangy barbecue sauce work well. For a more substantial plate, pair 3–4 balls with a crisp green salad and roasted vegetables. Garnish with chopped chives, extra grated Parmesan, or a dusting of smoked paprika for color and aroma. These also shine on party platters beside pickles, sliced sausages, and crudités.
Transforming leftovers into new dishes is a long-standing culinary tradition across cultures. These golden bites are a playful American adaptation of comfort-food frugality — a way to keep the heartiness of mac and cheese while adding texture. Fried cheese bites appear in many culinary traditions, from Italian arancini to Latin American croquettes; this version borrows that principle and applies it to a distinctly American favorite.
In cooler months add warming spices such as a pinch of smoked paprika or a dash of cayenne in the breadcrumb mix. Summer calls for brighter accompaniments — serve with a chilled herb yogurt dip or a fresh tomato salsa. Around holidays, make them festive by adding chopped roasted jalapeño and bacon bits for a smoky-sweet profile, or fold in minced roasted butternut squash and sage for an autumnal twist.
To save time, shape all the balls and freeze them on a sheet tray. Once solid, store them in a freezer bag and pull out only what you need on the day of serving. If you plan to fry directly from frozen, add a couple of minutes to the frying time and monitor oil temperature carefully. Alternatively, par-cook in a 425°F oven for 8–10 minutes then give them a quick fry for maximum crispness with less oil absorption.
These little golden bites are a joyful way to reinvent leftovers and make entertaining effortless. Whether you’re feeding a crowd or sneaking a late-night snack, they deliver comfort, crunch, and nostalgia in every mouthful. Try them with different cheeses, sauces, and seasonings — once you master the technique, the possibilities are endless.
Chill the pasta thoroughly before shaping; a firmer mixture holds together and fries cleaner.
Keep oil at 350°F; use a thermometer to maintain a steady temperature for even browning.
Use panko for the crispiest crust; mix with regular breadcrumbs if needed for coverage.
Freeze shaped balls on a tray before storing to prevent sticking and for easy batch frying.
Grate cheese fresh when possible — pre-shredded cheese contains anti-caking agents that alter melting.
This nourishing crispy mac and cheese balls recipe is sure to be a staple in your kitchen. Enjoy every moist, high protein slice — it is perfect for breakfast or as a wholesome snack any time.
This Crispy Mac and Cheese Balls recipe makes perfectly juicy, tender, and flavorful steak every time! Serve with potatoes and a side salad for an unforgettable dinner in under 30 minutes.
Refrigerate cooked mac and cheese for at least 3 hours until firm so it can be shaped into balls without falling apart.
Transfer to a large bowl and stir in 1 cup cheddar and 1 cup Parmesan. Add more cheese if the mixture is too loose to shape.
Whisk 2 eggs with 3 tablespoons milk for the egg wash and pour 2 cups panko into a shallow bowl for coating.
Use a medium ice cream scoop or tablespoon to portion and roll into roughly 15 even balls, keeping hands slightly oiled if mixture sticks.
Dip each ball into egg wash then roll in breadcrumbs until fully coated. Place on parchment-lined baking sheet and refrigerate 30 minutes to set.
Fill a heavy pot with 2–3 inches of oil and heat to 350°F. Use a candy thermometer to maintain temperature while frying in batches.
Fry 4–5 balls at a time for about 3–4 minutes, turning occasionally, until evenly golden and crisp. Avoid overcrowding.
Transfer to a paper towel-lined plate to drain and serve immediately with dipping sauces or keep warm in a 200°F oven for up to 20 minutes.
Last Step: Please leave a rating and comment letting us know how you liked this recipe! This helps our business to thrive and continue providing free, high-quality recipes for you.
Leave a comment & rating below or tag
@royalrecipe on social media!

Easy homemade thin-crust three-cheese spicy chicken and jalapeño pie — a flavor-packed pizza with a satisfying kick, perfect for pizza night or game day.

A bright, creamy BLT pasta salad tossed with basil pesto, fresh greens, cherry tomatoes, and crisp bacon—perfect for warm-weather gatherings and meal prep.

Tender sautéed shrimp tossed with spaghetti and a creamy sweet-spicy bang bang sauce—ready in under 30 minutes for a weeknight favorite.
Leave a comment & rating below or tag @royalrecipe on social media!
Enjoyed this recipe? Share it with friends and family, and don't forget to leave a review!
This recipe looks amazing! Can't wait to try it.
Comments are stored locally in your browser. Server comments are displayed alongside your local comments.
Join to receive our email series which contains a round-up of some of our quick and easy family favorite recipes.
