>>
30-MINUTE MEALS! Get the email series now →


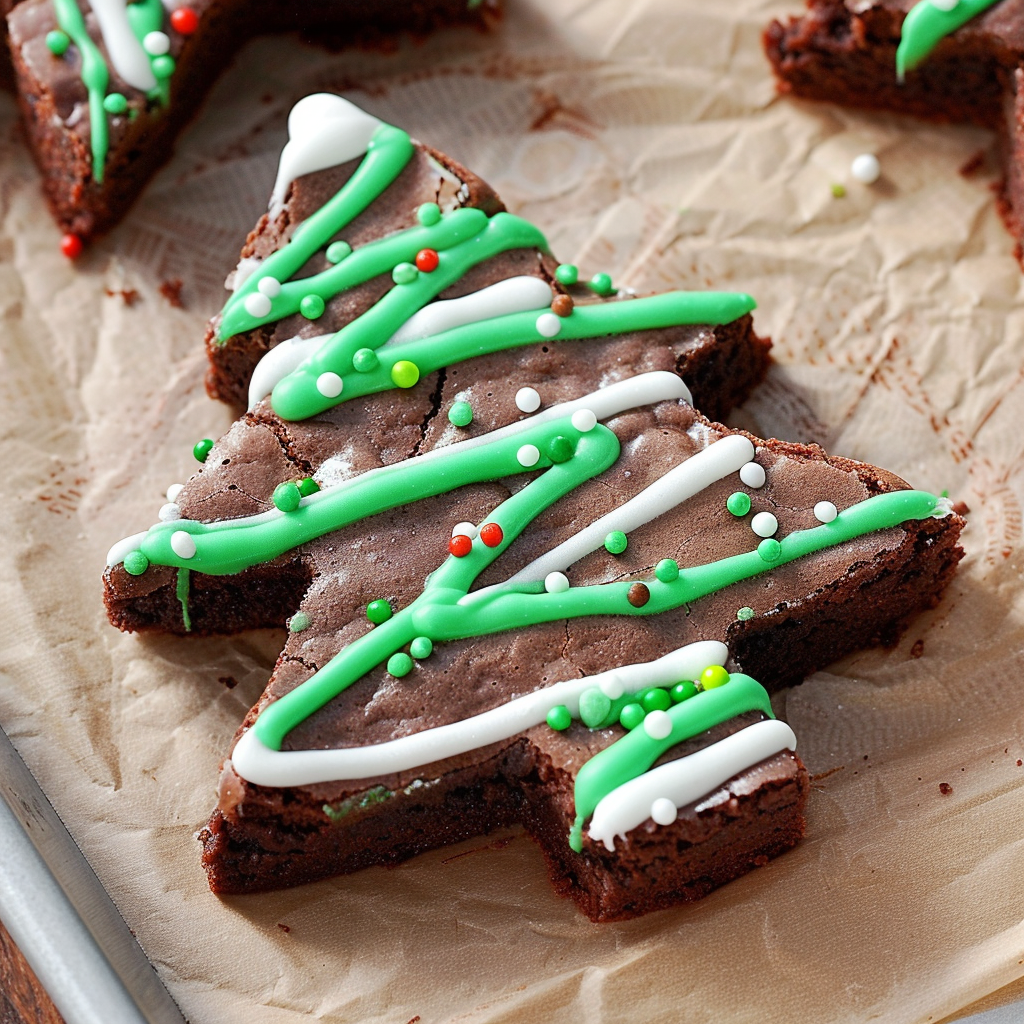
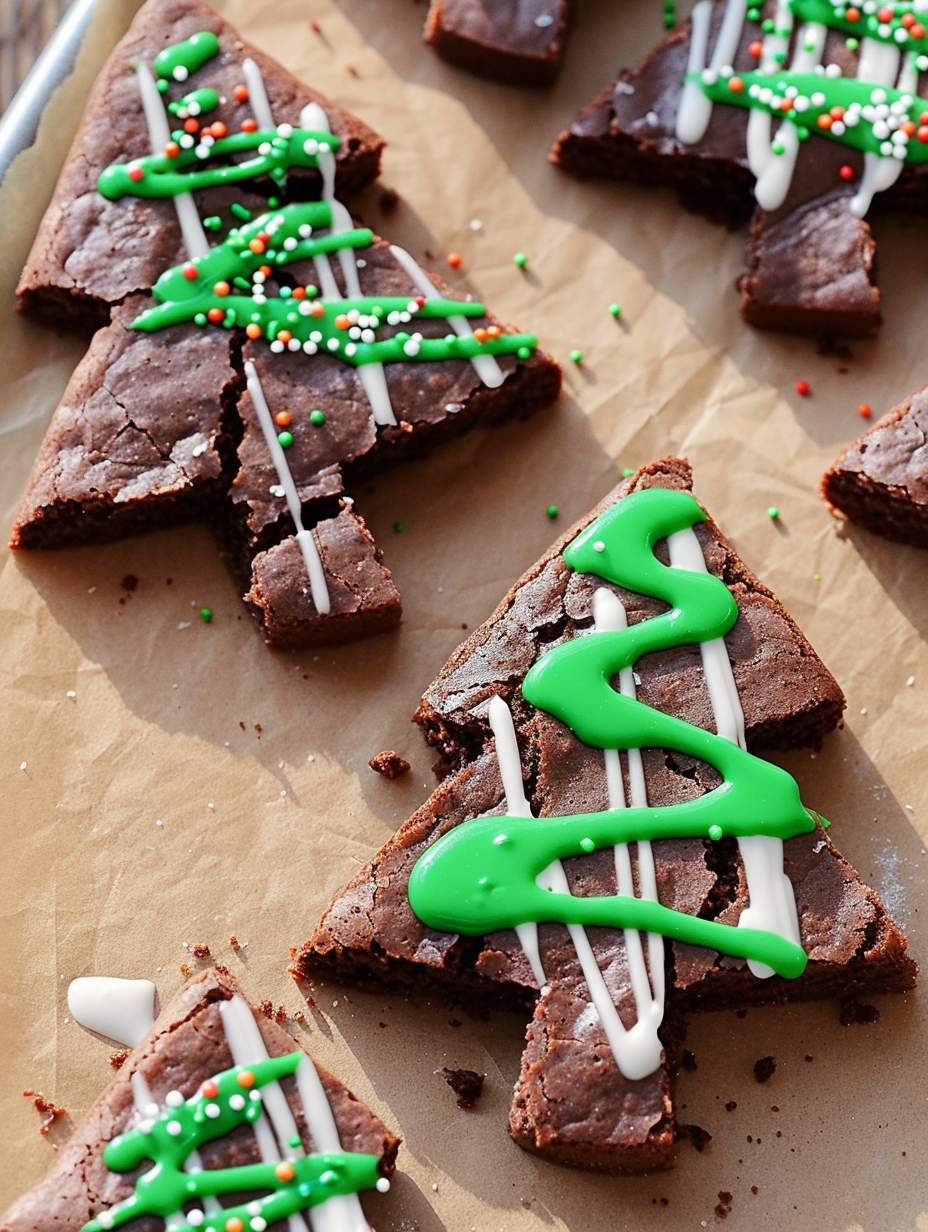
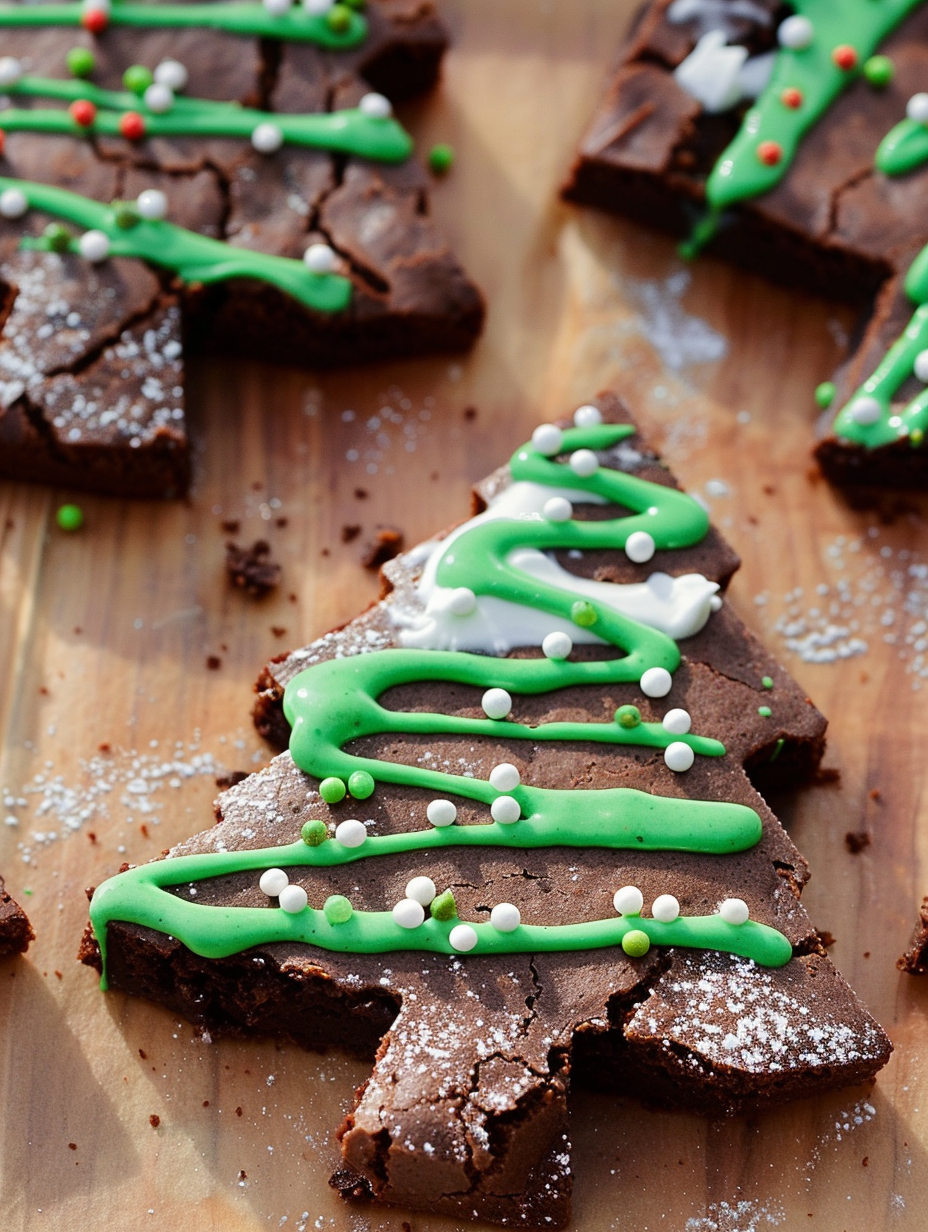
Fudgy, festive brownies cut into Christmas tree shapes and decorated with green and white icing — a joyful, kid-friendly holiday project.
This holiday favorite started as a simple sugar-and-scratch experiment one chilly December, when I wanted a treat that combined everything I love about the season: chocolate, sparkle, and time spent decorating with my little ones. These Christmas Tree Brownies are fudgy and rich with a tender crumb, which makes them forgiving to cut and decorate. I discovered this exact combination one afternoon while adapting our go-to brownie batter for a cookie-cutter project, and the result became an instant tradition: we bake, chill, cut, and decorate while listening to carols. The process becomes as memorable as the dessert itself.
The texture is intentionally dense and moist so the tree shapes hold up when cut and handled. The flavor balances deep cocoa with a buttery sweetness and a hint of vanilla, and the quick two-tone icing turns ordinary brownies into charming holiday pieces. Decorating is delightfully adaptable for kids: the white icing mimics snow, while the green icing resembles verdant evergreen branches. I always let the kids sprinkle and add their creative touches — some mice-shaped sprinkles become ornaments, others prefer a minimalist snowy roofline. For adult hands, a piping technique creates crisp, even garlands that look impossibly professional.
I’ve watched these brownies become a holiday binder for family memories: my nephew insists on making a snowman with sprinkles, and last year my sister arranged a tiny forest for a dessert table centerpiece. Over the years I’ve adjusted oven time and chilling technique to get cleaner cuts, and those small tweaks make the final decorated trees consistently impressive.
What I love most is how this recipe invites collaboration: children pick sprinkle colors, and adults refine piping lines. Over the years I’ve taught several friends to bake these, and the most common compliment is about the texture — fudgy, not dry — which makes them taste like a decadent homemade confection rather than a novelty craft.
For short-term storage, place iced brownies on a baking sheet and let the icing set for 15–30 minutes at room temperature, then store in a single layer in an airtight container at room temperature for up to 48 hours. For longer life, undecorated cut shapes keep best refrigerated between layers of parchment for up to 5 days. To freeze, flash-freeze the undecorated trees on a tray until solid, then transfer to a freezer-safe bag for up to 3 months. Thaw overnight in the fridge before decorating to minimize condensation and preserve crisp edges.
To make these dairy-free, swap the butter for a vegan stick margarine in a 1:1 ratio and use a non-dairy milk for the icing. For a gluten-free option, use a 1:1 gluten-free flour blend designed for baking; allow the batter to rest 10 minutes before baking to hydrate the flours. If you prefer a less sweet icing, replace half the powdered sugar with sifted cream cheese and thin with a touch of milk for a tangy contrast — note cream cheese needs refrigeration and will change storage behavior.
Serve as part of a holiday cookie platter with peppermint bark, shortbread, and spiced nuts. For an elegant dessert table, arrange the trees on a bed of shredded coconut to mimic snow and add small pretzel sticks as trunks. Pair with hot cocoa, mulled cider, or a robust espresso — the brownies’ richness plays beautifully with a bitter or spiced beverage. These also make charming edible place settings for a festive dinner party.
Decorated holiday confections have long been a part of Western seasonal traditions, from German Lebkuchen to American sugar cookies. These brownie trees are a modern American twist that combines the classic fudgy slab with cookie-cutter traditions, making them ideal for communal decorating. The practice of decorating sweets during winter solstice celebrations and Christmas caroling grew into family-centered kitchen rituals — this recipe nods to that communal spirit by being both a dessert and an activity.
In winter, use peppermint or red-and-green sprinkles and swap part of the cocoa for instant espresso powder for a mocha edge. For a spring celebration, tint the icing pastel green and use edible flower sprinkles. Holiday-specific swaps like crushed candy canes add textural contrast; just press them gently into the icing so they adhere. Adjust piping consistency for warmer weather by refrigerating the icing briefly to firm it up before bagging.
Batch-bake multiple pans and freeze undecorated trees for future events. Label freezer bags with date and intended serving; thaw the night before and decorate the day of for fresh presentation. If you’re making a large quantity for a party, enlist helpers for assembly-line decorating — one person pipes green, another adds white garlands, and a third sprinkles. Use disposable piping bags for easy cleanup and consistent results.
These brownies have become a holiday ritual in my home: a simple base batter transforms into a joyful activity and a delicious dessert. Whether gifting them in cellophane bags or arranging them on a festive platter, they bring both flavor and cheer to the season — make them once, and I promise they’ll return to your holiday rotation.
Chill the baked slab for at least 30 minutes before cutting to achieve clean tree shapes.
Start with a tiny snip in the piping bag and test flow on a plate to ensure precise lines.
Add sprinkles immediately after piping so they adhere to the wet icing.
Use parchment paper under the slab when cutting to transfer trees easily without breaking.
If making ahead, freeze undecorated trees and decorate after thawing for fresher icing.
This nourishing christmas tree brownies recipe is sure to be a staple in your kitchen. Enjoy every moist, high protein slice — it is perfect for breakfast or as a wholesome snack any time.
This Christmas Tree Brownies recipe makes perfectly juicy, tender, and flavorful steak every time! Serve with potatoes and a side salad for an unforgettable dinner in under 30 minutes.
Preheat the oven to 325°F (163°C). Grease a 9x13-inch baking dish and line with parchment to allow easy removal and cleaner cutting after chilling.
In a medium bowl whisk together the all-purpose flour, cocoa powder, and kosher salt until evenly combined and free of lumps.
In a large bowl with a hand or stand mixer, combine melted butter, sugar, and vanilla. Add eggs one at a time, mixing briefly after each to emulsify and create a glossy mixture.
Fold the dry ingredients into the wet mixture until just combined. Pour batter into the prepared pan and bake at 325°F for about 30 minutes or until a toothpick comes out with moist crumbs.
Cool the slab on a wire rack, then refrigerate until firm (about 30 minutes). Use a Christmas tree cookie cutter to cut shapes, starting at the edges to maximize yield.
Mix powdered sugar with 1–2 tablespoons milk to a piping consistency. Divide and tint one portion green. Pipe zigzag garlands with green and white icing and add sprinkles immediately.
Last Step: Please leave a rating and comment letting us know how you liked this recipe! This helps our business to thrive and continue providing free, high-quality recipes for you.
Leave a comment & rating below or tag
@royalrecipe on social media!

Easy homemade thin-crust three-cheese spicy chicken and jalapeño pie — a flavor-packed pizza with a satisfying kick, perfect for pizza night or game day.

A bright, creamy BLT pasta salad tossed with basil pesto, fresh greens, cherry tomatoes, and crisp bacon—perfect for warm-weather gatherings and meal prep.

Tender sautéed shrimp tossed with spaghetti and a creamy sweet-spicy bang bang sauce—ready in under 30 minutes for a weeknight favorite.
Leave a comment & rating below or tag @royalrecipe on social media!
Enjoyed this recipe? Share it with friends and family, and don't forget to leave a review!
This recipe looks amazing! Can't wait to try it.
Comments are stored locally in your browser. Server comments are displayed alongside your local comments.
Join to receive our email series which contains a round-up of some of our quick and easy family favorite recipes.
