>>
30-MINUTE MEALS! Get the email series now →


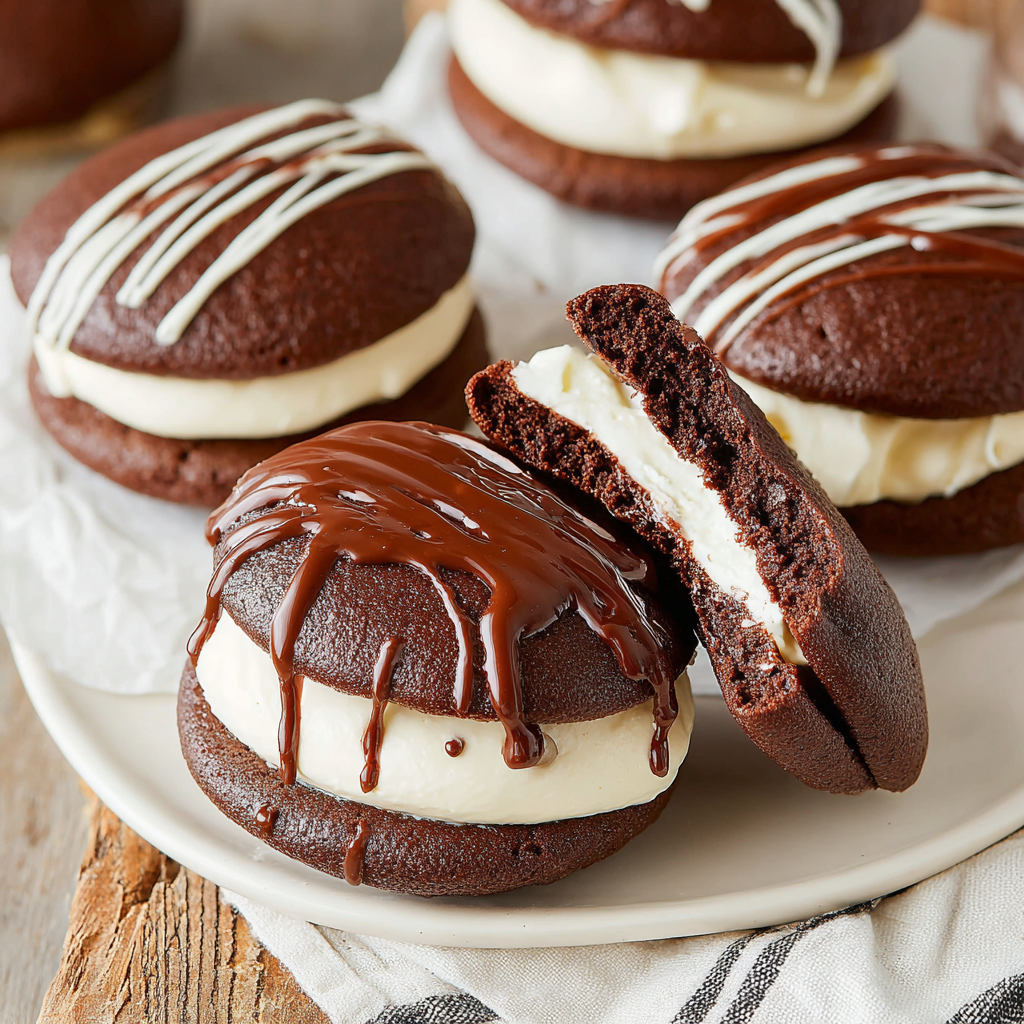
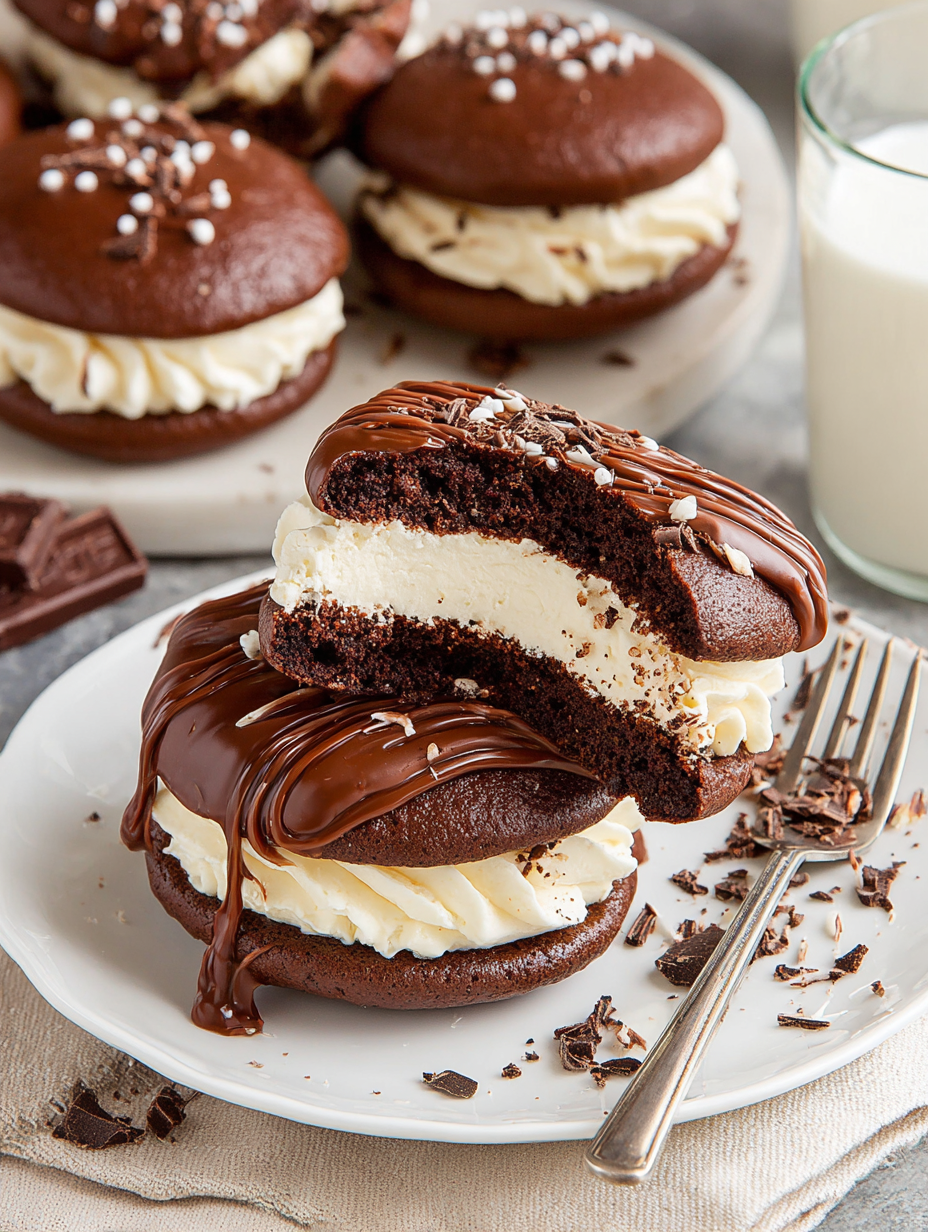
Bake up a taste of nostalgia with these classic chocolate cakes sandwiched around a marshmallow-vanilla filling — soft, pillowy, and utterly irresistible.
In my experience, these pies are crowd-pleasers across generations. I often halve the batch and take a dozen to neighbors after a big meal; they return with stories of how these triggered memories of school bake-sales and church socials. The recipe feels like comfort and celebration at once.
My favorite aspect is assembling them: watching the filling gently squish to the edges when two soft rounds meet always feels satisfying. At holidays I double the batch and leave a tray on the counter; the house smells warm and familiar as neighbors drop by to grab one. The combination of malt and black cocoa always prompts compliments about the "almost cake-like but better" texture.

Store filled sandwiches in a single layer in an airtight container at room temperature for up to 48 hours; the filling softens but stays stable thanks to the shortening. For longer storage, refrigerate for up to 5 days — bring to room temperature before serving to restore softness. To freeze, place on a tray until firm, then wrap individually in plastic and store in a freezer-safe bag for up to 3 months. Thaw overnight in the refrigerator and finish at room temperature for 30–60 minutes before serving. Avoid stacking warm pies to prevent squashing and condensation.
If you don’t have cake flour, substitute 2 1/4 cups all-purpose flour minus 3 tablespoons plus 2 tablespoons cornstarch for a lighter crumb. Omit the malted milk powder for a less toasty flavor; a tablespoon of light brown sugar extra can add back some nuance. Swap butter-flavored shortening with all butter for richer flavor, but expect a softer filling that can be chilled before assembling for stability. For dairy-free options, use vegan butter and a dairy-free marshmallow alternative, though texture and flavor will differ.
Serve on a platter dusted lightly with cocoa for contrast or stack in a decorative box for gifting. Pair with cold milk, coffee, or a scoop of vanilla ice cream for an indulgent dessert. For a party, create a dipping station with melted wafers, crushed nuts, and sprinkles so guests can customize their pies. These are perfect for potlucks, afternoon tea, or boxed as party favors.
Whoopie pies are an American classic with roots in New England and Pennsylvania Dutch traditions — both Maine and Pennsylvania lay claim to the origin. Originally referred to as "black fudge pies" or "gobs," they were a portable, shareable treat for farm families and mill workers. The sandwich evolved with regional variations: some favor a dense, cakier round, others a softer, cookie-like texture, but the defining element remains the fluffy filling. Today they symbolize home-baked comfort and community gatherings.
In winter, add a pinch of cinnamon and a tablespoon of espresso to highlight deep chocolate notes. In summer, swap marshmallow fluff for lemon-flavored buttercream for a bright contrast, or tint the filling pastel colors for spring celebrations. Around St. Patrick’s Day, fold in a teaspoon of mint extract and dip in dark chocolate for a festive mint-chocolate version.
Prepare the rounds one day in advance and store cooled cakes in a single layer. Make the filling the night before so flavors meld and the cream stabilizes. On the day of serving, assemble sandwiches and add chocolate dips or sprinkles last to maintain crisp garnish textures. Use an ice-cream scoop and piping bag to standardize portions and speed up assembly for large batches.
These whoopie pies are a reliable, nostalgic treat that adapts beautifully to modern tastes. Whether you’re sending them as a neighborly gift or serving them at a party, they bring a sense of warmth and joy — and the recipe will likely become a go-to in your baking rotation.
Use a consistent scoop size to ensure even baking times and uniform sandwiches.
Rest the batter 15 minutes to hydrate flours and control spread for neater rounds.
Chill the filling briefly if using all butter instead of shortening to help with assembly.
For perfectly smooth melted wafers, heat in 20–30 second intervals and stir thoroughly between intervals.
This nourishing best whoopie pie recipe recipe is sure to be a staple in your kitchen. Enjoy every moist, high protein slice — it is perfect for breakfast or as a wholesome snack any time.
This Best Whoopie Pie Recipe recipe makes perfectly juicy, tender, and flavorful steak every time! Serve with potatoes and a side salad for an unforgettable dinner in under 30 minutes.
Beat 1 cup light brown sugar, 1/2 cup salted butter, 1 tbsp vanilla bean paste, 1 tsp coffee extract, and 1/2 tsp salt on medium-high speed for 4 minutes, scraping once.
Add 1 large egg and mix 1 minute until combined, scraping down the bowl to ensure even distribution.
Whisk 2 1/4 cups cake flour, 1/2 cup Dutch-process cocoa, 2 tbsp malted milk powder, 2 tsp black cocoa, 1 tsp baking powder, 1/2 tsp baking soda, and 1/2 tsp espresso powder in a separate bowl.
Add dry ingredients to the mixer in three parts, alternating with 1 cup buttermilk, beginning and ending with dry. Mix until combined and then an extra 30 seconds.
Fold gently with a rubber spatula and let the batter rest 15 minutes to hydrate for better texture and spread control.
Preheat oven to 350°F. Scoop batter with a #40 scoop onto parchment-lined baking sheets, spacing 3 inches apart. Bake 9–11 minutes; cool on pan 5–10 minutes, then transfer to a wire rack.
Cream 1 cup cold unsalted butter with 1/2 cup butter-flavored shortening, 1 tbsp vanilla bean paste, and 1/2–1 tsp salt. Add 4 cups powdered sugar and 1/4 cup heavy cream in increments, then fold in 1 1/4 cups marshmallow fluff.
Scoop filling onto bottom halves and sandwich. Optionally dip halfway in melted wafers and sprinkle while chocolate is wet, or drizzle melted chocolate and add sprinkles.
Last Step: Please leave a rating and comment letting us know how you liked this recipe! This helps our business to thrive and continue providing free, high-quality recipes for you.
Leave a comment & rating below or tag
@royalrecipe on social media!

Easy homemade thin-crust three-cheese spicy chicken and jalapeño pie — a flavor-packed pizza with a satisfying kick, perfect for pizza night or game day.

A bright, creamy BLT pasta salad tossed with basil pesto, fresh greens, cherry tomatoes, and crisp bacon—perfect for warm-weather gatherings and meal prep.

Tender sautéed shrimp tossed with spaghetti and a creamy sweet-spicy bang bang sauce—ready in under 30 minutes for a weeknight favorite.
Leave a comment & rating below or tag @royalrecipe on social media!
Enjoyed this recipe? Share it with friends and family, and don't forget to leave a review!
This recipe looks amazing! Can't wait to try it.
Comments are stored locally in your browser. Server comments are displayed alongside your local comments.
Join to receive our email series which contains a round-up of some of our quick and easy family favorite recipes.
