>>
30-MINUTE MEALS! Get the email series now →


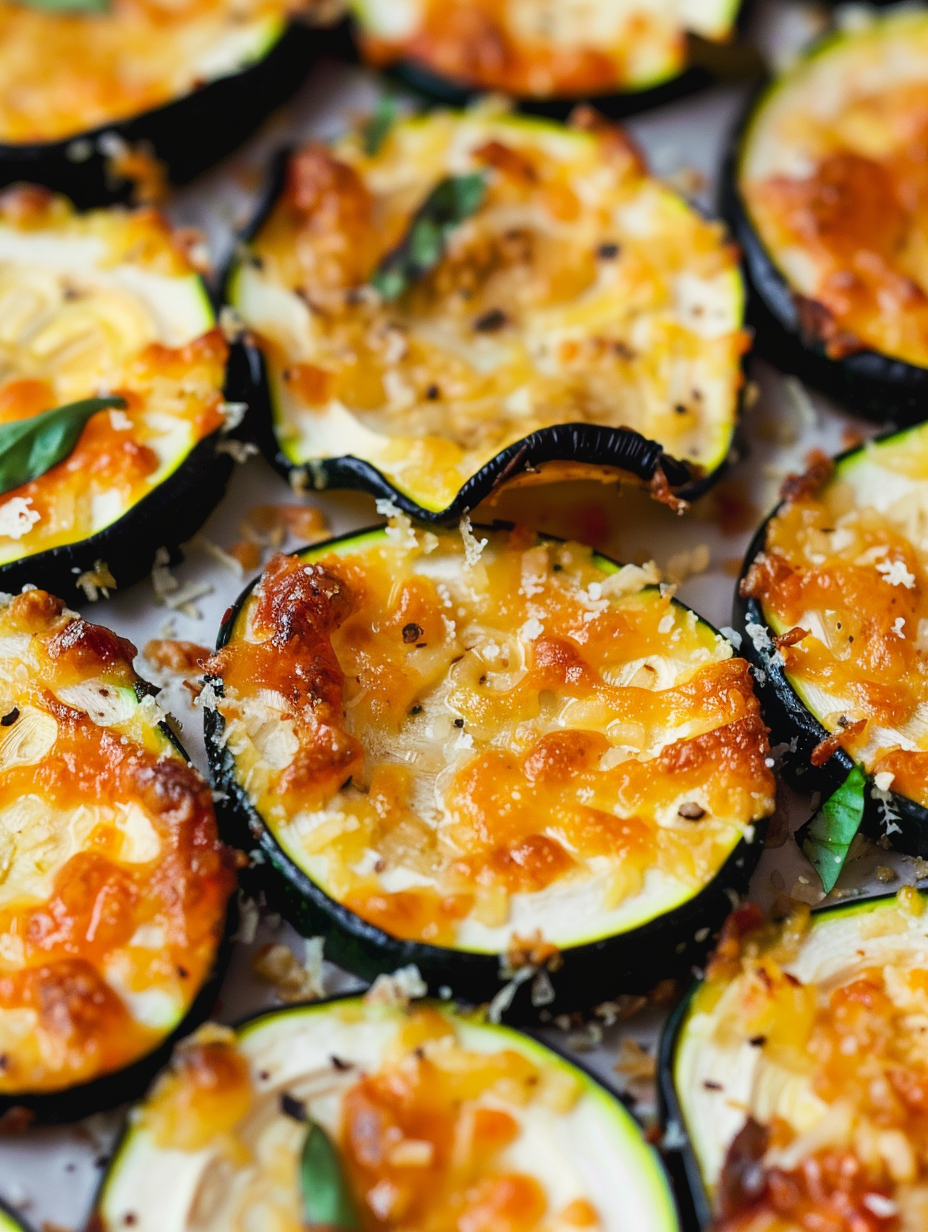
Crispy, low carb zucchini chips baked with Parmesan and simple spices. A healthier, keto-friendly alternative to potato chips that is quick to make and perfect for snacking or entertaining.
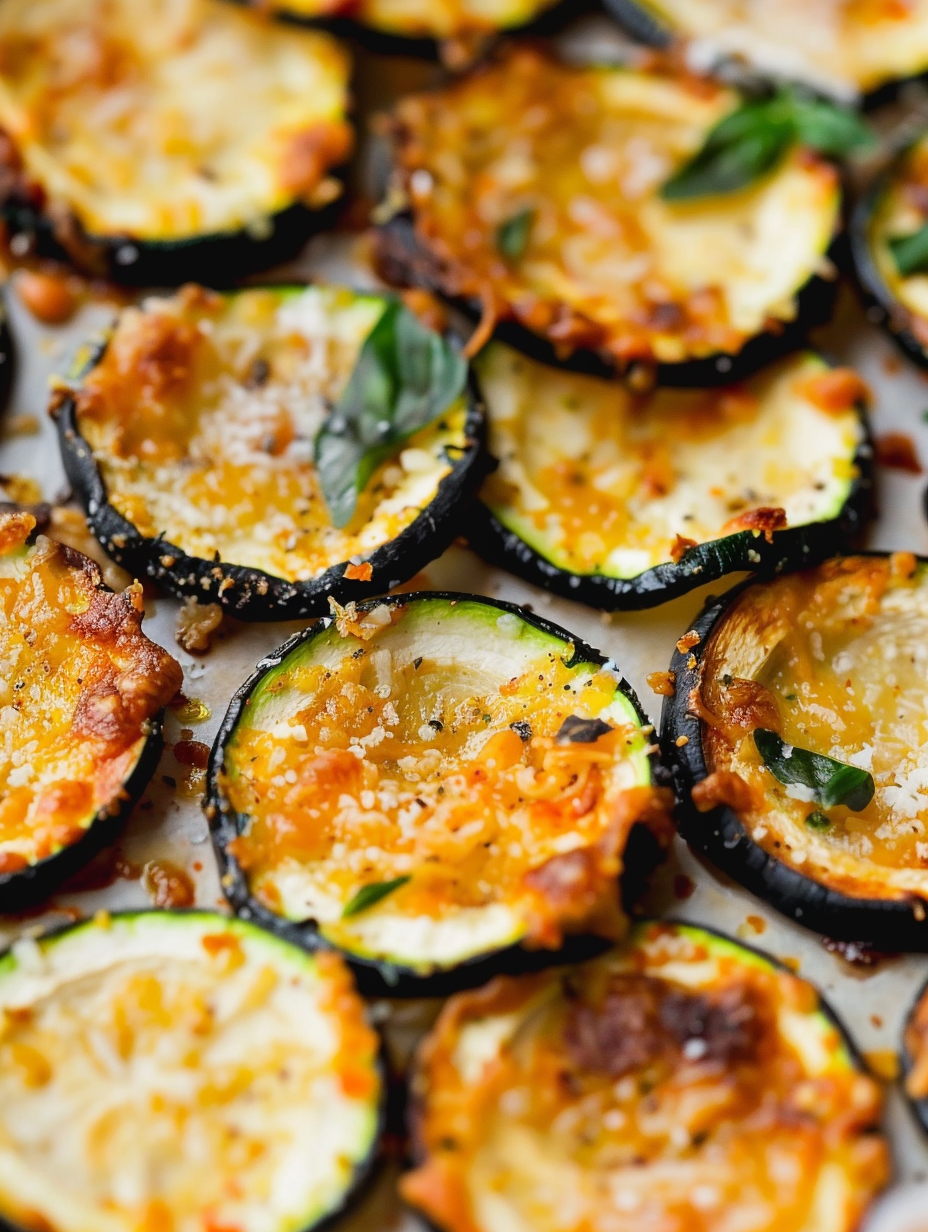
This batch of baked zucchini chips has become my go-to crunchy snack when I want something savory, light, and satisfying without derailing a low carb or keto plan. I first fell in love with this method on a hot afternoon when I needed an easy, shareable appetizer for friends who were visiting. They expected soggy vegetable slices and were surprised when these came out golden, crisp, and utterly addictive. The combination of thinly sliced zucchini, a whisper of olive oil, and a generous sprinkle of grated Parmesan produces a contrast of tender interior and crisp, cheesy exterior that hits the spot every time.
I discovered a few small technique details after several trial bakes that make a big difference. Slicing the zucchini thin and drying the slices before baking prevents steam and sogginess. Using fine grated Parmesan rather than coarse shards gives a uniform crust that browns evenly. This recipe is simple, quick, and flexible so you can scale it up for a party or keep it small for a solo snack. I love serving these with a tangy Greek yogurt dip or alongside a bright tomato salsa. They are low calorie, low carb, and work beautifully as an appetizer or crunchy topper for salads and bowls.
I always find guests do a double take when I tell them these are zucchini. Family members who say they dislike cooked zucchini happily reach for seconds. Over time I learned small adjustments like adding a touch more Parmesan around the edges and spacing slices so hot air circulates. Those simple changes transformed the results from merely good to reliably crisp and golden every time.
My favorite part of this preparation is how the cheese transforms during baking into a lacy, golden crust. It creates a contrast between the tender zucchini interior and crunchy exterior that feels indulgent yet much lighter than traditional chips. I often serve these on a small platter with lemony Greek yogurt dip and watch family members reach for them like they are a guilty pleasure. The simplicity of the recipe makes it easy to experiment with spices and cheeses until you find a signature flavor combination.
Store cooled crisps in a dry, airtight container at room temperature for up to three days. Avoid refrigeration as the cold, humid environment softens the crust. If the chips lose crunch, reheat on a baking sheet in a 250 F oven for 5 to 8 minutes to re-crisp. Use paper towel layers in the container to absorb any residual moisture and keep them as crisp as possible. If you plan to store longer, freeze on a single layer on a tray then transfer to a sealed bag, though texture will change more after freezing and reheating.
If you want a dairy-free variation, swap Parmesan for a vegan hard cheese alternative or nutritional yeast combined with a tablespoon of ground almonds to add body. For a lower-oil version, use an oil spray instead of a 1/4 cup pour; results will be slightly less crisp. Try Pecorino Romano instead of Parmesan for a sharper, saltier flavor. Smoked paprika can replace regular paprika to add depth, and a pinch of cayenne brings heat. Note that swapping cheeses or removing oil will change browning behavior and crispness.
Serve these crisps as an appetizer with dips such as tzatziki, lemony Greek yogurt, roasted red pepper dip, or a light herb ricotta. They make a crunchy garnish for soups or grain bowls and pair well with bright, acidic sides such as a simple tomato salad. For a party platter, present them alongside marinated olives, roasted nuts, and sliced cured meats. Garnish with a scattering of chopped parsley or lemon zest to brighten the flavors.
While zucchini is a staple in Mediterranean and Italian kitchens, transforming it into a chip is a contemporary take inspired by the desire for lighter snack options. Crispy vegetable chips have roots in many culinary traditions where thinly slicing and frying or baking creates portable, crunchy bites. This Parmesan-baked version blends Italian cheese tradition with modern health-forward cooking techniques, marrying classic flavor with low carb sensibilities.
Summer zucchini are ideal because they are tender and flavorful. In fall, use smaller, denser zucchini for a firmer texture. For a winter variation, try slices of kohlrabi or parsnip using the same technique but increase bake time and check for uniform browning. Add seasonal herbs such as chopped fresh thyme in autumn or basil in summer for a bright, seasonal lift. Holiday gatherings benefit from swapping Parmesan for a truffled pecorino or adding a dusting of cracked black pepper and a drizzle of aged balsamic reduction after baking.
Prepare zucchini slices in advance up to salting and blotting, then store them separated by parchment in the refrigerator for up to 24 hours. Combine oil and spices in a jar and shake to emulsify; pour over zucchini just before baking. Bake in multiple batches and cool on racks before storing in airtight containers with paper towel layers. For a grab-and-go snack plan, portion chips into small containers and keep dips in separate sealed jars to maintain texture.
These zucchini chips are a small change that delivers big satisfaction. Whether served at a casual gathering or enjoyed as a weekday snack, they celebrate simple ingredients and straightforward technique. Try them once and you will have a new favorite for light, crunchy snacking.
Use a mandoline or a very sharp knife to slice zucchini uniformly to 1/8 inch thickness for even crisping.
Finely grate Parmesan yourself; it melts and browns more evenly than pre-shredded blends with anti-caking agents.
Allow chips to cool completely on a rack to finish crisping before storing to avoid trapped steam and sogginess.
This nourishing baked zucchini chips — low carb, keto-friendly parmesan crisps recipe is sure to be a staple in your kitchen. Enjoy every moist, high protein slice — it is perfect for breakfast or as a wholesome snack any time.
Slice the zucchini thinly and optionally salt and rest for 15 to 20 minutes to draw out moisture, then blot dry. This step helps prevent sogginess.
Yes. Arrange slices in a single layer in the air fryer basket and cook at 360 F for 10 to 15 minutes, shaking halfway. Air fryer batches are smaller and may take longer overall.
Store cooled chips in an airtight container at room temperature for up to three days. Re-crisp in a 250 F oven for a few minutes if they soften.
This Baked Zucchini Chips — Low Carb, Keto-Friendly Parmesan Crisps recipe makes perfectly juicy, tender, and flavorful steak every time! Serve with potatoes and a side salad for an unforgettable dinner in under 30 minutes.
Preheat oven to 375 F and position a rack in the center. Lightly grease a rimmed baking sheet or line with parchment paper. If using two sheets, prepare both to allow a single layer of slices.
Trim ends and slice zucchini into uniform 1/8 inch rounds using a mandoline or sharp knife. For crisper chips, sprinkle with salt and let rest 15 to 20 minutes, then blot excess moisture with paper towels.
In a bowl whisk together olive oil, salt, garlic powder, paprika, and black pepper. Add zucchini slices and toss gently to coat each slice evenly.
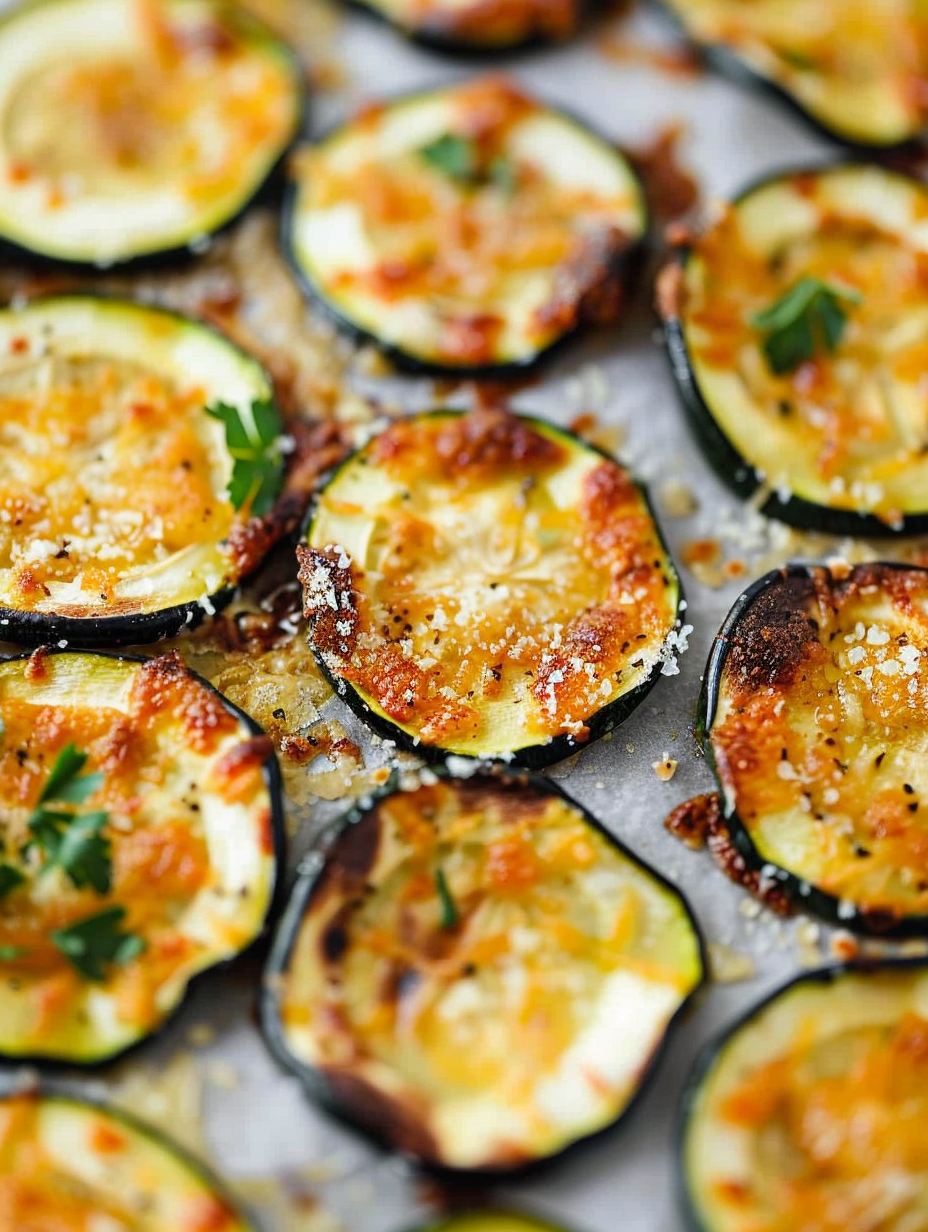
Lay slices in a single layer on the prepared sheet so pieces are not overlapping. Sprinkle finely grated Parmesan evenly over the slices, concentrating slightly at the edges for extra crisping.
Bake for 15 to 17 minutes, checking after 12 minutes. Remove when the Parmesan turns golden and edges brown slightly. Visual cues are more reliable than exact time because ovens vary.
Transfer chips to a cooling rack to avoid trapped steam under the slices. Allow to cool completely; they will crisp further as they rest. Store in an airtight container at room temperature up to three days.
Arrange slices in a single layer in the air fryer basket and cook at 360 F for 10 to 15 minutes, shaking halfway. Cook in small batches for consistent results.
If skipping oil, use a light spray coating or none at all; chips will be less crisp but still flavorful. Adjust baking time slightly and watch closely to avoid over-browning.
Last Step: Please leave a rating and comment letting us know how you liked this recipe! This helps our business to thrive and continue providing free, high-quality recipes for you.
Leave a comment & rating below or tag
@royalrecipe on social media!

Easy homemade thin-crust three-cheese spicy chicken and jalapeño pie — a flavor-packed pizza with a satisfying kick, perfect for pizza night or game day.

A bright, creamy BLT pasta salad tossed with basil pesto, fresh greens, cherry tomatoes, and crisp bacon—perfect for warm-weather gatherings and meal prep.

Tender sautéed shrimp tossed with spaghetti and a creamy sweet-spicy bang bang sauce—ready in under 30 minutes for a weeknight favorite.
Leave a comment & rating below or tag @royalrecipe on social media!
Enjoyed this recipe? Share it with friends and family, and don't forget to leave a review!
This recipe looks amazing! Can't wait to try it.
Comments are stored locally in your browser. Server comments are displayed alongside your local comments.
Join to receive our email series which contains a round-up of some of our quick and easy family favorite recipes.
